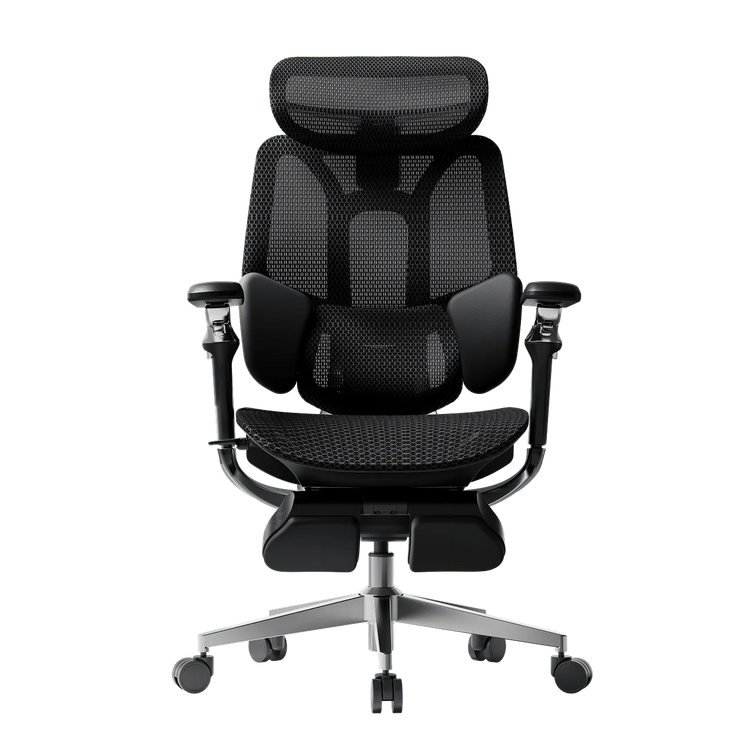
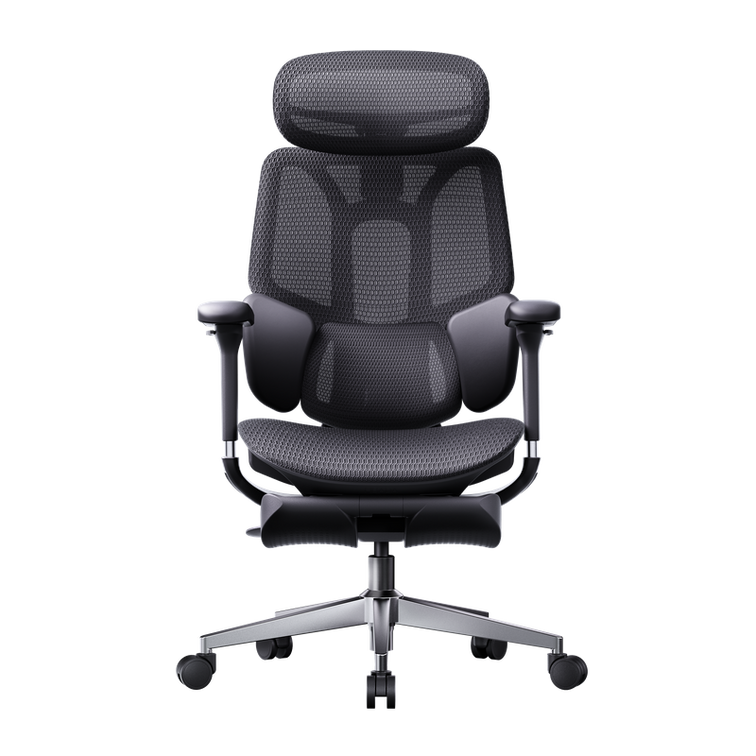
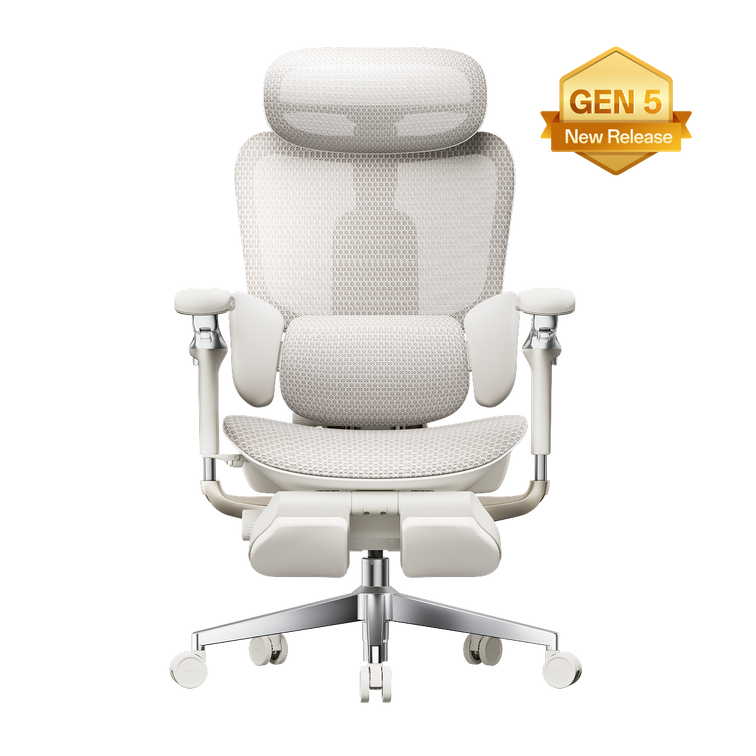
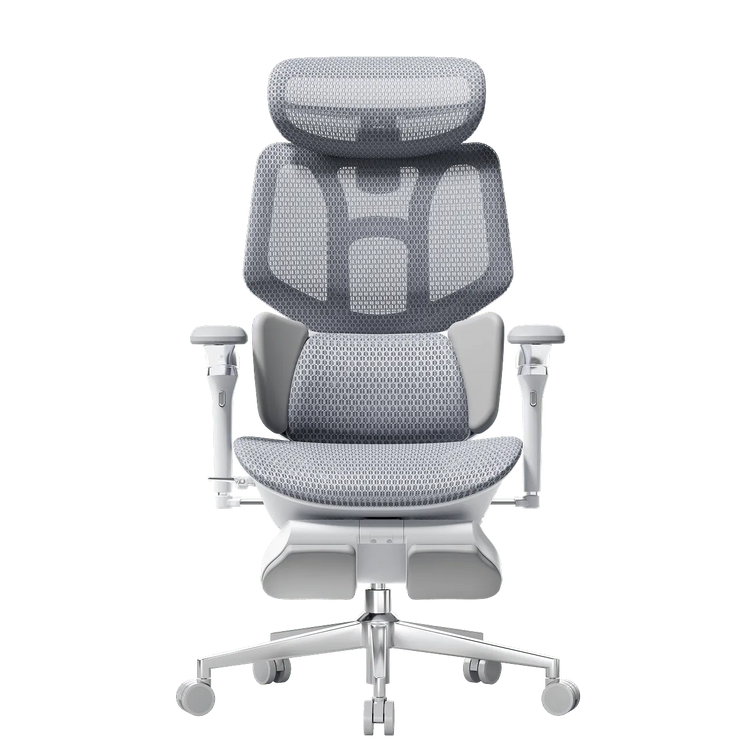
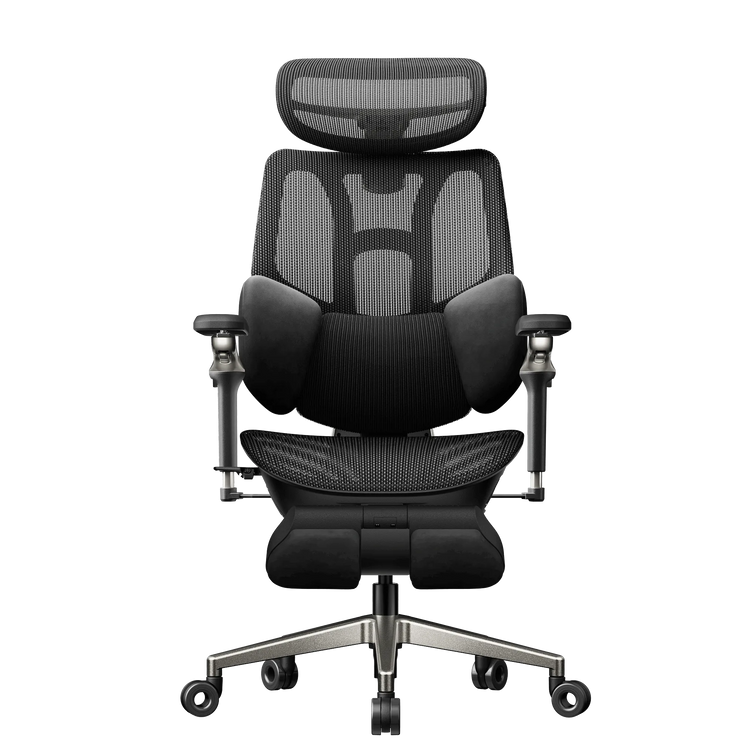
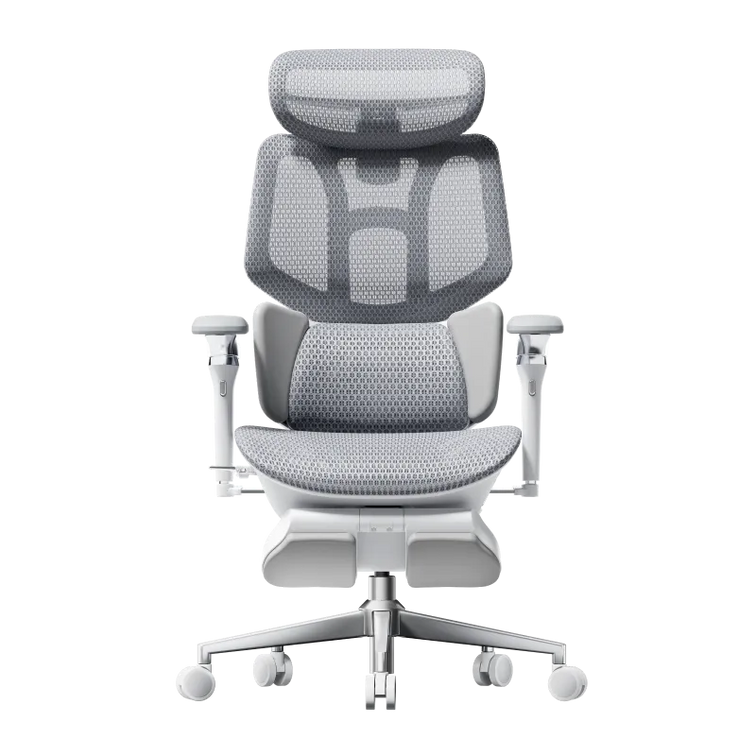
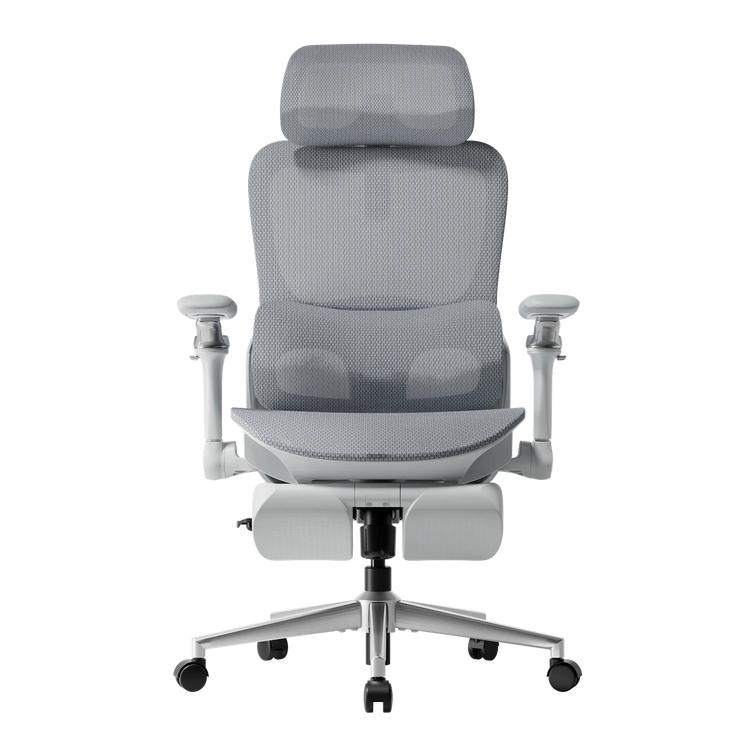



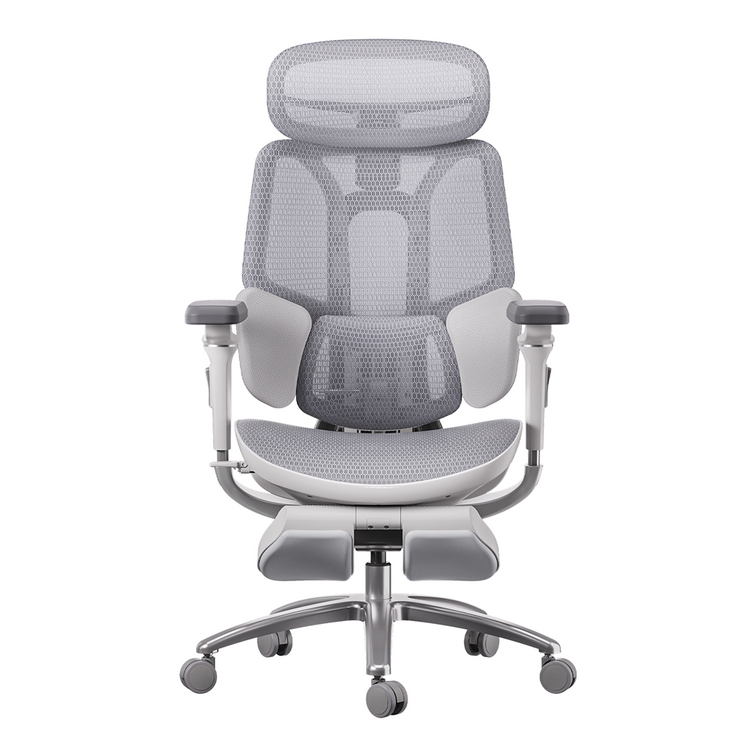
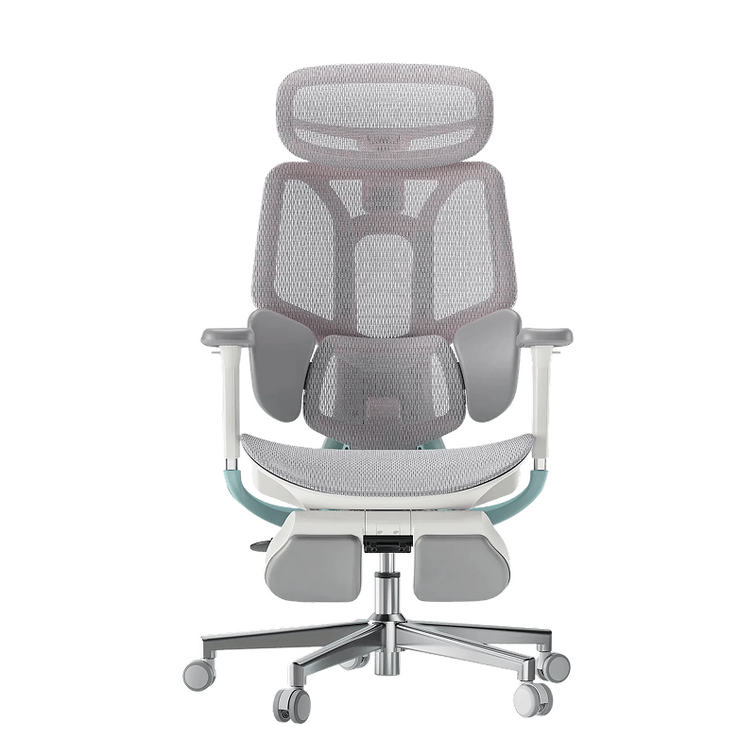
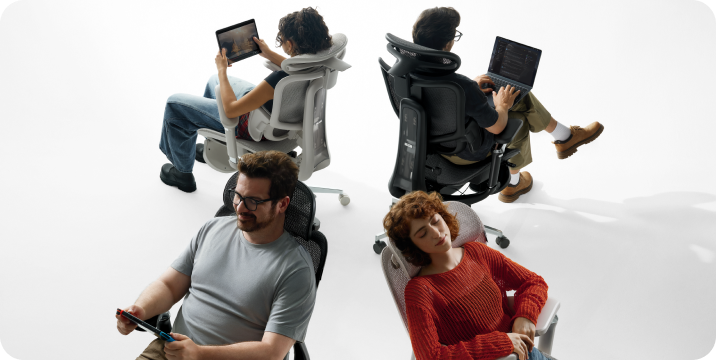
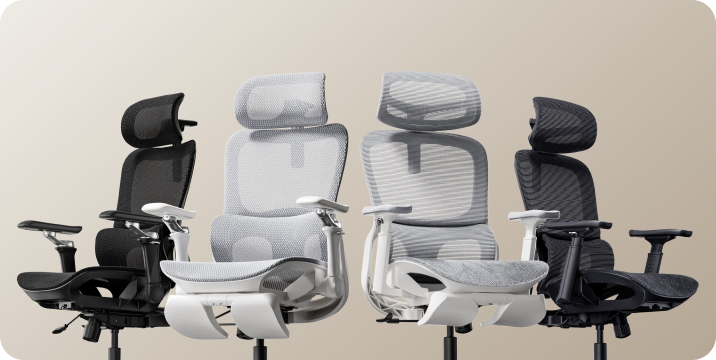
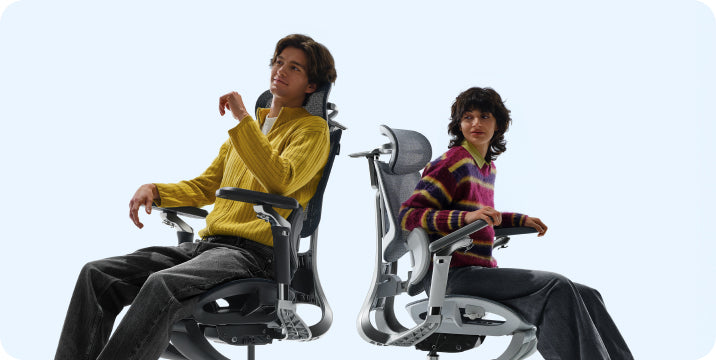


The Hidden Cost of 8 Hours: Why Productivity Slumps
AI-Powered Lumbar Tracking: Protecting Your L4-L5 Region
Engineering Authority: TÜV Certified & BIFMA Tested

![[Chip Review] Why Tech Experts Call the HBADA X7 the Future of 8-Hour Productivity](http://hbada.com/cdn/shop/articles/blog-chip-press-review-2365129_9fba56bc-e7e4-4ae5-b8b8-73aa98bb9f75-3946024.jpg?v=1781728895&width=2400)


HBADA X7 Long-Term Review: Smart Features After 90 Days
HBADA The X7 ownership review
Beyond thefirst impression.Into real life.
Unboxing is only the beginning. Here is a closer look at the HBADA X7’s smart features, everyday comfort, and long-term ownership experience.
90 DAYS
01 Setup & assembly 02 Responsive support 03 Everyday ownership
A smart ergonomic office chair should do more than impress on day one. It should remain useful after the controls become familiar and the chair becomes part of your normal working routine.
This HBADA X7 long-term review brings together media testing and verified owner feedback, covering assembly, AI lumbar support, powered comfort features, and the practical details worth considering before you buy.
The shortanswer.
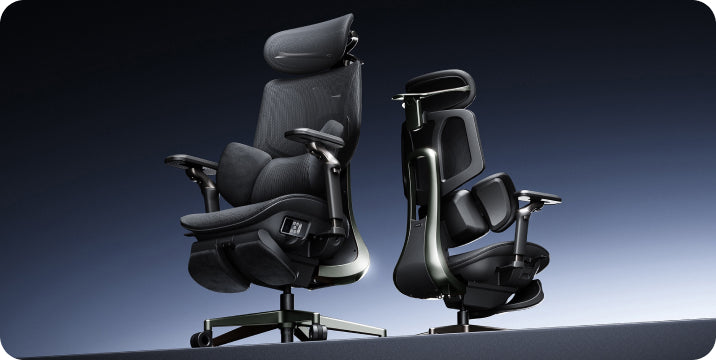
The X7’s defining feature is responsive lower-back support. Reviewers and owners describe lumbar contact that follows changes in sitting position. Its weight, setup, and powered components require consideration, but its appeal goes beyond extra features: it is about support that remains useful throughout an ordinary working day.
This brand-authored roundup draws on separate reviewer and owner experiences across different usage periods. It is not presented as a single continuous in-house 90-day test.
Unboxing Assembly AI lumbar support Comfort features Long-term use Verdict FAQs
01 / The arrival
Make room.This is not a lightweight delivery.
The X7 arrives as a substantial piece of office furniture. Reviewers highlight the size and weight of the package, making delivery planning a useful first step—not something to think about once the box is already in the doorway.
Clear the route to your workspace, check narrow doorways, and consider any stairs along the way. Arrange assistance with lifting when needed and follow the handling guidance supplied with your order.
The chair combines mechanical adjustments with powered functions. Its main electronic components are housed within the chair, but connections still need attention during setup. Leave enough space to identify the parts before assembly.
Before you begin
Keep the packaging for now.
Check the components, complete assembly, and confirm that the controls operate as described before disposing of the protective materials.
A clear floor and an unhurried setup are more useful than trying to finish in record time.
02 / Getting started
Build it once.Take the connections seriously.
Assembly accounts collected for this review generally fall within a roughly 20–45-minute window. Your own timing will depend on experience, assistance, and the time spent checking the instructions.
01
Lay out the components
Identify the parts and fasteners using the manual. Protect the chair’s surfaces while working.
02
Follow the cable routing
Pay attention to the specified connection points. Do not force connectors or trap cables between components.
03
Check before settling in
Confirm the mechanical adjustments and powered controls work as described before a full day at your desk.
Tom’s Hardware 30–40 min Extra attention was needed around routing and connecting the power cable.
The Gadgeteer 35–45 min A second person can help with handling the larger components.
Verified owner feedback 30–40 min Checking the instructions around the cable connection was a recurring point.
Reported assembly times describe individual experiences, not a guaranteed setup time.
Follow our user manual and assembly guide for your exact model and configuration.
03 / The defining feature
Support that follows.Not a position you have to find.
A conventional lumbar pad offers support when your body meets it. The X7’s responsive lumbar system is designed to adapt as your sitting position changes, helping maintain contact with the lower back.
That distinction appears repeatedly in the review material: the support follows movement rather than depending entirely on the user returning to one fixed position.
Responsive contact
Reviewer accounts describe the lumbar support responding as the seated position changes.
A personal setting
The Gadgeteer describes a gentler sensation at lower settings and a more noticeable presence at higher settings.
Everyday convenience
Owner feedback highlights support staying close without repeated manual repositioning during desk work.
Start with fit, then adjust the support. Set the seat height and depth first. Our office chair fit guide explains what to check before fine-tuning the lumbar settings.
04 / Beyond the basics
Comfort features.Useful when they fit your routine.
The reviewed X7 setups also bring massage, heating, and cooling or ventilation features into the experience. These functions are separate from the chair’s core seat, back, and arm support adjustments.
Before ordering, check the available X7 configurations and included accessories . A review describes the package that person used; it should not be taken as a list of what every package includes.
For focused work
Let support do the quiet work.
Prioritize a comfortable seat position, relaxed shoulders, and supportive lumbar contact. Choose powered settings that complement your routine without distracting you.
For a seated pause
Change the pace, not just the setting.
Explore the available comfort functions gradually and follow the operating instructions. A seated break can feel relaxing, but it does not replace getting up and moving.
More intensity is not automatically more comfortable. Airflow is not the same as room air-conditioning, and a relaxing massage function is not a medical treatment.
05 / Living with it
When the featuresbecome familiar.
Long-term value is easier to understand once the chair becomes an ordinary part of the workspace. What stays useful? What do you still adjust? What do you stop thinking about?
Early ownership / Setup experience
Learn the chair before judging the settings.
Assembly and initial adjustment shape the first impression. Take time to establish comfortable seat height, seat depth, and arm support before deciding how much lumbar contact you prefer.
One-month account / Verified owner feedback
Comfort becomes part of the working routine.
A designer in the owner feedback collected for this article described a comfortable, stable sitting experience after a month, with less need to reposition for comfort.
Ongoing use / Verified owner feedback
Lower-back contact without constant readjustment.
An IT professional highlighted support remaining close during desk-based work without repeatedly repositioning the lumbar support.
The 90-day perspective / What to assess
Look for consistency, not novelty.
Consider whether the chair still fits comfortably, frequently used adjustments operate as expected, and the powered functions continue to earn a place in your routine. A three-month experience is useful context, not a prediction of the chair’s entire lifespan.
These are separate experiences, not a single owner’s timeline. Individual comfort and usage patterns vary.
The best feature is the oneyou still appreciate on an ordinary day.
06 / The practical side
What deserves a closer look?
A powered ergonomic office chair brings ownership considerations beyond upholstery and seat dimensions.
Weight & moving
Reviewers highlight the chair’s substantial weight. Think about stairs and room changes, especially if you regularly move furniture between floors.
Component coverage
Review the warranty applicable to your order. Structural parts, electronics, and batteries may have different terms; do not assume one coverage period applies to everything.
Included features
Compare the actual configuration you are buying with the one shown in a review. Check accessories and power arrangements alongside the headline features.
Long-term expectations
Early comfort feedback and durability testing answer different questions. Our guide to office chair lifespan explains the distinction.
07 / Our verdict
Buy for the way you work.Not just the feature list.
Across the review material, responsive lower-back support is the most consistent theme. The additional comfort functions add flexibility, but the central question remains whether this kind of support matches your working habits and preferences.
A strong reason to consider it
You want responsive support.
Lumbar contact that adapts as you change sitting position.
Adjustable ergonomic seating with powered functionality.
Features you can use during both desk work and seated breaks.
Think through the trade-offs
You prioritize simplicity.
You need a lightweight chair to move between floors.
You prefer a setup without powered components.
Your main priority is the lowest initial purchase cost.
If you are still deciding which features matter, start with our 12-question office chair buying guide . It helps connect your body fit, workspace, and daily habits to a more useful shortlist.
The X7 is designed for supportive seating and everyday comfort, not to diagnose or treat a medical condition. Persistent pain should be discussed with a qualified healthcare professional.
The details, answered
Before you decide.
How long does HBADA X7 assembly take?
The experiences collected for this review range from roughly 20 to 45 minutes. Allow extra time for checking the connections and follow the manual for your exact model.
What makes the X7’s AI lumbar support different?
The responsive lumbar system is designed to adapt support as your sitting position changes. Reviewers and owners describe lower-back contact that follows movement rather than relying only on a fixed pad.
Does every X7 package include the same comfort features?
Check the selected configuration and its included accessories. A reviewed package or regional version may differ from the one you are ordering.
Is the X7 suitable for a home office?
It can suit a home office where responsive lumbar support and powered functionality are priorities. Check body fit, desk compatibility, delivery access, and the space available for assembly.
What are the main ownership considerations?
Weight, care during assembly, and electronic components are recurring considerations in the review material. Check current configuration details and warranty terms before ordering.
Are all the experiences in this article from one 90-day test?
No. This brand-authored roundup brings together separate media tests and verified owner experiences covering different usage periods. A one-month owner observation is identified separately from the broader long-term discussion.
Does a 90-day review establish the chair’s lifespan?
No. It can help describe early ownership, comfort, and feature usability, but total service life also depends on use, care, loading, and maintenance.
Smart support.A more personal way to sit.
Explore the HBADA X7, compare the available configurations, and see how responsive lumbar support fits into your working day.
Explore the HBADA X7 → Find your chair fit →
Keep good advice close
Enjoyed this guide?Stay connected with HBADA.
Make HBADA one of your preferred sources on Google for more ergonomic chair guides, workspace tips, and practical advice.
Add HBADA as a preferred source on Google ↗
Opens Google in a new tab. Confirm your selection there if HBADA is available.
Nov 04, 2026
Office Chair Seat Depth: How to Measure for a Better Fit
Room for your knees.Support for the rest of you.
A seat can look generous and still be the wrong fit. Here is how to measure office chair seat depth—and recognize the difference between extra space and useful support.
The short answer
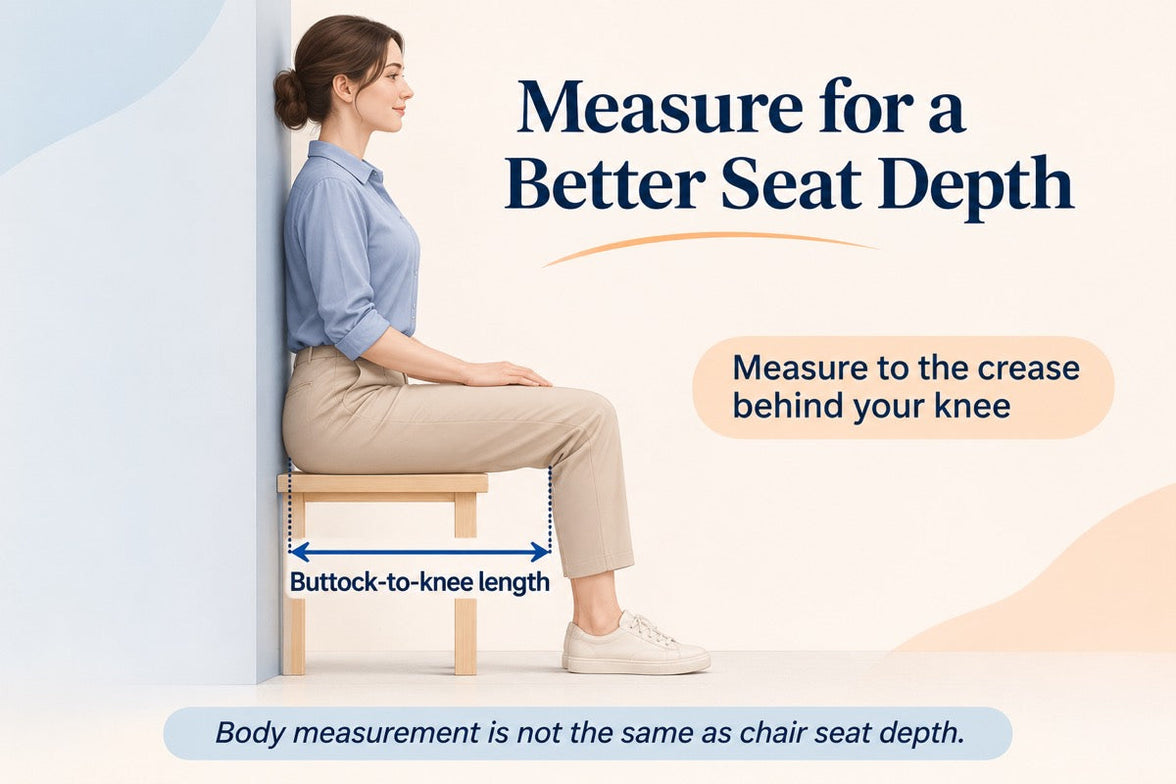
Measure from the back of your buttocks to the crease behind your knee while seated. Use that body measurement to assess a chair’s usable seat depth, allowing room behind your knees. The final check happens in the chair: can you sit back comfortably without the front edge crowding your legs?
01 / Measure your body 02 / Read the dimensions 03 / Adjust the fit 04 / Compare chairs
The measurement ends at the crease behind the knee, not the front of the kneecap. This is a body measurement, not a recommended seat-pan length. Illustration not to scale.
01
Start with your body, not the product diagram.
If you keep moving to the front of your chair, it is worth checking more than seat height. A seat that reaches too far forward may make it difficult to use the backrest while leaving comfortable room for your legs.
Your standing height alone cannot settle the question. Two people of the same height can have different upper-leg proportions. A simple seated measurement gives you a more useful starting point.
Find a firm, stable surface.
Sit on a bench or similar surface with your feet supported and your knees bent around a right angle. Avoid a deep couch that changes your position as you sink into it.
Identify your rear reference point.
A wall or upright board behind your buttocks makes the starting point easier to locate. Touch it lightly without forcing your whole back flat or changing your natural seated position.
Measure horizontally to the knee crease.
With help if possible, measure from the back of your buttocks to the crease behind your knee. Keep the tape straight beside your thigh rather than wrapping it over your leg.
Repeat and record in inches.
Stand up, sit down again, and repeat. If the readings differ noticeably, check your posture and the tape position. Keep the result as a reference for comparing chairs.
Your body measurement is a starting point.It is not your seat-depth prescription.
02
Know which “depth” you are comparing.
Product listings can use several different depth measurements. Check the endpoints on the diagram before comparing one chair with another.
Overall chair depth
The chair’s front-to-back footprint, as defined by the manufacturer. It can include parts beyond the seating surface and may change when the backrest reclines.
Usable seat depth
The seating distance in front of the effective back-support position. It may differ from the length of the seat pan measured on its own.
Seat-depth adjustment
How far the seating distance can change. A two-inch adjustment range does not, by itself, tell you either the shortest or longest setting.
Checking a chair you already own
Put the chair in its normal upright working position. Identify where your body meets the back support, then measure horizontally toward the front edge of the seat. Do not include a pull-out footrest.
If the seat slides, record the usable depth at both ends of its intended adjustment range. Follow the manual and do not force the mechanism beyond its stops. Label your measurements clearly so they are not confused with published specifications.
About the “subtract two inches” shortcut: it does not account for every seat shape or backrest. Leave room for knee clearance, then check the actual fit rather than treating a fixed subtraction as a universal formula.
03
Make small adjustments. Notice what changes.
Start with comfortable foot support and seat height. Sit back, assess the space behind your knees, and change the seating distance in small increments.
On a chair with a sliding seat and a fixed backrest, moving the seat toward the backrest generally shortens the usable depth; moving it away generally lengthens it. Other mechanisms work differently. Follow the instructions for your HBADA model rather than assuming every chair uses the same control.
When the seat feels too deep
Try a shorter setting. Check whether you can stay in contact with the backrest without the seat edge crowding the backs of your knees. Perching at the front does not resolve the underlying fit.
When the seat feels too shallow
Try a longer setting if one is available. Compare thigh support while keeping space behind your knees. A large gap alone does not prove the chair is unsuitable.
Try an ordinary desk task.
Type a short message or use your mouse after adjusting. Notice whether you stay settled or immediately shift away from the backrest. This helps separate a seat-fit issue from a keyboard or desk-reach issue.
Back contact: can you use the backrest without forcing your knees against the seat edge?
Thigh support: does the seat feel supportive rather than noticeably short or crowded?
Foot support: are your feet stable instead of reaching for the floor?
Desk reach: can you reach the keyboard without sliding forward out of the position you just adjusted?
If the chair reaches its adjustment limit before the fit feels right, consider a different size or model. Keep changing positions and taking breaks; do not continue a fitting test through persistent pain or numbness.
04
Build a shortlist around fit.
When comparing chairs online, keep your body measurement beside the exact model’s specification diagram. Check the minimum and maximum depth, the measurement method, and how the adjustment works.
For example, when reviewing the HBADA E3 Pro , use the current dimensions for the version you intend to order. Do not assume that another generation—or another chair with a similar name—has identical seating dimensions.
If several people share the chair, repeat the fitting process for each person. The most useful adjustment range is the one that accommodates the people who will actually use it.
Keep the whole setup in view. Our office chair measurement guide brings depth together with seat height, usable width, and lumbar fit.
Still sorting out your priorities? Work through our 12-question chair buying guide to connect your measurements with your desk, working habits, and feature preferences.
The questions that come up next.
What is the best office chair seat depth?
There is no single number that fits everyone. Start with your seated body measurement, compare the chair’s dimensions, and confirm that you can sit back comfortably with thigh support and clearance behind your knees.
Is a two-finger gap a reliable fit test?
It can be a quick reference, but finger widths differ. Do not force the setting to match a particular finger count. Check the whole seated position and whether the front edge presses into the knee crease.
Does a tall person always need a deeper seat?
Not necessarily. Standing height does not describe upper-leg length on its own. Measure rather than assuming that every tall person needs the deepest setting or every shorter person the shallowest.
Can a back cushion fix a seat that is too deep?
A cushion changes where your body sits, but it also changes your relationship with the backrest and lumbar support. It is not a guaranteed substitute for suitable chair dimensions. Recheck the entire setup if you add one.
Does a pull-out footrest increase seat depth?
No. It supports your legs during a reclined break. It does not extend the usable seat pan beneath your thighs in the same way as a seat-depth adjustment.
What if a product page lists only one depth?
Check whether the number refers to the seat pan, usable seating space, or overall chair footprint. If the model adjusts in depth, ask for the shortest and longest settings and how those measurements were taken.
A better fit is not always a bigger seat.
Measure, compare, and check how the chair feels at your actual desk. The right seat depth should work with the rest of your setup—not make you adjust your body around it.
Explore the complete chair-fit guide →
Enjoyed this guide? Stay connected with HBADA.
Make HBADA one of your preferred sources on Google for more ergonomic chair guides, workspace tips, and practical advice.
Add HBADA as a preferred source on Google ↗
Opens Google in a new tab. Confirm your selection there if HBADA is available.
Nov 03, 2026
Office Chair Seat Height: How to Measure Your Best Fit
A better chair fit starts at floor level.
Your feet, your legs, and your desk all influence the right
office chair seat height. A tape measure gives you a useful
starting point. Sitting at your actual workspace helps you
finish the adjustment.
Quick answer:
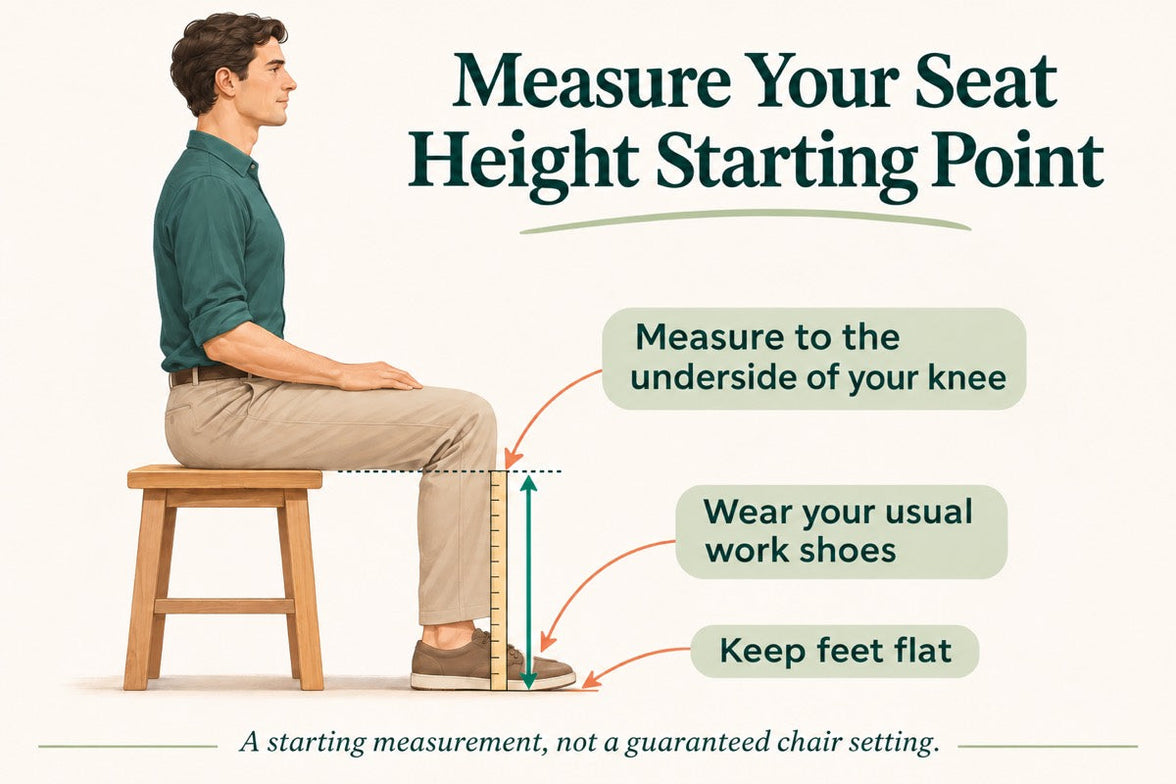
Sit on a firm, stable surface with your usual work shoes on
and your feet flat. Measure vertically from the floor to the
underside of your thigh at the crease behind your knee.
Use this measurement as a starting reference when comparing
chair seat heights, then check the fit while seated.
It is not an exact setting that every chair must match.
How to measure
Check the chair
Match your desk
Common questions
Seat height is not overall chair height.
Seat height describes the distance from the floor to the
seating surface. Overall chair height includes the backrest
or headrest and does not tell you whether your feet will
reach the floor.
Your body measurement is different again: it measures your
lower-leg clearance while seated. It helps narrow your
options, but the final fit also depends on the seat shape,
how the material settles under your weight, and your desk.
For the bigger picture, read our
guide to office chair height, depth, width, and lumbar fit
.
A chair can be the right height and still have a seat that
is too deep for you.
How to measure your seat-height starting point
Grab a tape measure or ruler, find a firm and stable seating
surface, and wear whatever you normally wear on your feet
while working. A second person can help keep the measurement
vertical.
Measure from the floor to the underside of the knee crease,
not to the top of the kneecap. Illustration is schematic,
not a scale drawing.
01
Keep your footwear consistent
Measure in the shoes you usually wear at your desk.
If you work barefoot or in slippers, use that setup.
Thick-soled sneakers can change your starting measurement
compared with your everyday home-office footwear.
02
Sit with both feet supported
Choose a stable surface that lets your feet rest flat
and your lower legs sit approximately upright. Bend your
knees around a right angle without forcing the position.
Avoid a deep couch or a surface that leaves your feet dangling.
03
Measure to the crease behind your knee
Hold the ruler beside your lower leg. Measure straight up
from the floor to the underside of your thigh where it
meets the back of your knee. Do not follow the angle of
your shin or measure to the top of your knee.
04
Record the result in inches
Repeat the measurement to check it, then write down the
result and your footwear. Compare it with the chair’s
seat-height adjustment range. If a specification uses
centimeters, divide by 2.54 to convert it to inches.
There is no universal subtraction rule.
Do not automatically subtract an inch or two from this
measurement. Seat materials and measurement methods vary.
Use the number to screen options, then confirm your
comfort while seated.
Turn your measurement into a real chair fit
Look for an adjustable office chair whose published seat-height
range covers your likely starting position, preferably with
room to adjust in either direction. Check whether the
measurements describe an occupied or unoccupied seat.
If the method is unclear, ask before treating two
specifications as directly comparable.
Once you have the chair, sit back and make small adjustments.
A setting that looks right on paper still needs to work
with your legs, your desk, and the way you use your workspace.
Your seated fit checklist
Your feet rest securely on the floor or a suitable
under-desk footrest.
The seat supports your thighs without digging into
their underside.
There is clearance between the seat edge and the backs
of your knees.
You can use the backrest without sliding forward to
reach the floor.
You have room to change position beneath your desk.
If the seat presses behind your knees after you adjust the
height, check seat depth too. Lowering the chair cannot
always compensate for a seat that is too long.
Need help locating the controls? Use our
HBADA user manuals and assembly guides
for instructions specific to your model.
Match the chair to your desk—not just your legs
Your legs may feel comfortable while your shoulders still
feel lifted or your arms reach too far forward. That is a
reason to check the entire workstation, rather than
continuing to change seat height alone.
If your desk adjusts in height
Start with a comfortable seated position. Then bring the
desktop to a level that places your keyboard around or
slightly below elbow height, with your shoulders relaxed.
Recheck the monitor after moving the desk.
If your fixed desk is too high
Raising the chair may improve your arm position but leave
your feet unsupported. A stable under-desk footrest can
bridge that gap. Check that the higher seat still leaves
enough clearance for your thighs beneath the desktop.
If your fixed desk is too low
Avoid lowering the chair until your legs feel cramped simply
to fit underneath. The desk itself may need changing.
Raising the armrests will not create missing legroom.
A reclining footrest serves a different purpose.
A chair’s pull-out footrest supports reclined breaks.
It is not automatically a substitute for stable foot
support during upright keyboard work.
Compare HBADA chairs with your measurements in hand
Start with fit before comparing extra features. A headrest,
massage function, or advanced armrest system cannot make
up for a seat-height range that does not suit your setup.
Check the current dimensions for the exact model and
version you plan to order.
HBADA E3 Air
:
compare its seat dimensions and adjustment range with
your measurements.
HBADA E3 Pro
:
check how the seating dimensions and adjustments work
with your desk.
HBADA E3 Ultra
:
confirm the fit first if you also want built-in massage
and heating for seated breaks.
Still deciding which features matter most? Work through our
12-question office chair buying guide
to organize your fit requirements, desk setup, and preferences
before choosing a model.
Office chair seat height: common questions
Can I choose seat height from my standing height?
Standing height is a rough screening tool, not a precise
fit measurement. People of the same height can have
different leg proportions. Measure your seated lower-leg
height and check the chair at your desk.
Do my knees need to stay at exactly 90 degrees?
No. A right angle is a useful starting reference for
measuring, not a position you need to hold all day.
Look for supported feet, comfortable thigh contact,
and room to move.
What if the chair is too high at its lowest setting?
Check whether a suitable footrest works with your desk
height and available legroom. If the overall setup still
feels wrong, a chair with a lower seat-height range may
fit better. Avoid modifying the chair with unapproved parts.
Why does the seat feel lower when I sit down?
Cushioning can compress and mesh can flex under load.
An unoccupied measurement may therefore differ from your
seated experience. Check how the manufacturer measures
seat height and make the final adjustment while seated.
Should I adjust the chair when I change shoes?
Recheck your fit if the sole height changes noticeably.
You may only need a small adjustment, but your feet should
remain supported without uncomfortable pressure beneath
your thighs.
Does the right seat height guarantee all-day comfort?
No single setting can guarantee comfort throughout the
day. Seat depth, back support, desk layout, and regular
changes of position matter too. Treat your measurement
as the beginning of the setup process, not the end.
Measure first. Compare second.
Start with one useful measurement, then check seat depth,
usable width, back support, and desk height. A comfortable
workspace depends on how those details work together.
Explore the complete chair-fit guide →
More practical guides for your workspace.
Choose HBADA as a preferred source on Google to stay
connected with our chair guides and workspace advice.
Add HBADA to your preferred sources ↗
Opens Google in a new tab. Confirm your selection there
if HBADA is available.
Nov 02, 2026