
Updated July 2026
Correct lumbar support should contact the natural inward curve of your lower back, usually slightly above the belt line. Start with gentle support, sit fully against the backrest and adjust the height, depth or resistance until you feel broad, comfortable contact without being pushed forward.
A well-adjusted lumbar-support system can help an ergonomic office chair fit your body and working position more effectively. However, maximum pressure is not automatically the best setting. The goal is comfortable support that allows you to change position naturally throughout the day.
Quick adjustment: Set the seat height and depth first. Sit fully back, place your feet flat, position the lumbar support in the curve of your lower back and begin with a low or moderate intensity. Increase it gradually only if you need more contact.
Contents
- What is lumbar support?
- Where should lumbar support be positioned?
- How to adjust lumbar support step by step
- Adjusting lumbar height, depth and resistance
- Signs your lumbar support is too high or too low
- Dynamic vs. fixed lumbar support
- HBADA lumbar-support systems
- Lumbar-support calibration checklist
- Frequently asked questions
What Is Lumbar Support?
Lumbar support is the part of an office-chair backrest designed to contact the lower-back region. It helps the backrest follow the natural inward curve of the lumbar spine while the user is seated.
According to the U.S. Occupational Safety and Health Administration, a chair backrest should conform to the natural curvature of the spine and provide adequate lumbar support. OSHA also recommends that lumbar support be height adjustable so it can be positioned to fit the lower back.
Depending on the chair, lumbar support may include:
- Height adjustment: changes where the support contacts the lower back.
- Depth adjustment: controls how far the support projects toward the user.
- Resistance or tension adjustment: changes how firmly the support responds.
- Flexible support zones: distribute contact across the center and sides of the lower back.
- Automatic lumbar tracking: responds to posture or pressure changes without requiring repeated manual adjustment.
The lumbar system cannot be adjusted in isolation. Seat height, seat depth, backrest recline, armrest position and desk height all influence how the user contacts the backrest.
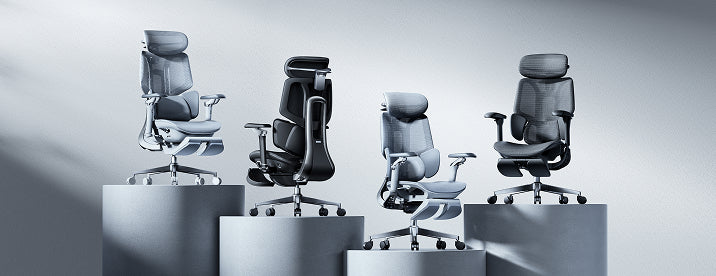
Compare the adjustment ranges and support systems available across the HBADA ergonomic office chair collection.
Where Should Lumbar Support Be Positioned?
Lumbar support should normally contact the natural inward curve of the lower back, around the area slightly above the top of the pelvis or belt line. It should not press directly against the tailbone, and it should not sit so high that it pushes into the middle of the back or lower ribs.
The correct position varies because people have different heights, torso lengths and spinal curves. Instead of relying on one fixed measurement, use the following test:
- Sit fully against the backrest.
- Relax your shoulders.
- Place your feet securely on the floor or an appropriate footrest.
- Locate the natural inward curve above the top of your pelvis.
- Align the center of the lumbar support with that area.
- Check that the contact feels broad rather than concentrated in one small point.
If the lumbar component pushes only one spot or forces you away from the backrest, reduce its depth or adjust its position.
How to Adjust Lumbar Support Step by Step
Step 1: Set the seat height
Adjust the chair so your feet rest securely on the floor and your knees remain around hip level or slightly below it. If your feet cannot reach the floor after the chair has been matched to the desk, use an appropriate footrest.
Do not calibrate the lumbar support before setting the seat height. Changing the height later can change the point where your lower back meets the backrest.
Step 2: Adjust the seat depth
Sit fully against the backrest. The seat should support your thighs without pressing firmly behind the knees.
If the seat is too deep, you may slide forward and lose contact with the lumbar support. If it is too shallow, the seat may not provide adequate thigh support.
Step 3: Choose a neutral working recline
Begin with the backrest upright or slightly reclined in a position that allows you to work without reaching toward the keyboard or monitor.
OSHA recommends that the back be fully supported with suitable lumbar support when sitting upright or leaning back slightly. The backrest should provide enough resistance to remain supportive while still allowing appropriate movement.
Step 4: Position the lumbar support
Raise or lower the lumbar component until it fills the inward curve of the lower back. Make small adjustments and test each position instead of moving directly from the minimum to the maximum setting.
Step 5: Start with gentle depth or resistance
Begin with a low or moderate support setting. Increase the depth or resistance gradually until the lumbar component remains in contact with your lower back.
The support should not force you to arch your back or push your pelvis toward the front edge of the seat.
Step 6: Test the setting for 10 to 15 minutes
Use the chair while typing, reading and leaning back slightly. Check whether the support continues to feel comfortable as you make small posture changes.
Ask yourself:
- Can I remain fully against the backrest?
- Does the support stay in contact with my lower back?
- Is pressure distributed across a broad area?
- Am I being pushed toward the front of the seat?
- Can I reach the keyboard without leaning forward?
- Can I change position without losing all back support?
If the lumbar support becomes distracting or uncomfortable, reduce its intensity or change its height slightly.
Adjusting Lumbar Height, Depth and Resistance
| Adjustment | What It Controls | Recommended Starting Point | Common Mistake |
|---|---|---|---|
| Height | The vertical contact position | The natural inward curve above the pelvis | Placing the support directly against the tailbone or too high on the back |
| Depth | How far the support projects toward the user | Gentle, broad contact that fills the lower-back curve | Assuming the maximum depth provides the best support |
| Resistance | How firmly the component responds when you lean against it | Enough resistance to maintain contact during small movements | Using a setting that prevents natural posture changes |
| Backrest recline | Your torso angle and pressure against the backrest | A stable working position that keeps you close to the desk | Reclining while reaching forward for the keyboard |
| Seat depth | Thigh support and distance from the backrest | Enough room to sit fully back without pressure behind the knees | Using a seat so deep that the user must slide forward |
Signs Your Lumbar Support Is Too High or Too Low
Signs the support may be too high
- Pressure is concentrated around the middle of your back.
- The component touches the lower ribs rather than the lower-back curve.
- The area immediately above the pelvis still feels unsupported.
- You feel encouraged to slide forward in the seat.
Signs the support may be too low
- The support presses against the tailbone or the top edge of the pelvis.
- There is still a noticeable gap higher in the lower back.
- Pressure feels concentrated close to the seat surface.
- You cannot sit fully against the backrest comfortably.
Signs the lumbar support may be too strong
- Your pelvis is pushed toward the front of the chair.
- You feel a hard or concentrated pressure point.
- Your lower back is being forced into an exaggerated curve.
- You round your shoulders to compensate for the pressure.
- You avoid using the backrest.
More pressure does not automatically mean better ergonomic support. If the chair pushes you forward, reduce the lumbar depth or resistance and recheck the seat-depth setting.
Dynamic vs. Fixed Lumbar Support: What Is the Difference?
The choice between dynamic and fixed lumbar support depends on how you sit, how frequently you change position and how much manual adjustment you prefer.
| Support Type | How It Works | Potential Advantage | What to Check |
|---|---|---|---|
| Fixed lumbar support | Maintains a stable position and firmness | Simple and consistent support | Whether its fixed position matches your lower-back curve |
| Manually adjustable support | Allows the user to adjust height, depth or tension | Can be calibrated to different body dimensions | Whether the adjustment range is sufficient |
| Dynamic support | Flexes or moves as the user changes position | May maintain contact across different seated postures | Whether the movement feels supportive rather than intrusive |
| Powered lumbar tracking | Uses powered components to respond to posture or pressure changes | Reduces repeated manual adjustment | Initial chair fit, intensity settings and power requirements |
Fixed support may suit users who prefer a consistent feel. Dynamic or powered systems may suit users who move frequently between focused work and reclining.
Neither system is automatically correct for every person. Chair dimensions and the available adjustment range remain essential.
HBADA Chairs with Adjustable Lumbar-Support Systems
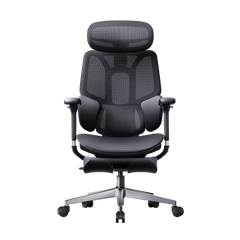
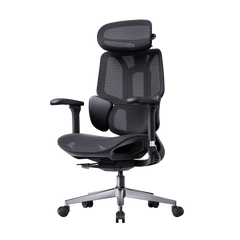
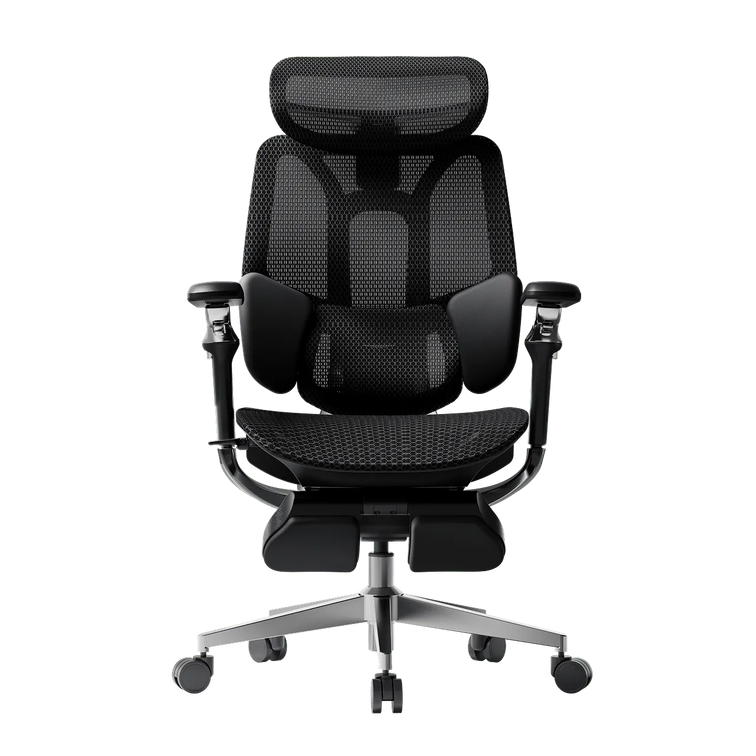
HBADA E3 Pro Ergonomic Office Chair
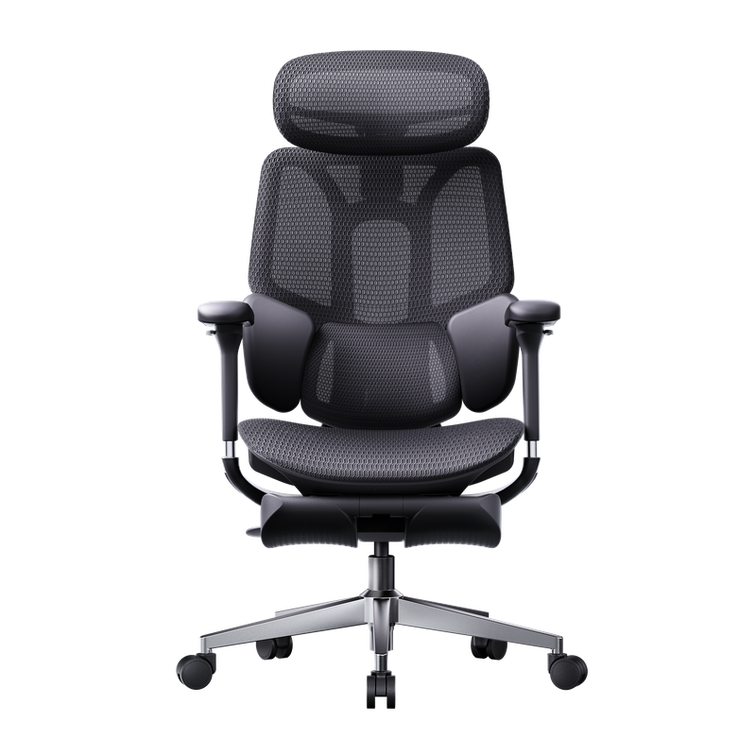
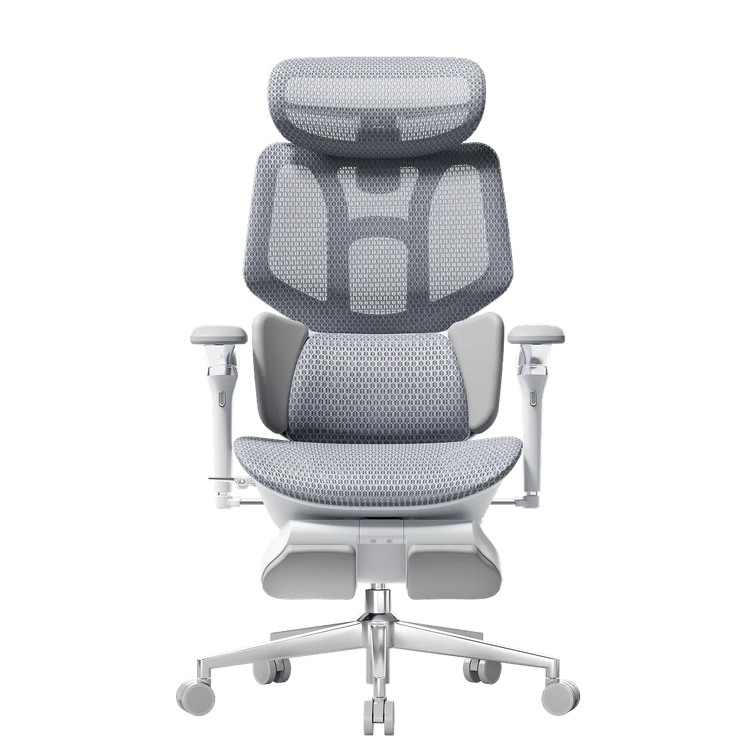
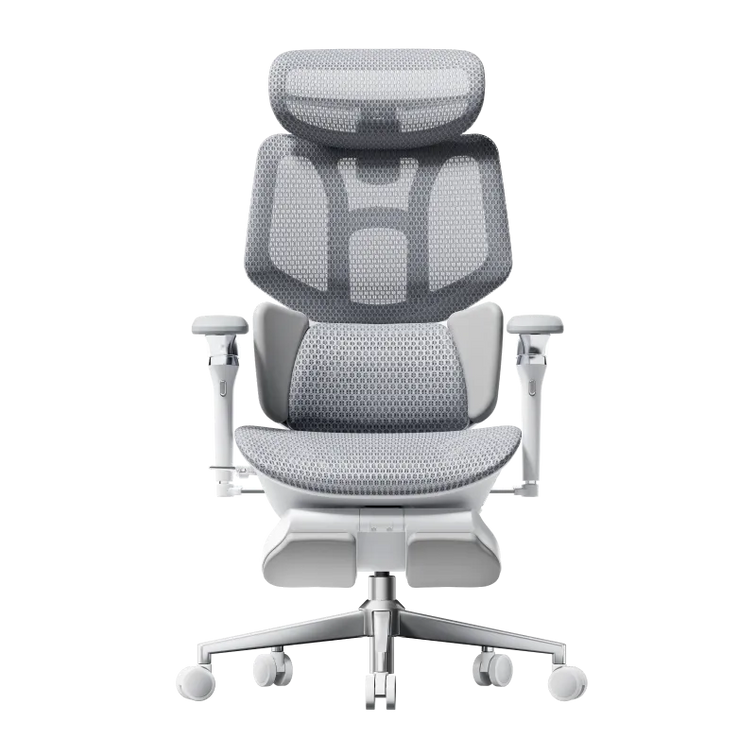
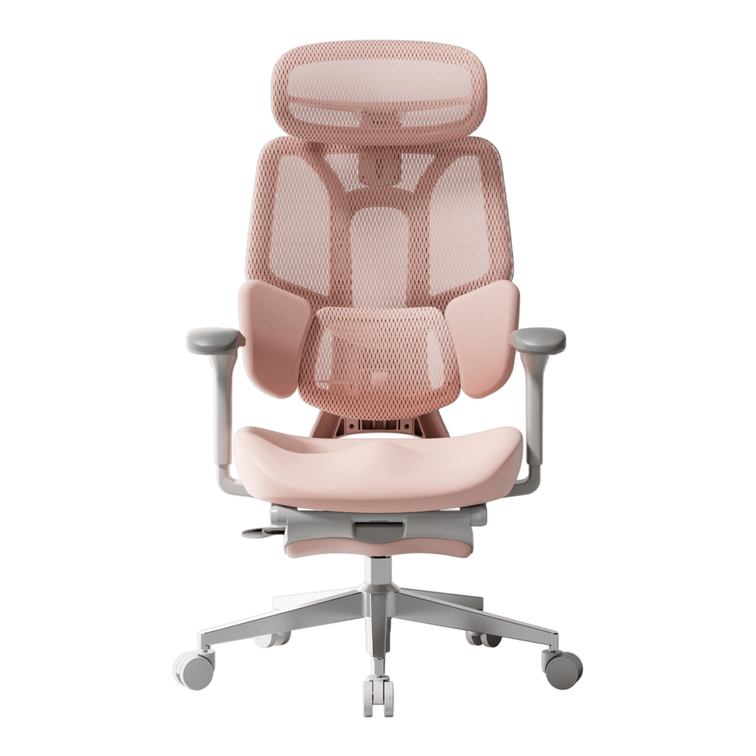
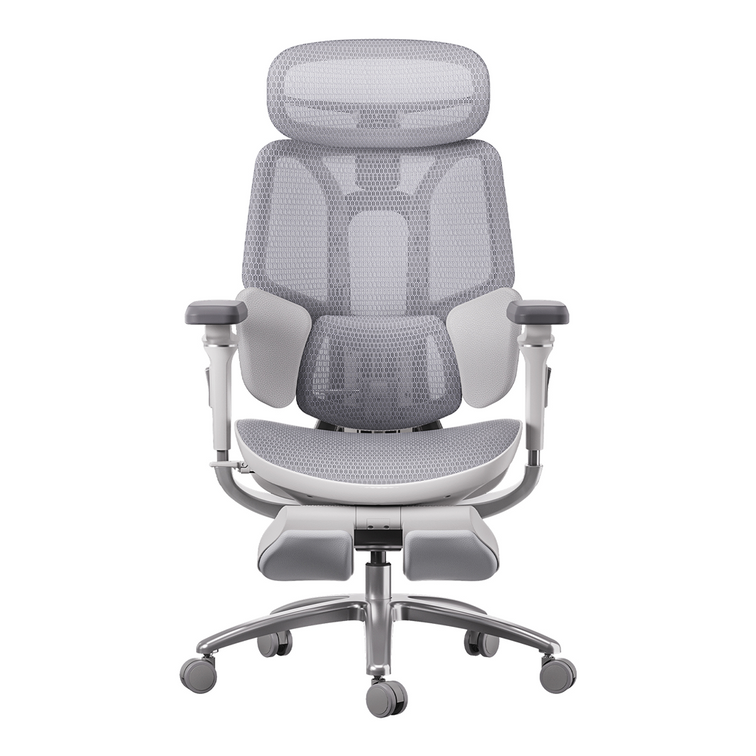
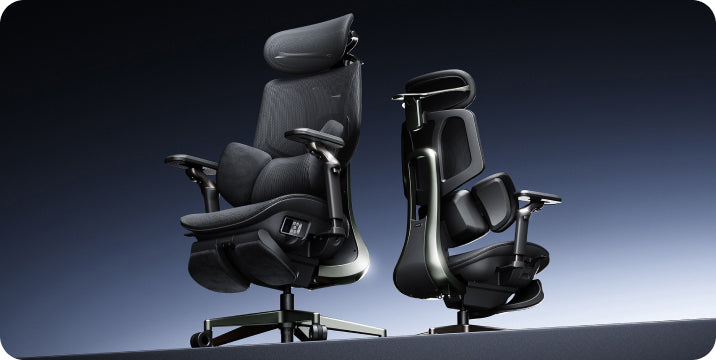
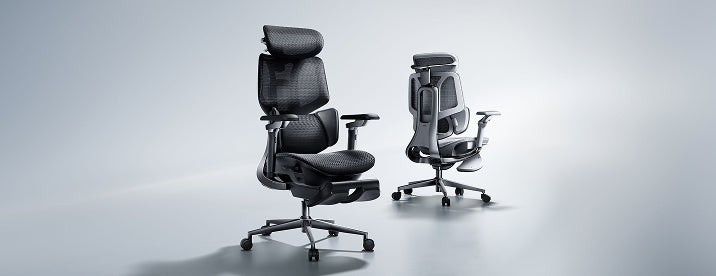
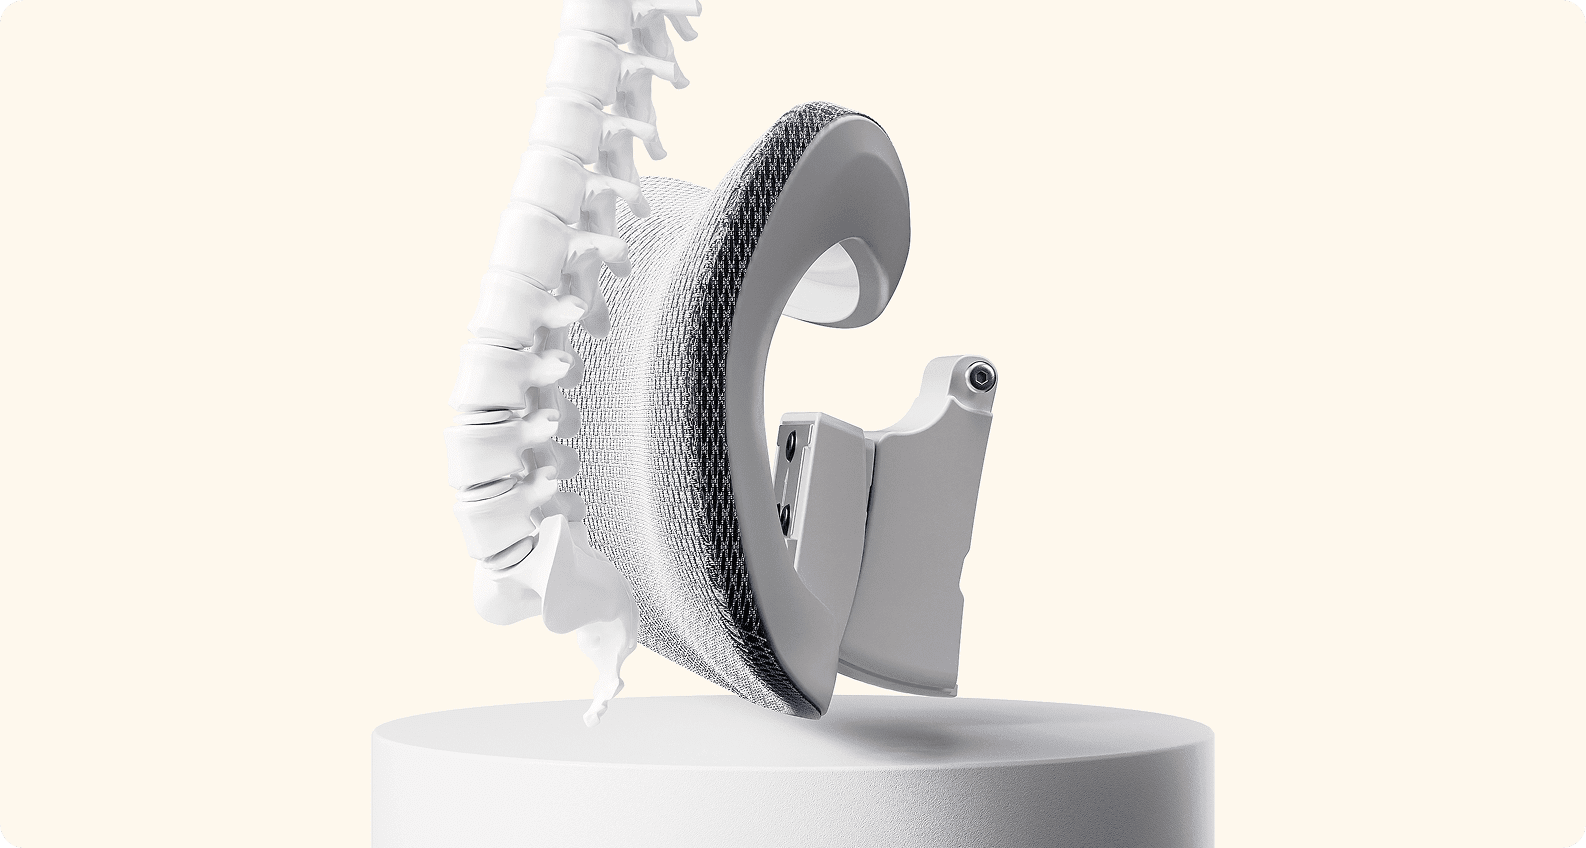
The HBADA E3 Pro uses a three-zone elastic lumbar-support design. The central zone supports the area around the spine, while flexible side sections are designed to maintain broader lower-back contact as the user moves.
Recommended E3 Pro setup order:
- Adjust the seat height.
- Set the seat depth so you can sit fully against the backrest.
- Position the lumbar system in the natural lower-back curve.
- Begin with moderate lumbar contact.
- Adjust recline resistance.
- Test the setting while working and while slightly reclined.
If the lumbar support pushes you away from the backrest, reduce its intensity or recheck the seat depth.
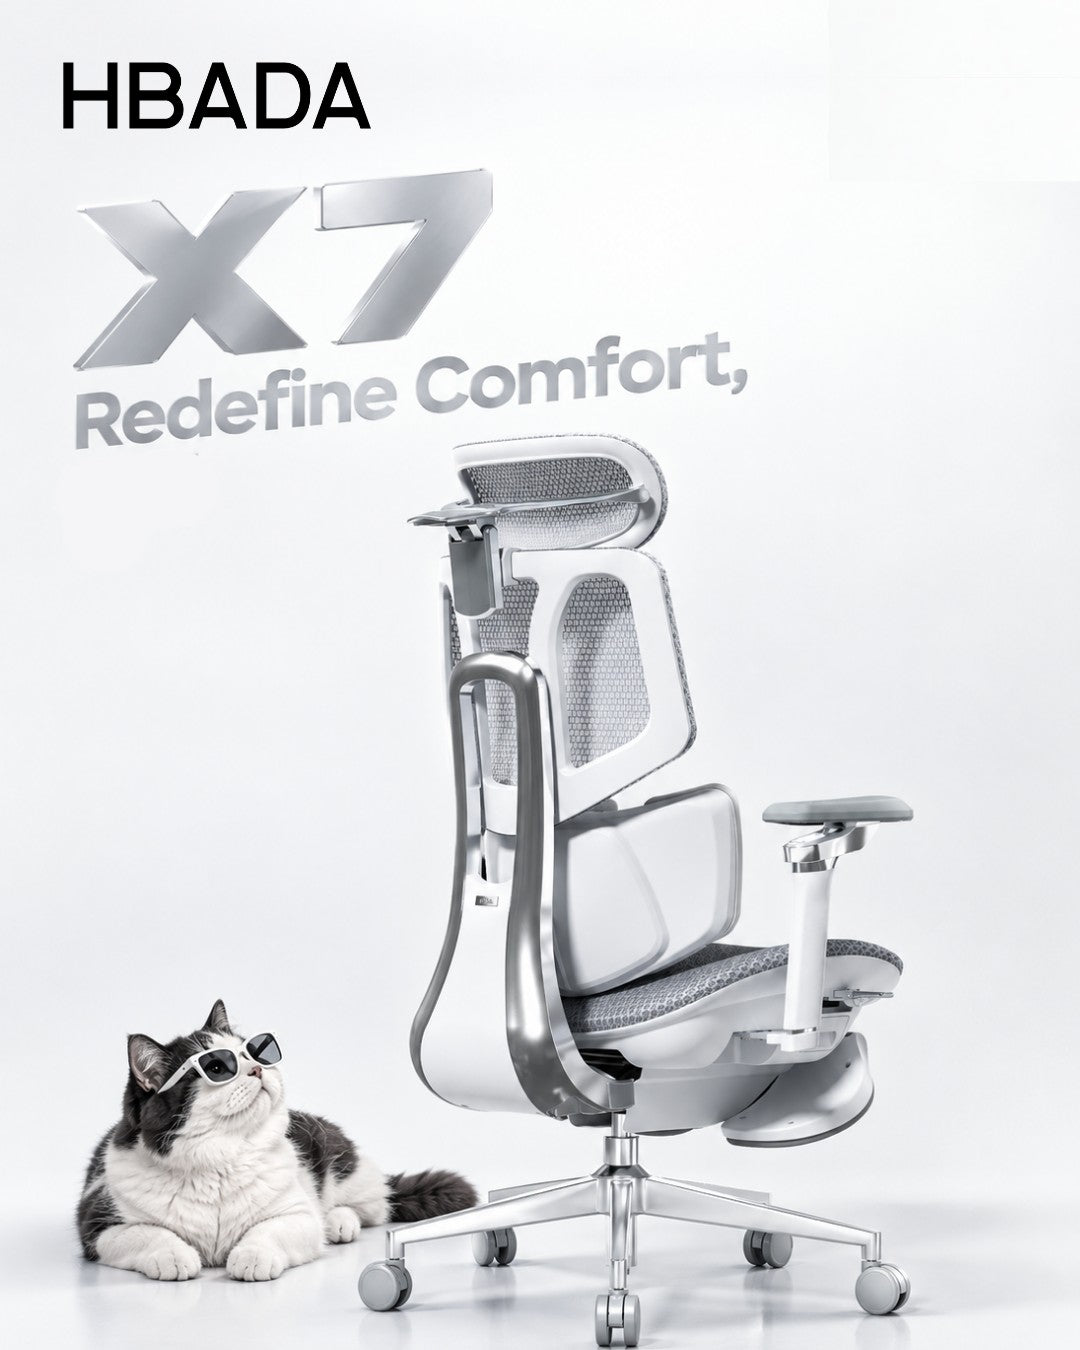
HBADA X7 Smart Ergonomic Office Chair
The HBADA X7 Smart Ergonomic Office Chair uses powered lumbar tracking designed to respond to changes in posture and pressure.
Automatic tracking reduces the need to rely on one fixed manual setting, but the chair still needs an appropriate initial setup:
- Set the correct seat height.
- Adjust the seat depth for suitable thigh support.
- Sit fully against the backrest.
- Begin with a lower lumbar intensity.
- Increase the intensity only if you need more contact.
- Test the system in upright and reclined positions.
Powered tracking should follow your position without forcing your lower back into a rigid shape.

How to choose between the E3 Pro and X7
- Choose the E3 Pro if you prefer a mechanically adaptive, three-zone lumbar system with extensive manual chair adjustments.
- Choose the X7 if you prefer powered lumbar tracking and smart comfort functions.
Exact features, configurations and controls may vary. Review the current product page and the manual supplied with the chair before adjusting it.

Lumbar-Support Calibration Checklist
- My feet are supported by the floor or a footrest.
- My thighs rest comfortably on the seat.
- I can sit fully against the backrest.
- The lumbar support contacts the inward curve of my lower back.
- The support does not press directly against my tailbone.
- The support does not push me toward the front edge of the seat.
- I do not feel one concentrated pressure point.
- My shoulders remain relaxed.
- I can reach the keyboard without leaning forward.
- I can make small posture changes while remaining supported.
If several items are not true, adjust the complete chair rather than increasing only the lumbar-support setting.
NIOSH advises computer users to avoid sitting or standing for too long and notes that short breaks can help reduce discomfort. Even the best office chair for 2026 cannot replace regular movement and a properly arranged workstation.
Conclusion: Support Should Fit You
Correct lumbar-support calibration begins with the whole chair. Set the seat height and depth first, position the lumbar component in the natural lower-back curve and use only enough depth or resistance to maintain comfortable contact.
The best lumbar support is not the strongest one. It is the setting that helps you remain against the backrest, keeps pressure broadly distributed and allows natural changes in position.
Compare seat dimensions, lumbar-support designs and adjustment ranges on the HBADA ergonomic chair comparison page.
Frequently Asked Questions About Lumbar Support
Where should lumbar support sit on an office chair?
Lumbar support should normally sit in the natural inward curve of the lower back, slightly above the top of the pelvis or belt line. It should not press directly against the tailbone or sit high against the lower ribs.
How do you adjust office-chair lumbar support?
Set the seat height and depth first. Sit fully against the backrest, position the lumbar support in your lower-back curve and start with gentle depth or resistance. Increase the setting gradually only if more contact is needed.
Should lumbar support feel firm?
Lumbar support should feel present but not excessively firm. A suitable setting creates broad contact without pushing the user forward or creating a hard pressure point.
Can lumbar support be too high?
Yes. Lumbar support may be too high if it presses into the middle of the back or lower ribs while leaving the area above the pelvis unsupported.
Can lumbar support be too low?
Yes. It may be too low if it presses against the tailbone or top of the pelvis rather than filling the natural inward curve of the lower back.
Can lumbar support be too strong?
Yes. Excessive depth or resistance may push the pelvis forward, exaggerate the lower-back curve or make the user avoid the backrest. Reduce the intensity if the support feels intrusive.
Should lumbar support push your back forward?
No. It should fill the gap behind the lower back without forcing the torso or pelvis toward the front of the seat.
What is dynamic lumbar support?
Dynamic lumbar support flexes or moves as the user changes position. It is designed to maintain contact across a range of sitting postures rather than remaining completely static.
What is automatic lumbar tracking?
Automatic lumbar tracking uses powered components to respond to posture or pressure changes. It can reduce repeated manual adjustment, although the chair still needs to be fitted correctly to the user.
Is lumbar support necessary for everyone?
Many users benefit from a backrest that follows the natural lower-back curve, but the preferred amount of support varies. The chair should fit the user and allow a comfortable, stable position without forcing one rigid posture.
Can an ergonomic chair treat chronic back pain?
No office chair should be presented as a treatment for chronic back pain. A correctly adjusted ergonomic chair may support a more comfortable sitting position, but it cannot diagnose, prevent or cure a medical condition. Consult a qualified healthcare professional about persistent pain, numbness, weakness or other concerning symptoms.
Which HBADA chair has automatic lumbar support?
The HBADA X7 uses powered lumbar tracking designed to respond to posture changes. The E3 Pro uses a mechanically adaptive three-zone elastic lumbar-support system.
How often should you change your lumbar-support setting?
Recheck the setting when a different person uses the chair, when the seat depth or height changes, or when moving between substantially different working and reclining positions.
Sources
- OSHA: Computer Workstations—Chair Components
- OSHA: Neutral Computer Workstation Positions
- CDC/NIOSH: Office Environments and Worker Safety
This guide provides general information about workstation adjustment and is not medical advice. HBADA chairs are not medical devices. Product functions, configurations, availability and specifications may change; confirm current details on the relevant product page and user manual.