
Blog

What Is the Best Office Chair for Herniated Disc & Lower Back Pain?

What Is the Best Office Chair for Herniated Disc & Lower Back Pain?

A herniated disc can turn a regular eight-hour workday into a real challenge. When the soft center of a spinal disc pushes through its outer layer, it can press on nerves and cause pain or numbness. Medical treatment is important, but your chair also plays a big role in how many stress your spine faces each day. Choosing the right office chair for herniated disc support is not just about comfort. It is about helping your spine decompress and stay properly aligned.

 how to fix office chair sinking for better experience instead of stand

Understanding the Impact of Sitting on Spinal Disc

Sitting puts more pressure on your spinal disc than standing or walking does. If you already have a disc injury, a bad chair can make things worse. For healing, your spine needs a neutral position where pressure is evenly distributed, not focused on the injured area.

Chair Features That Reduce Spinal Compression

To reduce back pain while sitting at work, look for chairs that distribute pressure evenly across your spine. The key feature is a backrest that moves with you, allowing small adjustments. A stiff chair keeps your spine still, limiting blood flow and preventing your discs from rehydrating. Choose chairs with good gas lifts and recline features that let you lean back a bit. Sitting at a 100- to 110-degree angle helps take pressure off your lower back.

Lumbar Support vs. No Lumbar Support for Back Pain

In the debate of lumbar support vs no lumbar support for back pain, the science is clear: the human spine has a natural inward curve called lordosis. Without support, your back eventually flattens against the chair, causing the discs to bulge outward. An ergonomic office chair with lumbar support for back pain fills this gap, maintaining the natural curve and ensuring that the weight of your upper body is supported by the chair’s structure rather than your sensitive spinal nerves.


Master the Best Sitting Position for a Herniated Disc at the Computer

Even the best chair works best when you know how to sit properly. Learning the right way to sit with a herniated disc is key to long-term recovery.

The Foundation of Proper Alignment

The right sitting position for a herniated disc starts with your feet flat on the floor to keep your pelvis steady. Your knees should be bent to 90 degrees, slightly below your hips. This open hip angle helps keep your lower back’s natural curve. Make sure your monitor is at eye level to avoid neck strain, which can strain your upper and lower back.

Refining Your Daily Habits

The best sitting posture for a herniated disc in office work involves “active sitting.” This means you should shift your position frequently and utilize the full depth of your seat. Ensure your lower back is always in contact with the lumbar pad. If you feel yourself slouching forward, your chair’s seat depth might be too long. A proper ergonomic chair setup for herniated disc support allows for 2 fingers' width between the seat edge and the backs of your knees.

 ergonomic office chairs for bad backs australia

Why Hbada Technology Is the Solution for Back Pain

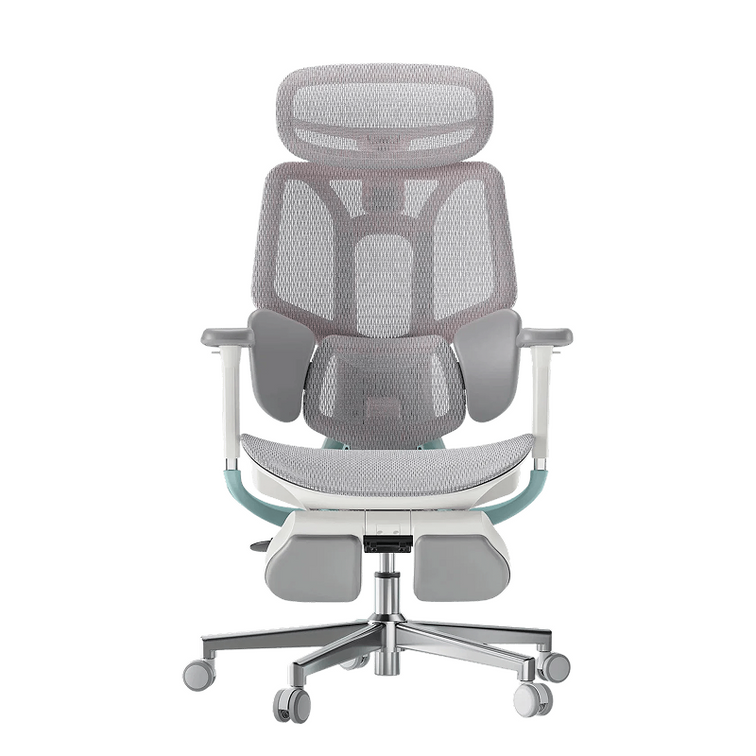
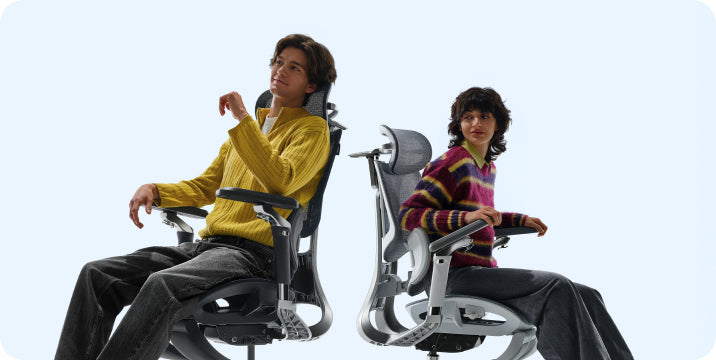
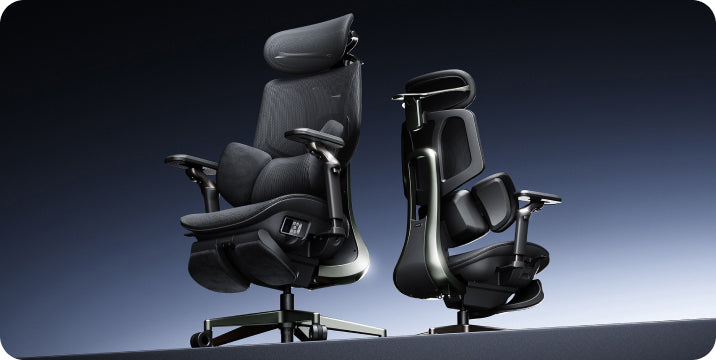
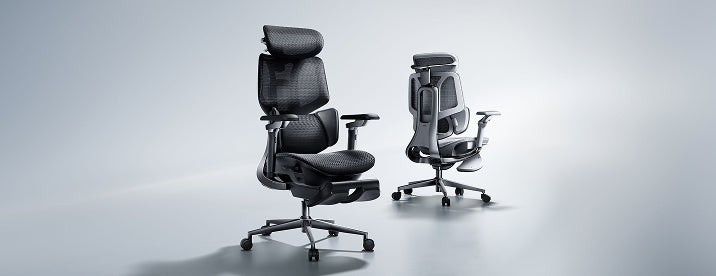
At Hbada, we focus on making chairs that move with your body. Our 'Bio-Synchronized' seating is designed to support you as you move. When you look for the best ergonomic chair for lower back pain, our chairs stand out because they address the main cause of pain: constant pressure.

How Lumbar Support Helps Lower Back Pain

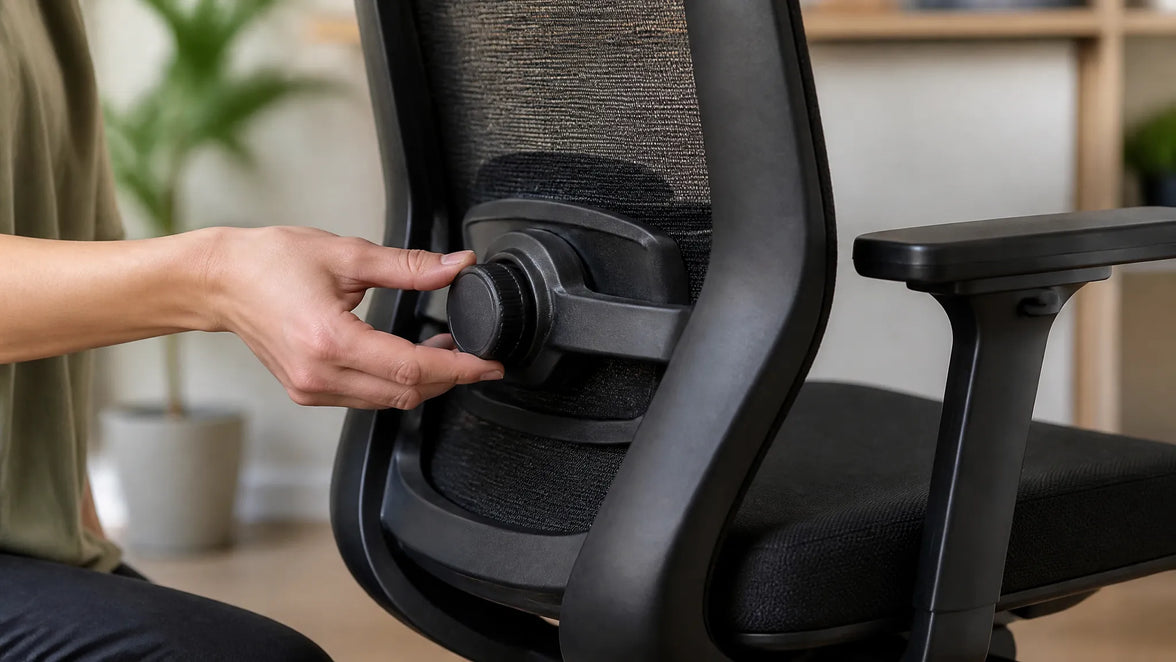
You may ask how lumbar support helps with lower back pain from disc problems. Our adaptive tracking technology moves with you as you lean. Unlike fixed supports, our 3-zone dynamic system follows your spine. So whether you are typing or leaning back, your lower back is always supported. This steady support acts like a brace, taking pressure off the disc and letting your muscles relax.

The Role of Armrests in Spinal Health

Many people forget that their arms are heavy. Without support, your shoulders pull forward, which rounds your back and compresses your spine. A premium ergonomic chair with full-arm support adjustment lets you bring the armrests close to your body. This helps support the weight of your upper limbs, preventing the downward pull that can aggravate a herniated disc. Our 5D and 720° armrest systems ensure that no matter how you work, your shoulders remain neutral.

 best ergonomic mesh office chair on sale

Comparison of Hbada Ergonomic Solutions

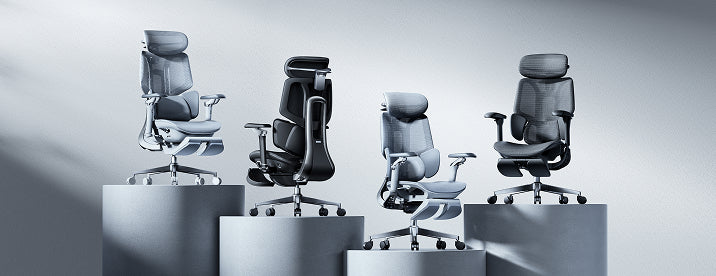
The right chair for you depends on the level of pain you have and your daily work routine. Here is how our main models help support your spine.

Model

Primary Technology

Best For

Support Level

Hbada E3 air

Dynamic Lumbar Tracking

Daily Prevention

High

Hbada E3 Pro

3-Zone Dynamic Support

Chronic Lower Back Pain

Professional

HBADA X7 Smart Ergonomic Chair

Bio-Synchronized AI

Herniated Disc Recovery

Ultimate


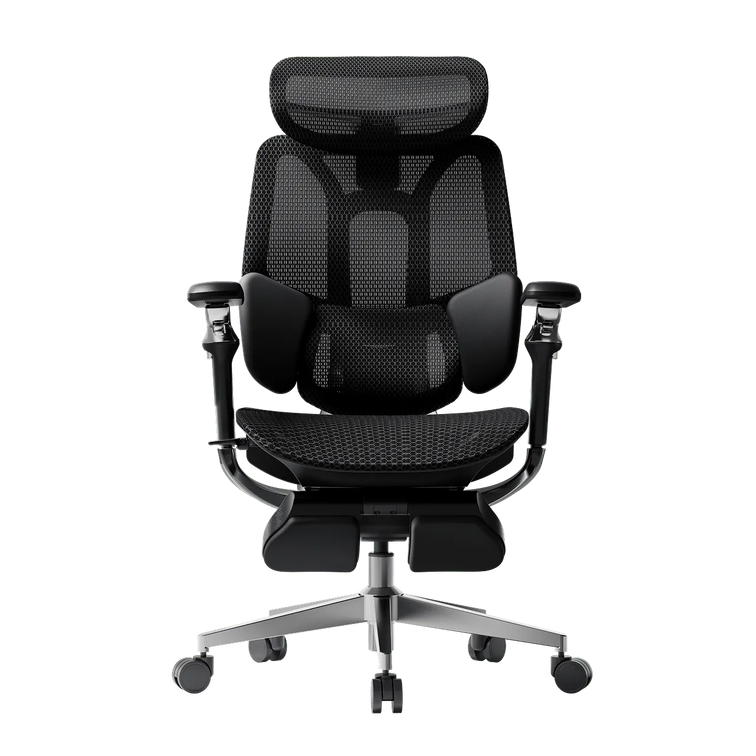
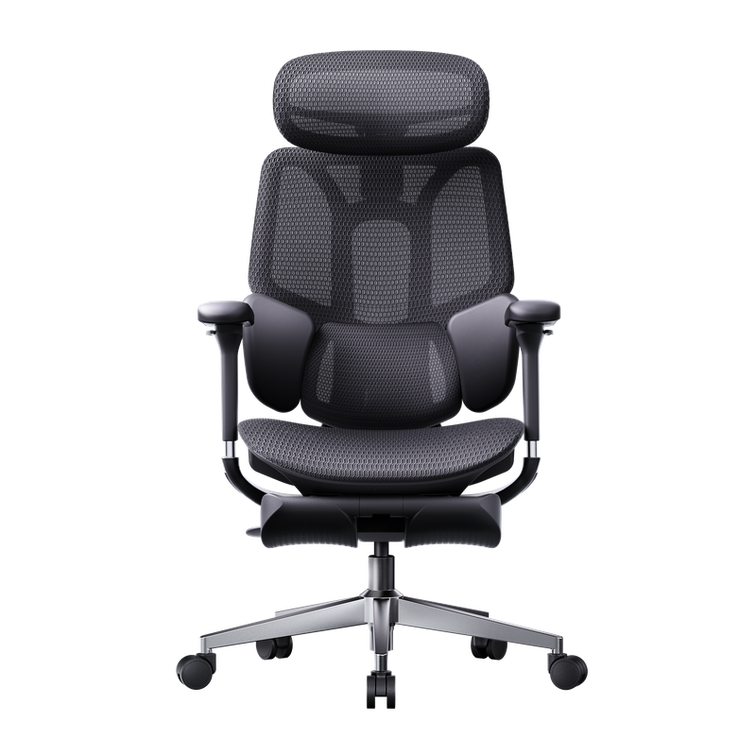
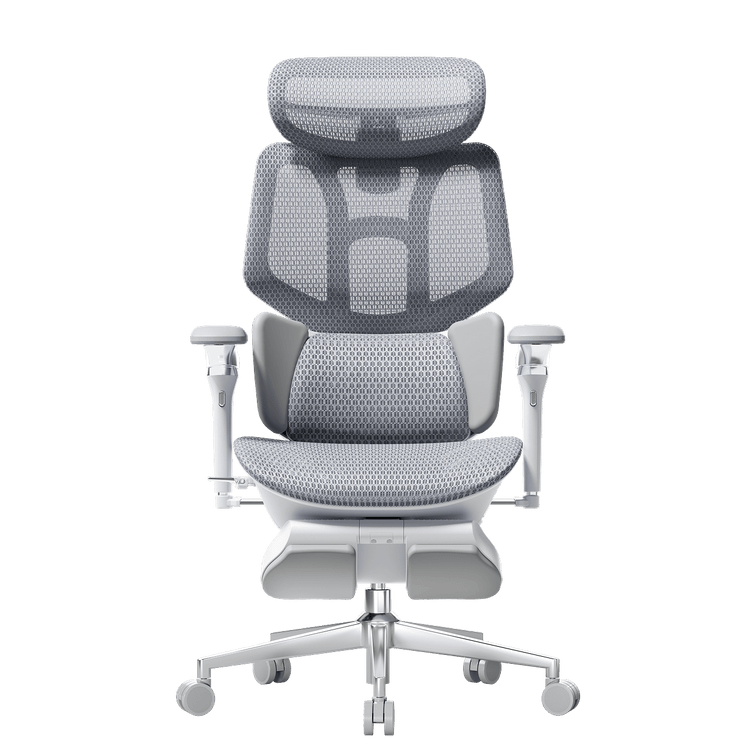
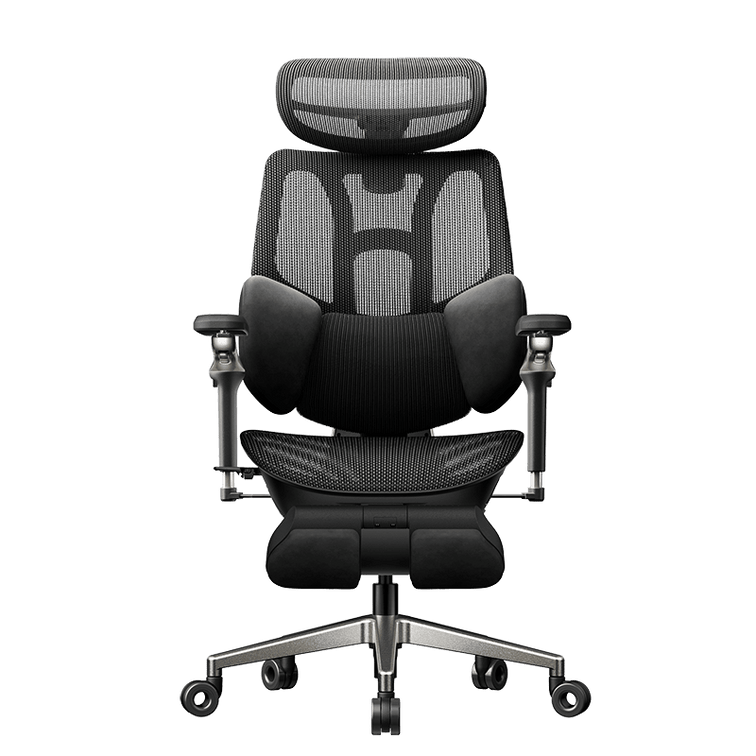
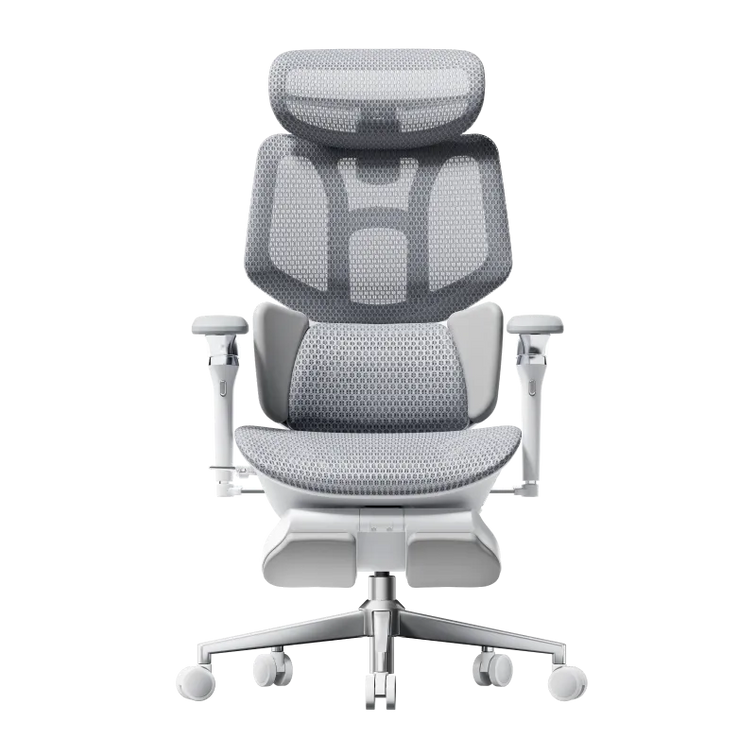
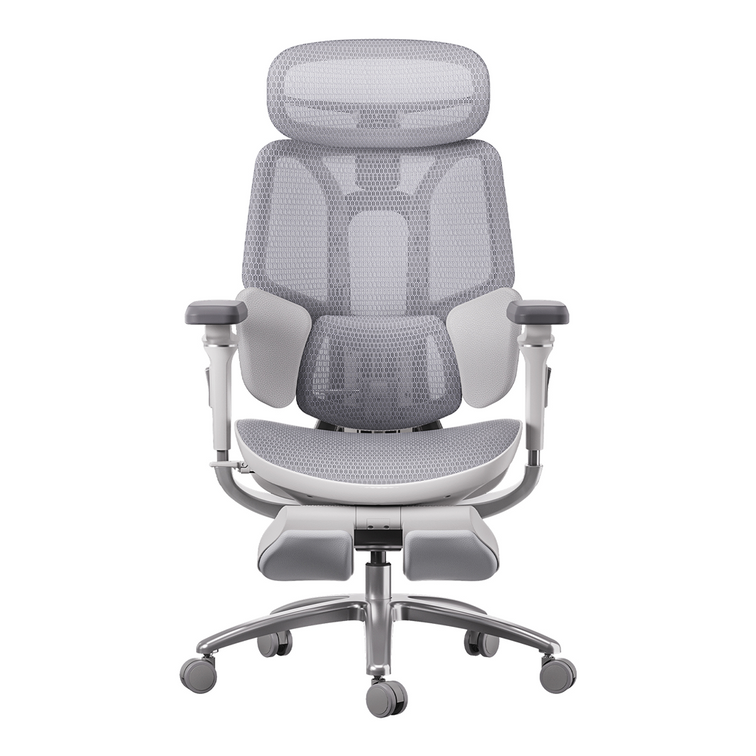
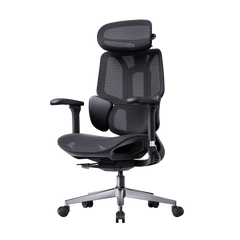
The Hbada E3 Pro is often considered our best chair for lower back pain because its 3-zone support wraps around your lower back and stabilizes it from multiple angles. If you are recovering, our AI-Powered series offers real-time posture correction to help you avoid bad sitting habits. For more information, click to check:


Frequently Asked Questions (FAQ)

Q: Can a new office chair heal a herniated disc?
A: A chair cannot cure a herniated disc, but it is an important part of your recovery. Using the right office chair for herniated disc support lowers the daily stress on your spine and helps your disc heal. It also helps break the cycle of reinjury caused by poor posture.

Q: How often should I take breaks if I have a disc injury?
A: Even if you have a top ergonomic chair with adjustable armrests, you should stand up every 30 to 45 minutes. Moving around helps spinal fluid flow, which brings nutrients to your discs. Use your chair’s recline feature often to shift pressure on your back.

Q: Is a hard or soft seat better for lower back pain?
A: A medium-firm seat is usually best. If a seat is too soft, your pelvis tilts backward, which flattens your lower back and puts more pressure on your discs. A firm, shaped seat keeps your pelvis in a good position and works well with your ergonomic chair for herniated disc support.

Q: Why does my pain get worse at the end of the day?
A: This usually happens because of postural fatigue. As your muscles get tired, you start to slouch. This is when lumbar support really helps. The chair keeps your spine in line even when your muscles are tired.

 best ergonomic office chair us

Conclusion

A herniated disc does not have to stop you from being productive. By using the right sitting position and an orthopedically designed chair, you can reclaim your workday. Your spine is the base of your health, so do not let a basic chair put it at risk. Choose a chair with active tracking, 3-zone support, and full adjustability. Try an Hbada ergonomic chair today and feel the relief of real support.
Relevant Product

You May Also Like

How to Adjust Lumbar Support on an Office Chair How to Adjust Lumbar Support on an Office Chair That familiar twinge in your lower back around 3 PM isn't just fatigue. Often it's the price of sitting for hours with your spine out of alignment. Lumbar support, when adjusted well, helps preserve the natural curve in your lower back and reduces the strain that leads to that end-of-day ache. But simply having a lumbar support isn't enough—you need to set it up to match your body's shape and the way you work. Getting it right involves more than twisting a knob. It means understanding how the support interacts with your own posture, the angle you recline, and even the depth of your seat. The following guide walks through why lumbar support matters, how to identify your chair's adjustment type, and a step-by-step method to dial in the right height, depth, and firmness for all-day comfort. Why Lumbar Support Matters Your spine has a natural S-curve—an inward dip at the lower back called lumbar lordosis. When you slouch, that curve flattens or even reverses, increasing pressure on spinal discs. According to HBADA's ergonomic chair adjustment guide, maintaining the spine's natural lordotic curve helps distribute pressure evenly across the discs, reducing strain on surrounding muscles and ligaments. The World Health Organization recommends reducing sedentary time and taking regular movement breaks to avoid static loading of the spine. The U.S. Occupational Safety and Health Administration echoes this, noting that poorly supported sitting can contribute to musculoskeletal discomfort. A well-adjusted lumbar support fills the gap between your lower back and the chair, encouraging a posture that fights the slump and lessens that familiar afternoon ache. Know Your Chair's Lumbar Mechanism Before Adjusting Before you adjust anything, locate the controls. Lumbar systems vary widely—some use a firm plastic insert with a tension dial, others rely on a removable pillow, and a few offer multi-point tracking. Identifying yours sets the stage for a meaningful adjustment. A chair with a dynamic lumbar mechanism feels different than a fixed pillow: one moves with you, the other you reposition manually. Built-in Adjustable Lumbar (Height and Depth) Many ergonomic chairs hide a tension knob on the side of the backrest or a lever under the seat. Turning the knob changes how firmly the support presses into your back—often referred to as depth or firmness. A separate slider or ratchet system moves the entire support up and down to match the curve of your lower spine. Height adjustment raises or lowers the bulge; depth tweaks how much it protrudes. External Lumbar Pillow Chairs with fixed backrests often rely on a removable cushion. Pillows lack depth adjustment, but you can shift them higher or lower to match your spine. Place one at the small of the back—just above the belt line—so it centers on the inward curve. Too high and it crowds the ribcage; too low and it presses on the tailbone. Even a modestly thick pillow can make a noticeable difference if positioned correctly. Chairs with Multi-Point Lumbar Adjustment Some designs combine height and depth in a single mechanism for finer control. For example, the HBADA E3 Pro Ergonomic Office Chair offers both height and depth lumbar adjustment. A knob behind the mesh backrest lets you raise or lower the lumbar cradle, while a tension dial adjusts how aggressively it pushes forward. Set the height so the support rests at the belt line, then dial the depth until it gently fills the hollow of your back without forcing your pelvis into an exaggerated tilt. Step-by-Step Lumbar Support Adjustment Guide A systematic approach helps you tune the support to your body rather than guessing. These steps align with Newtral's lumbar support adjustment guidance and common ergonomic frameworks like the 90-90-90 rule. Start from a baseline posture, then work through height, depth, and movement testing. Spine shape varies, so trust what feels supportive without causing new pressure. Start with a Neutral Sitting Posture Before touching the lumbar mechanism, set the rest of the chair. Adjust seat height so thighs are parallel to the floor and feet rest flat. Leave a two- to three-finger gap between the front edge of the seat and the back of your knees—this prevents pressure on the popliteal fold. Position armrests so your elbows form a 90° angle and your shoulders stay relaxed. This baseline ensures the lumbar support works with your whole body, not against it. Set the Lumbar Height Find the height adjustment control—typically a knob, lever, or ratchet on the backrest. Move the lumbar piece up or down until it sits squarely in the hollow of your lower back, roughly at belt-line or navel level. You'll know it's correct when the support matches the natural inward curve without digging into the upper pelvis or floating up near your ribs. Many chair backs have markings, but you can also run your hand along the backrest to feel where the bulge peaks. Adjust Lumbar Depth or Firmness Turn the depth knob or tension dial to fine-tune how firmly the support pushes into your back. The goal is gentle, continuous contact that encourages the spine's lordotic curve without forcing an arch. If you feel a hard shelf pressing your spine forward, reduce the tension. If the support barely touches your back, it likely won't prevent slouching. Small tweaks—a quarter turn—can make the difference between just sitting there and sitting supported. Test While Reclining and Moving Recline to your usual working angle, typically between 95° and 110°, and note whether the lumbar support stays in contact. Some chairs shift the support point when you lean back; the Eureka Ergonomic posture integration guide suggests rechecking alignment after changing the tilt tension. Roll your shoulders, stretch your arms forward as if typing, and see if the support maintains its position. Readjust if it slides up or loses touch. Common Mistakes When Adjusting Lumbar Support Even with the right steps, small errors can turn a comfortable chair into a source of irritation. A support placed too high presses on the ribcage and encourages a forward-leaning posture. Set too low, it pushes into the tailbone and flattens the lumbar curve. Dialing in excessive depth can create an anterior pelvic tilt that strains the lower back, while a seat pan that's too deep often scoots you forward, leaving the lumbar support behind. The following table highlights these common pitfalls: Mistake What Happens Quick Fix Lumbar too high Pressure on ribcage, forward lean Lower support to belt-line level Lumbar too low Tailbone pressure, flattened curve Raise support until it fills the hollow Depth too aggressive Anterior pelvic tilt, new pain Reduce tension slightly Seat depth blocking pelvis Can't reach backrest, slumping Adjust seat depth or add back cushion Recheck your lumbar setting after adjusting other chair features—changing the recline angle or armrest height can alter your sitting geometry enough to require a re-tune. Troubleshooting: Lumbar Support Still Uncomfortable? If you've followed the steps and still feel discomfort, step back and look at the whole chair. A seat that's too deep often prevents your pelvis from reaching the backrest, so the lumbar support hits your mid-back instead. Check that you maintain a two- to three-finger gap behind your knees. If the built-in support can't be dialed in well enough, an external lumbar pillow or a rolled towel placed at the small of the back often provides a simple workaround. The World Health Organization emphasizes that even well-adjusted seated posture benefits from movement breaks—stand or stretch for a couple of minutes every half hour to relieve static load on the spine. Frequently Asked Questions How high should lumbar support be? Align the support with the natural inward curve of your lower spine, roughly at belt-line height or just above the hip bones. The bulge should fill the hollow, not press on the ribs or tailbone. Can I use a pillow instead of built-in lumbar support? Yes, an external pillow can work well if you position it carefully. Built-in systems offer more precise height and depth control, but a pillow placed at the small of the back can still help you avoid slouching. How often should I readjust lumbar support? Recheck the setting whenever you change desk height, alter the chair's recline angle, or if you feel renewed lower back discomfort. A quick re-tune takes seconds and can prevent hours of strain. How to Test an Ergonomic Office Chair During a 30-Day Home Trial How to Test an Ergonomic Office Chair During a 30-Day Home Trial The quick answer To test an ergonomic office chair during a 30-day home trial, use it for your real work each day and check fit, lumbar support, breathability, recline, armrests and noise. Keep the packaging, avoid damage, and decide before the window closes. If the chair does not suit you, contact support early enough to complete the required return steps within your return window. Table of Contents Jump to the part of the trial you need. 01. What is a 30-day home trial? 02. How should you set up the chair? 03. What should you test in week one? 04. What should you test in weeks two to four? 05. How do you protect return eligibility? 06. What should you check before returning? 07. Which HBADA chairs can you test? 08. Your 30-day test plan 09. Limitations and when to get help 10. Conclusion 11. Frequently asked questions 12. Sources and useful links What Is a 30-Day Home Trial and How Does It Work? A home trial is a return window that lets you use the chair in your real setup before you commit. HBADA’s current return and refund policy allows returns within 30 days of receipt, subject to its condition and return requirements. This gives you time to judge an adjustable ergonomic chair at your own desk, not in a showroom. Testing may help you find a more comfortable sitting position, but it is not a medical treatment. How Should You Set Up the Chair for Testing? Start well, because a fair test needs a proper setup. Assemble the chair using the HBADA user manual and assembly guide, and keep every part of the packaging, including the box, foam and spare hardware. Then set it to your body before you judge it. Set the seat height so your feet rest flat on the floor or a suitable footrest. Set the seat depth so two to three fingers fit behind your knees. Set the lumbar support to meet your lower back. Set the armrests so your forearms are supported and your shoulders stay relaxed. Check that you can reach your keyboard and mouse comfortably. Only after this setup should you decide how the chair feels. What Should You Test in the First Week? Your first week is about first impressions and daily fit. Fit: Check you can reach a feet-flat, back-supported position within the chair’s adjustment ranges. Lumbar support: Notice whether the support meets your lower back through your normal workday. Breathability: Watch for heat build-up and check whether the mesh and seat feel comfortable in your room. Noise and casters: Roll across your floor and listen for creaks or scuffs. Check that the casters are suitable for the surface. What Should You Test in Weeks Two to Four? Later weeks reveal how the chair holds up over real work. Now test the chair as an office chair for long hours. Work a normal week, keeping your usual movement breaks, and notice whether early comfort lasts into the afternoon. Move through the available recline positions and check that the locks hold. Use the armrests while you type, write and relax. Give yourself time to learn the controls and fine-tune the settings, but do not treat pain as a required adjustment phase. If discomfort eases after a setting change, note what helped. If it persists after reasonable adjustments, the chair may not fit you. A Quick Test-and-Decide Table Use this table to turn each check into a clear next step. What to test How to test it Keep or return signal Fit Set seat height, depth and lumbar support to your body, then sit back fully. Consider a return if you cannot achieve supported feet and back within the adjustment ranges. Lumbar support Use it during a normal working day and note lower-back comfort. Consider a return if the support cannot meet your lower back comfortably after adjustment. Breathability Check for heat build-up during ordinary work sessions. Consider another material or model if the seat consistently feels too warm for you. Recline and lock Try the recline settings according to the manual. Stop using the chair and contact support if the recline is unstable or a lock fails. Armrests Type, write and relax while checking forearm support. Consider a return if the armrests prevent a relaxed working position or access to your desk. Noise and casters Roll gently across a suitable floor surface and listen for persistent noise. Contact support about recurring creaks or floor marking before continuing use. Long-session comfort Work a normal week in the chair, with movement breaks. Reassess the fit if discomfort persists after you fine-tune the settings. How Do You Protect Your Return Eligibility? Test thoroughly, but keep the chair returnable while you decide. Keep the original box, foam and hardware for the whole trial. Keep the chair clean and unmarked, and use a suitable floor mat if needed. Note your delivery date and the last day of the return window. Contact support early if you are unsure, rather than on the final day. HBADA requires returns in their original condition and recommends keeping the original packaging. Missing packaging or damage from improper packing may lead to fees. What Should You Check Before Returning the Chair? Review the return instructions for your order before arranging collection. For change-of-mind returns, customers pay part of the return shipping cost; HBADA may provide a discounted prepaid label deducted from the refund. For damaged, defective or incorrectly supplied items, contact support for the appropriate process. Ask support to confirm the required steps and deadline. A return window is separate from warranty coverage, so check the HBADA warranty and service information if a fault appears later. Which HBADA Chairs Can You Test at Home? The HBADA X7 and E3 Pro 2026 product pages advertise a 30-day home trial. Confirm the current terms for your chosen model and order before purchasing. Use the same testing checklist for either chair, but pay attention to the features that make each model different. What to compare HBADA X7 HBADA E3 Pro 2026 Lumbar support Test how the AI lumbar-tracking system responds when you change position. Test how the three-zone adaptive lumbar support fits your lower back. Seat fit Check the selected model’s seat dimensions and adjustment range against your body and desk. Check the selected model’s seat dimensions and adjustment range against your body and desk. Recline and armrests Check support and control access while typing, leaning back and relaxing. Check the headrest, armrest and recline adjustments during your usual tasks. Additional features Try the comfort functions included with your selected version, following its manual. Focus on mechanical adjustments, mesh comfort and any optional footrest. Before ordering Confirm the exact configuration, return conditions and warranty. Confirm the exact configuration, return conditions and warranty. If you want automatic lumbar tracking, explore the HBADA X7 smart ergonomic chair and check the comfort features included with your selected version. If you want a mechanically adjustable chair to test for long workdays, compare the HBADA E3 Pro 2026. You can also browse the HBADA ergonomic office chair collection before your trial begins. Your 30-Day Test Plan Follow this simple plan so nothing is missed before the window closes. Adjust the timing to leave enough time for the return process required for your order. Day 1 Assemble and Adjust Assemble by the manual, keep all packaging, and set the chair to your body. Days 2–7 Check Daily Fit Test daily fit, lumbar support, breathability, noise and casters. Days 8–21 Test Your Normal Work Routine Work your usual schedule and test recline, armrests and long-session comfort. Keep taking movement breaks. Days 22–27 Fine-Tune and Decide Fine-tune settings and review your notes. If the chair is not right, contact support now to confirm the return steps and deadline. Days 28–30 Complete Your Decision Keep the chair if it fits your needs, or complete the return steps within the applicable deadline. Do not assume contacting support on day 30 automatically extends the window. Limitations and When to Get Help A trial answers many questions, but not every one. A trial checks comfort and fit for you; it cannot promise a health outcome. Thirty days cannot establish the chair’s lifespan or long-term durability. Keep the chair and packaging in good condition while deciding. Trial terms, return shipping and warranty can vary by market and order, so check the applicable policy. If you have severe, persistent or radiating pain, consult a qualified healthcare professional. A chair is not a medical treatment. Conclusion The best way to judge an ergonomic office chair is to test it where you actually work. Assemble it, set it to your body, use it for real tasks, and keep the packaging until you are sure. Compare the X7 if you want automatic lumbar tracking, or the E3 Pro if you prefer mechanical adjustments. Make your decision before the return deadline, and keep the chair that fits you. Frequently Asked Questions How long is the HBADA home trial? The current .com policy states 30 days from receipt. Confirm the terms and required return steps for your order before testing. Can you return an office chair after using it? Home testing does not remove the policy’s condition requirements. Keep the chair clean, avoid damage, and ask support if you are unsure whether its condition qualifies. How long does it take to get used to a new ergonomic chair? There is no fixed adjustment period for everyone. You may need several sessions to learn the controls and fine-tune the seat height, depth, lumbar support and armrests. Change one setting at a time. Do not keep sitting through pain in the hope that you will eventually adapt. Who pays for return shipping? It depends on the return reason. Check the shipping-cost section of the return policy and confirm any label charge with support before booking a courier. What should you check before the trial ends? Confirm the essentials: fit, long-session comfort, lumbar support, breathability, recline, armrests and noise. Also check that the chair suits your desk height and floor. Decide early enough to complete any required return steps before the deadline. Sources and Useful Links HBADA Return and Refund Policy HBADA Warranty and Service HBADA User Manuals and Assembly Guides HBADA X7 Product Details HBADA E3 Pro 2026 Product Details HBADA E3 Pro vs. Hinomi H1 Pro V2: Which Ergonomic Chair Fits You Better HBADA E3 Pro vs. Hinomi H1 Pro V2: Which Ergonomic Chair Fits You Better Ergonomic Chair Comparison Put the feature lists aside for a moment. Before comparing adjustment counts, measure your desk height, the seat depth you actually need, and the range of sitting positions you use during a normal workday. More adjustments do not automatically mean a better fit. Comparison note: This article compares publicly available manufacturer information for the HBADA E3 Pro 2026 Edition and Hinomi H1 Pro V2. Product configurations, prices, delivery, warranty terms and regional availability may change. Check the current product page and policy for your location before ordering. Contents Start with fit, not feature count How the support systems differ Published specifications compared Which chair should you investigate first? What to measure before buying Frequently asked questions Start With Fit, Not Feature Count An ergonomic chair only works when its useful adjustment range matches your body and workspace. A chair can have a long list of features, but that list matters less if the seat sits too high, the lumbar support reaches the wrong area, or the armrests cannot work with your desk. The key question is not “Which chair has more adjustments?” It is “Which chair gives me the adjustments I will actually use?” More adjustment points do not automatically equal a better fit. The useful range matters more than the feature count. That distinction is especially relevant here. Hinomi markets the H1 Pro V2 around 16 adjustable points and multiple size options. HBADA publishes detailed adjustment ranges for the E3 Pro 2026 Edition, including seat depth, backrest height, lumbar position, headrest and armrest adjustments. How the Support Systems Differ HBADA E3 Pro 2026 Edition   The HBADA E3 Pro 2026 Edition uses a three-zone adaptive lumbar-support design. HBADA lists a 50 mm seat-depth slide, 80 mm backrest-height adjustment, 60 mm independent lumbar lift, 40 mm headrest-height adjustment and 70 mm headrest depth adjustment. HBADA also lists a recommended user-height range of approximately 5'1"–6'5" (155–195 cm). Those figures are not a promise of fit for every person, but they give shoppers useful dimensions to compare with their own measurements. Hinomi H1 Pro V2 The Hinomi H1 Pro V2 product page lists 16 adjustable points, 3D lumbar support, flip-up 5D armrests, a 3D headrest, a retractable leg rest and a foldable frame. Its lumbar system is described as having five height levels and four forward-support levels. Hinomi offers S, M and L height guidance. Its current product page states that the primary difference between those sizes is the seat-height adjustment range, while the other listed dimensions remain the same. That is useful for shoppers who prefer to begin with a height-based size recommendation. HBADA E3 Pro 2026 vs. Hinomi H1 Pro V2: Published Information Compared Comparison Area HBADA E3 Pro 2026 Edition Hinomi H1 Pro V2 Primary fit approach Published adjustment ranges across seat depth, backrest, lumbar support, headrest and armrests. Published S, M and L height guidance, with seat-height range identified as the main size difference. Lumbar support Three-zone adaptive lumbar-support system with independent lift adjustment listed by HBADA. Lumbar support with five height levels and four forward-support levels listed by Hinomi. Seat-depth information HBADA lists a 50 mm / approximately 2-inch seat-depth slide. Review current product specifications and fit guidance for the selected H1 Pro V2 configuration. Head and arm support HBADA lists a dual-axis headrest and 720° OmniMechanical armrests. Hinomi lists a 3D headrest and flip-up 5D armrests. Recline and space-saving features HBADA lists four recline positions: 105°, 115°, 130° and 140°. Hinomi lists a maximum 136° recline, retractable leg rest and foldable frame. Published warranty terms E3 Series core load-bearing components are covered for 5 years; other covered components are covered for 3 years under HBADA's current policy. Subject to its current terms and regional policy. These features are not one-to-one equivalents. For example, a published count of adjustment points cannot be directly compared with a specific seat-depth or lumbar-travel measurement. Use the table as a starting point, then compare the features that affect your own work setup. Which Chair Should You Investigate First? Start with HBADA E3 Pro if: You want to compare specific adjustment ranges before purchasing. Seat depth, backrest height, lumbar position and headrest position are important to you. You move between focused work and reclined breaks during the day. Your height falls within HBADA’s published 5'1"–6'5" guidance and the chair dimensions suit your desk setup. Start with Hinomi H1 Pro V2 if: You prefer to narrow options first through S, M and L height guidance. A foldable frame, retractable leg rest or flip-up armrests are priorities for your space. Hinomi’s seat-height range and support adjustments match your body measurements. You have reviewed the current policy and product configuration for your market. This is not a winner-and-loser comparison. It is a practical way to decide which product page you should study first. The final decision should come after checking current dimensions, configuration, delivery, return eligibility and warranty terms. What to Measure Before Buying Measure your desk height and check whether the armrests can sit at a useful working height. Check seat depth against your leg length; you should be able to sit back without the front edge pressing into the back of your knees. Compare the chair's minimum and maximum seat height with your ability to place your feet flat on the floor. Consider whether you need a headrest, flip-up armrests, recline support or a footrest for your normal routine. Read the current return and warranty terms for the exact model and market where you will purchase. Frequently Asked Questions Is HBADA better than Hinomi? There is no universal answer. The better chair depends on your body measurements, desk setup, preferred adjustments, available configuration, delivered price and the current purchase terms in your location. How should I compare lumbar support between ergonomic chairs? Look beyond the feature name. Compare where the support contacts your lower back, how it adjusts, whether the seat depth and backrest height fit you, and whether you can comfortably use the controls during your workday. Sources and Disclosure HBADA E3 Pro Ergonomic Office Chair 2026 Edition HBADA Warranty & Service Policy Hinomi H1 Pro V2 Product Page Last reviewed: September 14, 2026. Hinomi is a trademark of its respective owner. This article is an independent comparison based on publicly available manufacturer information. HBADA is not affiliated with or endorsed by Hinomi.