






Moving desk, swapping a broken part, or freeing up storage space? Learning how to disassemble an office chair saves you money and hassle. The catch is the gas cylinder, which is pressurised and needs care. This guide walks you through the entire job in order, from the casters to the backrest, with the right tools and safe techniques for every part. Follow the steps, and you will take your chair apart cleanly, without stripped screws or bent metal, and put it back together just as easily.
What You'll Need: Tools for Office Chair Disassembly
Gather a few basic tools first, and the rest of the job goes quickly.
Most office chair disassembly needs only a screwdriver, an Allen key, a rubber mallet, and a wrench. A pressurised gas lift is the one part that calls for extra grip and patience, so a pipe wrench and penetrating oil earn their place in the kit.
|
Tool |
What you use it for |
|
Flathead screwdriver |
Prying stuck casters loose and popping off clips or cover plates |
|
Allen key (hex set) |
Loosening the bolts on the seat, armrests, and backrest |
|
Rubber mallet |
Tapping the base off the cylinder without denting the metal |
|
Pipe or adjustable wrench |
Gripping and twisting the gas cylinder free (tape the teeth to avoid scratches) |
|
Penetrating oil (WD-40) |
Freeing a seized cylinder or stubborn caster |
|
Work gloves |
Protecting your hands and improving grip on greasy parts |
|
Labelled bags + blanket |
Storing screws in order and protecting the floor from scratches and oil |
Before You Start: The One Safety Rule That Matters
Never puncture, cut open, or hammer the body of the office chair gas cylinder, as it holds pressurised gas and can be dangerous if breached. When you separate it, tap only around the metal collar at the joint, never the cylinder itself. Store the removed cylinder upright and on its own, and do not crush it under heavy weight.
One more thing before you begin. Some parts are factory-fixed, such as certain tilt mechanisms and moulded back panels. If a part will not move with reasonable effort, stop and check the manual rather than forcing it. A quick photo at each stage also makes reassembly far easier later.

How to Disassemble an Office Chair Step by Step
Work from the bottom up, and each part comes away in a logical order.
Step 1: Remove the Casters (Wheels)
Lay the chair on its side on a blanket, then pull each caster straight out of the five-star base. Most wheels simply pop in, so a firm tug frees them. If one sticks, slide a flathead screwdriver behind it and lever gently. This is also the moment to clear hair and dust from the axles so the wheels roll smoothly when you rebuild.
Step 2: Separate the Base From the Gas Cylinder
Turn the chair upside down, hold the five-star base, and tap the metal collar where it meets the cylinder with a rubber mallet. Work around the joint in small, even strikes until the base drops away. Some models use a retaining clip, so remove that with a screwdriver first. If it will not budge, add a little penetrating oil, wait a few minutes, and try again.
Step 3: Remove the Gas Cylinder From the Seat Mechanism
Grip the gas cylinder near the mechanism with a pipe wrench, wrapping the teeth in tape to protect the finish, then twist it counterclockwise to break the taper fit. Pull it free and set it aside upright. If the cylinder is seized, apply more penetrating oil and give it time rather than forcing the wrench.
Step 4: Unbolt the Seat and Mechanism
Locate the bolts that fix the seat mechanism to the underside of the seat, then loosen them with your Allen key. Keep the screws in a labelled bag so nothing goes missing. Once the bolts are out, lift the seat pan away from the tilt mechanism.
Step 5: Detach the Backrest, Armrests, and Headrest
Unbolt the backrest bracket, then remove the armrests at their attachment points to the seat frame. If your chair has a headrest, pop off any cover plates or tabs and unbolt it last. Lay every piece out in the order you removed it, which turns reassembly into a simple reverse run.
How to Reassemble Your Chair

Putting it back together is the same process in reverse, with one habit to keep in mind.
Rebuild from the top down: headrest, backrest, and armrests onto the seat, then the seat mechanism, the gas cylinder, the five-star base, and finally the casters. Tighten every bolt firmly, but do not over-tighten, or you risk stripping the threads. To seat the cylinder fully, turn the chair upright and sit on it. Then check the height, tilt, and armrests, and listen for any creak before you call it done.
Disposing of or Recycling Old Chair Parts in the UK
Metal parts like the five-star base and gas cylinder can go to a household waste recycling centre, or you can arrange a council collection for large waste items. Two points matter for chairs. First, upholstered seating must be kept intact and handled separately, because it can contain persistent organic pollutants (POPs) from old flame-retardant treatments, as UK council guidance explains. Second, if your chair is electronic, such as a battery-powered smart chair, remove the battery and recycle it at a proper battery point rather than in general waste.
When to Repair, and When to Upgrade

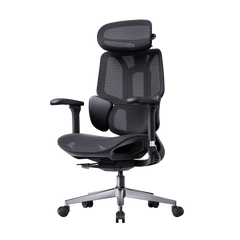
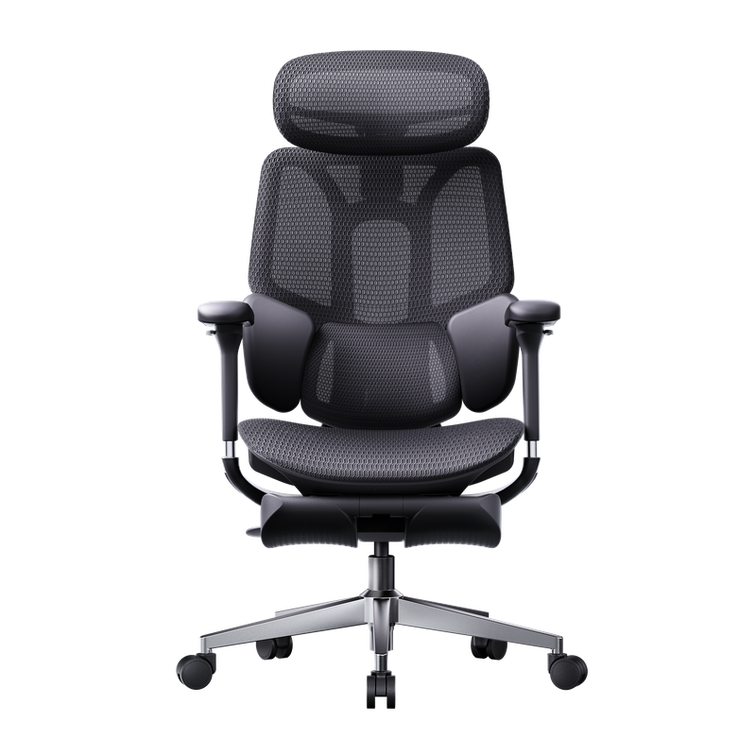
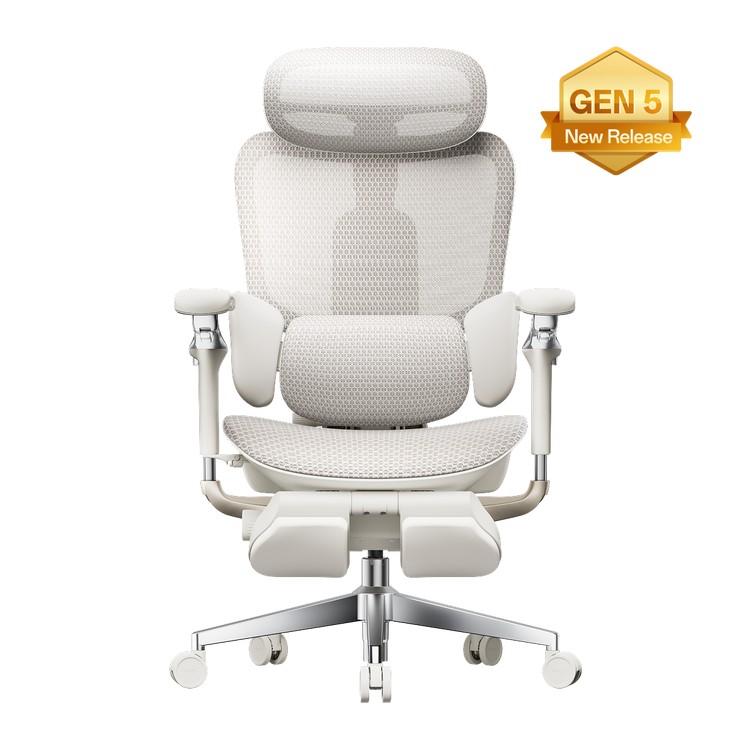
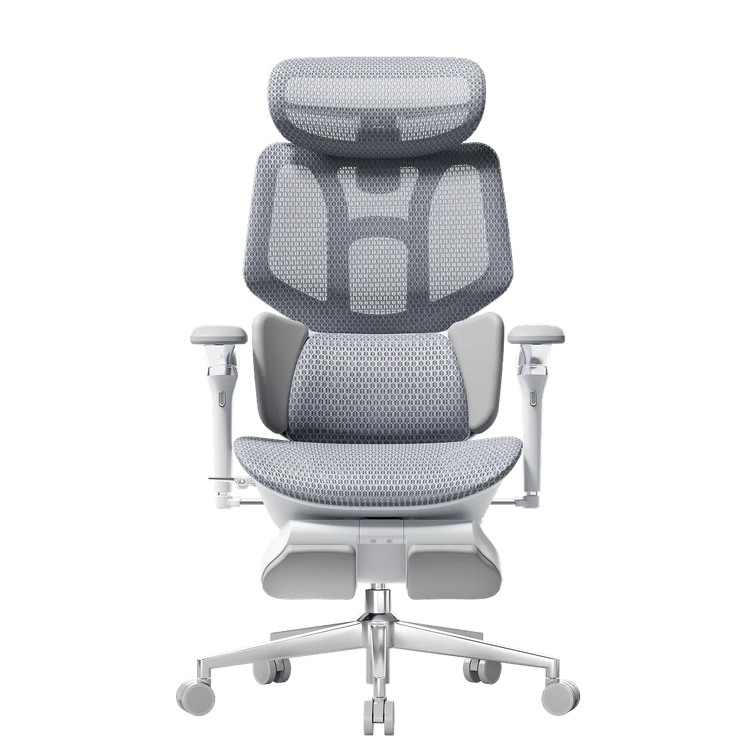
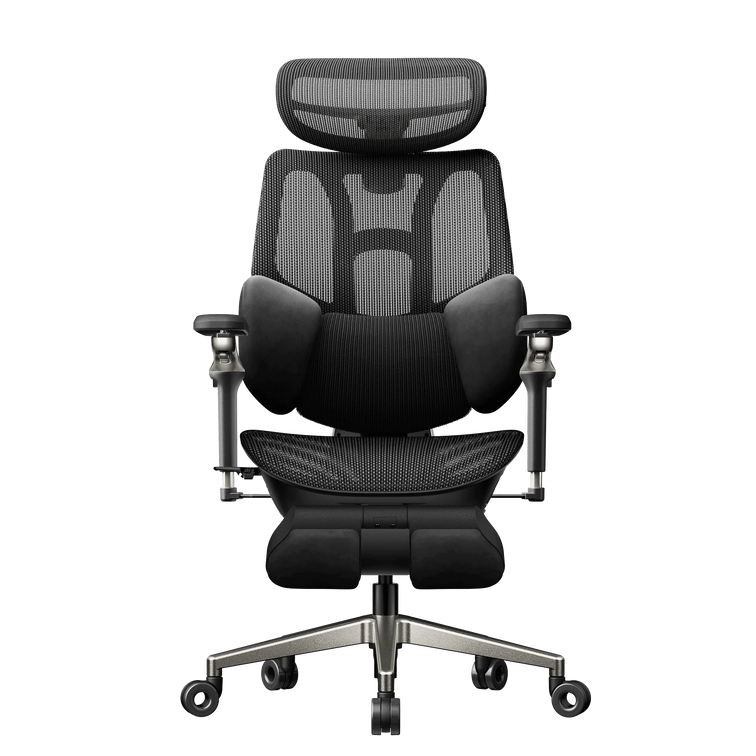
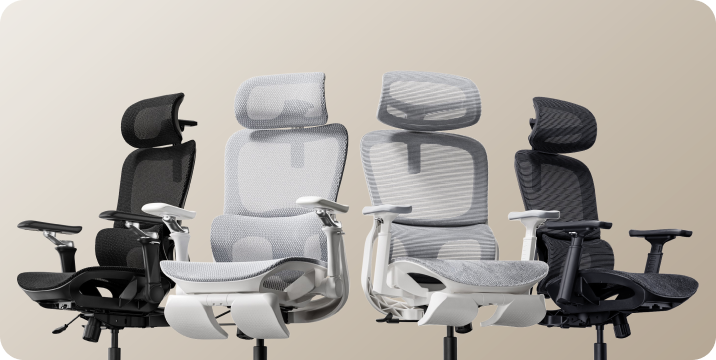
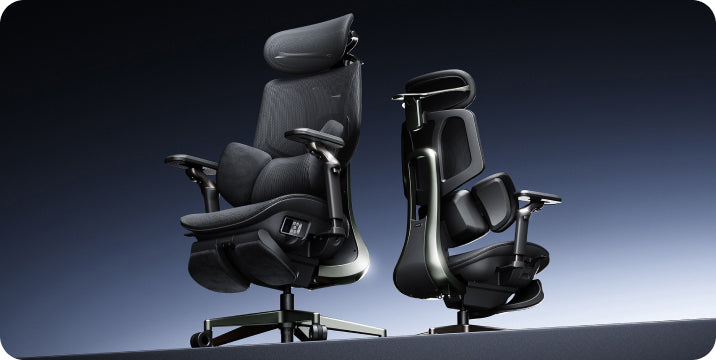
If the gas lift sinks, the foam goes flat, or the base cracks, a rebuild only delays the next failure. That is the point to switch to a chair engineered to last. The HBADA AI-Powered X7 is a strong example: it is roughly 70% steel, certified to the BIFMA X5.1 standard, and tested for an intended 10-year service life, so the parts you just fought with are far less likely to fail.
Assembly is refreshingly simple, too. The electronics sit pre-housed in the backrest and seat, so you only attach the base, wheels, and backrest, a job that takes around 20 to 30 minutes. From there you get self-adjusting AI lumbar support, a ventilated mesh seat, 720° armrests, and up to 140° of recline, all backed by a 5-year warranty.
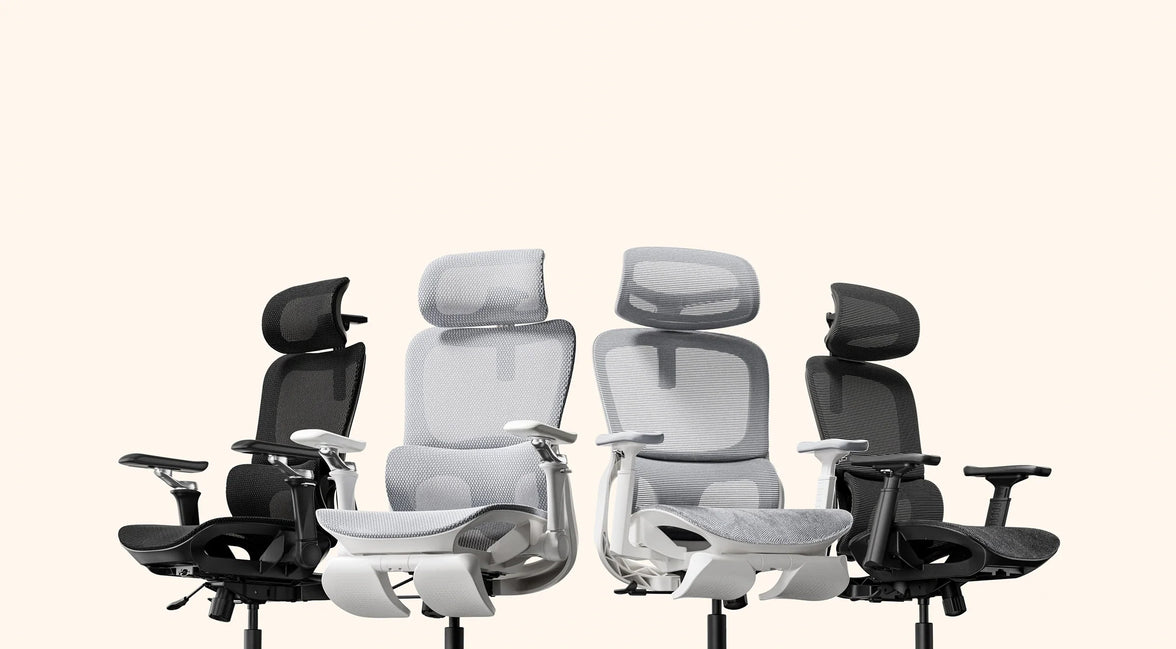
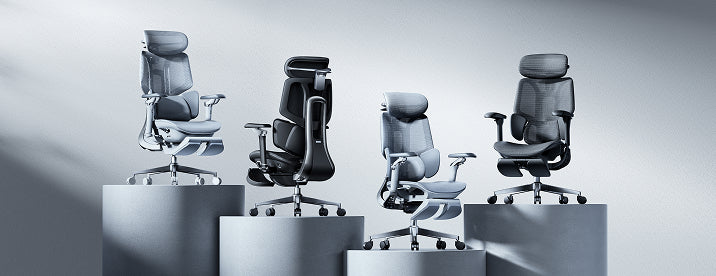
See how the HBADA AI-Powered X7 is engineered for long-term durability, or compare the full HBADA X7 smart-chair range to find the build that suits your body and your hours at the desk. Here is how the core range compares.
|
Model |
Assembly |
Serviceable / upgrade highlights |
Weight capacity |
Best for |
|
HBADA AI-Powered X7 |
~20–30 min, electronics pre-housed |
AI auto lumbar, ventilated mesh seat, 720° armrests, 4D headrest, 5-yr warranty |
Up to 330 lb (150 kg) |
Long 8+ hr days, hands-off support |
|
HBADA E3 Pro 2026 Edition |
Standard bolt-together |
3-Zone Floating Lumbar Support, mesh seat, 720° armrests, footrest |
Big-and-tall build* |
Recline and footrest comfort |
|
HBADA E3 Air |
Standard bolt-together |
3-Zone Dynamic Lumbar Support, mesh, 4D armrests, footrest |
Big-and-tall build* |
Larger frames and higher weight needs |
A Realistic Heavy-Use Scenario
Here is how that repair-or-replace call plays out. The example is illustrative, not a specific customer.
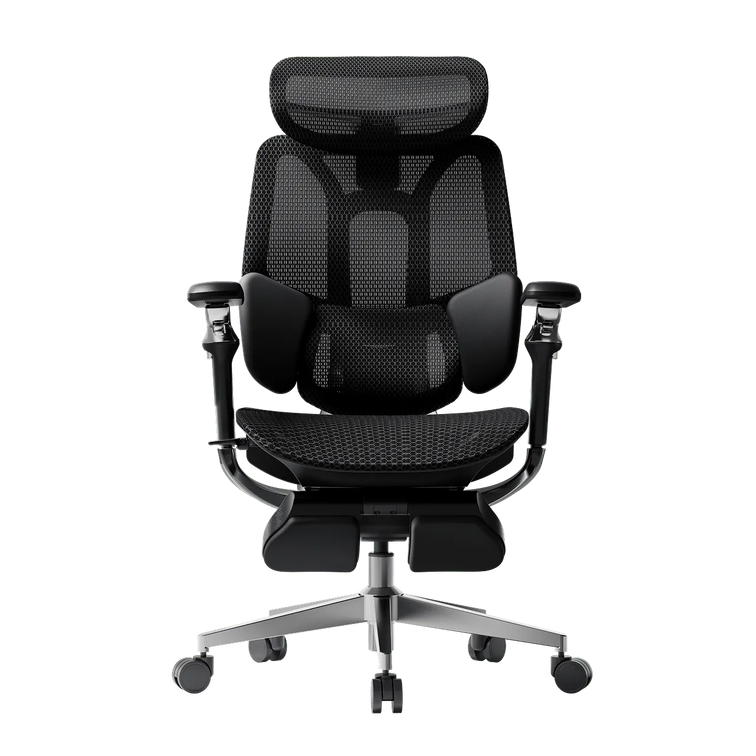
Picture Darren M., 38, a logistics manager and weekend streamer in Newcastle, 6'3" and around 22 stone (140 kg). He took his budget chair apart to replace a sinking gas lift, only to find the base cracked and the foam flattened after two years of 10-hour days. Rather than patch it, he upgraded to a mesh HBADA E3 Pro 2026 Edition. The steel build and 3-Zone Floating Lumbar Support ended the sinking feeling, and there were no more parts to keep fighting.
A Realistic Petite-Frame Scenario
The same logic helps at the other end of the size range.
Consider Aisha K., 29, a copywriter in Reading, 5'2" and lightly built. She disassembled a hand-me-down chair that never fit; its lumbar support sat too high, and the wide armrests left her elbows floating. She replaced it with the HBADA AI-Powered X7, whose automatic lumbar tracking senses her lighter frame and adjusts itself, while the 720° armrests rotate inward to cradle her arms. No tools, no guesswork, and a seat that finally fits.
Which HBADA Chair Should You Choose?

Your best pick depends on how long you sit and the body you are supporting.
• Sit 8+ hours and want hands-off, self-adjusting support: the HBADA AI-Powered X7.
• Want recline plus a footrest for all-day comfort: the HBADA E3 Pro 2026 Edition.
• Need a larger, big-and-tall build: the HBADA E3 Air.
Knowing how to disassemble an office chair puts you in control: you can service what is worth saving and confidently retire what is not. When a chair is past repair, choose a mesh HBADA model built to outlast the parts you just wrestled with, and enjoy a seat you rarely have to touch again.
Frequently Asked Questions
Can you take apart an office chair?
Yes. Most office chairs are built to come apart for moving, repairs, or part swaps. Using basic tools- a screwdriver, an Allen key, a rubber mallet, and a wrench- you can separate the wheels, base, gas cylinder, seat, backrest, armrests, and headrest. A few parts, such as certain tilt mechanisms and moulded panels, are factory-fixed, so check your manual before forcing anything. Work from the bottom up and keep the screws labelled for an easy rebuild.
How do you remove the gas cylinder from an office chair?
First, flip the chair and tap the base off the collar with a rubber mallet. With the base removed, grip the exposed cylinder near the mechanism using a pipe wrench, wrap the teeth in tape, and twist counterclockwise to loosen the taper fit. Pull it free and store it upright. If it is stuck, add penetrating oil and wait. Never hammer or puncture the cylinder body itself, because it is pressurised and can be dangerous if breached.
How do you get the base off an office chair?
Turn the chair upside down and remove the casters first so it sits steady. Hold the five-star base and tap the metal collar where it meets the cylinder with a rubber mallet, working evenly around the joint until it releases. Some bases have a retaining clip you must remove with a screwdriver beforehand. If the base resists, apply a little penetrating oil, wait a few minutes, and tap again rather than using heavy force.
Can office chair wheels be removed?

Yes, and it is the easiest step. Most casters simply push into the base, so lay the chair on its side and pull each wheel straight out with a firm tug. If one is stuck, slide a flathead screwdriver behind the stem and lever it gently free. It is a good moment to clear away hair and dust so the wheels roll smoothly on reassembly, or to fit new casters if the old ones are worn.
Is it safe to disassemble the gas cylinder yourself?
Removing the cylinder from the chair is safe when done correctly. The key rule is to never cut, drill, or hammer the cylinder body, as it contains pressurised gas. Only tap around the collar at the joint, and grip the cylinder with a wrench to twist it free. Wear gloves, protect the floor, and store the part upright away from heat. If a cylinder is damaged or leaking, recycle it as metal and do not attempt to open it.