
Blog

Office Chair Safety Check: 7 Parts to Inspect Before You Sit

Office Chair Safety Check: 7 Parts to Inspect Before You Sit
September 2026 · Product safety news

A Recent Office Chair Recall Puts Backrest Connections in Focus

On September 3, 2026, the U.S. Consumer Product Safety Commission announced a recall of approximately 16,000 Branch Ergonomic Chairs in the United States, with about 180 additional units sold in Canada. The backrests could detach, creating a fall hazard. The notice reported 11 incidents and no injuries.

The recall concerns specific chairs with incorrectly installed backrest anchors. It does not apply to every Branch chair. Owners should check the model and manufacturing information against the official CPSC recall notice . Affected owners are instructed to stop using the chair and contact Branch for the free repair.

The notice identifies Branch products, not HBADA chairs. For anyone inspecting another office chair, it is a useful reminder to look beyond the upholstery and check the connections, supporting parts and adjustment mechanisms.

An office chair safety check starts with the parts that carry your weight. A loose backrest, cracked base or damaged caster needs attention even if the chair still feels comfortable.

The checklist below explains what to look for and when to take a chair out of use. It is a visual and basic functional check—not a load test, safety certification or substitute for a product manual.

Before You Start: Check the Label and Manual

Find the chair’s model number and any serial number or manufacturing date on its label, packaging or purchase records. These details help identify the correct assembly instructions, compatible parts and any recall that may apply.

  • Place the unoccupied chair on a level surface with good lighting.
  • Check for visible damage before sitting down or operating controls.
  • Use the manual for your exact model, including any assembly revisions.
  • Keep fingers clear of hinges, linkages and other pinch points.
  • If the chair has powered features, follow its instructions for switching off or disconnecting power before inspecting underneath.

If you suspect a structural fault, do not test it by leaning harder or adding weight. Take the chair out of use and ask the manufacturer to assess it. If a recall applies, follow that notice even when the chair appears undamaged.

Seven Parts to Inspect on an Office Chair

1. Connection

Look where the backrest attaches to the seat, bracket or frame. Check for gaps that have opened up, displaced hardware, cracks and signs that the connection has shifted.

An adaptive backrest or recline mechanism may move by design. The concern is a change from its normal behavior: one side lifting away, a mounting point moving independently, or movement accompanied by cracking or separation.

Next step: Stop using the chair if the connection is separating or damaged. Photograph the mounting area and contact the manufacturer. Do not remove the backrest unless the manual or an official repair instruction directs you to do so.

2. Bolts and Fasteners

Compare accessible mounting points with the assembly diagram. Look for missing bolts, visible gaps beneath bolt heads or hardware that has worked loose. Pay attention to the seat mechanism, backrest bracket and armrest attachments.

Tighten user-accessible fasteners only as directed in the manual, using the specified tool and torque where provided. A bolt that spins without tightening may have damaged threads.

Next step: Ask for the correct replacement if hardware is missing or damaged. Do not guess the bolt length, add thread-locking products without approval, or use extra force to compensate for a connection that will not tighten.

3. Chair Base

Examine the base around the central column, along each leg and around the caster sockets. Look for cracks, bending or separation. Surface scuffs and structural damage are different, but a suspected crack should be assessed before further use.

On a level floor, check whether the chair rests evenly. If it feels uneven, inspect the casters and base rather than assuming the floor is the only cause.

Next step: Remove a chair with a cracked or bent base from use. Tape, glue and improvised braces are not a substitute for an approved replacement part.

4. Gas Lift and Height Adjustment

Inspect the visible column and its connections for damage or unusual leaning. If the earlier checks reveal no concerns, operate the height control as described in the manual during normal use.

The seat should move in a controlled way and hold its selected height. Repeated sinking needs attention; a sudden drop or unstable column is a reason to stop using the chair.

Never open a gas cylinder. Do not puncture, cut, heat or attempt to modify it. Ask the manufacturer about the correct replacement and service procedure.

5. Casters and Their Mounting Points

Inspect each wheel and the point where its stem enters the base. Look for broken wheel surfaces, a loose stem or damage around the socket. With the chair unoccupied, check whether the wheels roll and swivel as intended.

Hair and thread can collect around wheel axles. Remove accessible debris according to the care instructions, without cutting into the wheel or forcing the assembly apart.

Next step: Replace damaged casters with parts approved for the chair and flooring. A damaged socket may require a base replacement; fitting a new wheel alone will not fix it.

6. Tilt, Recline and Locking Mechanism

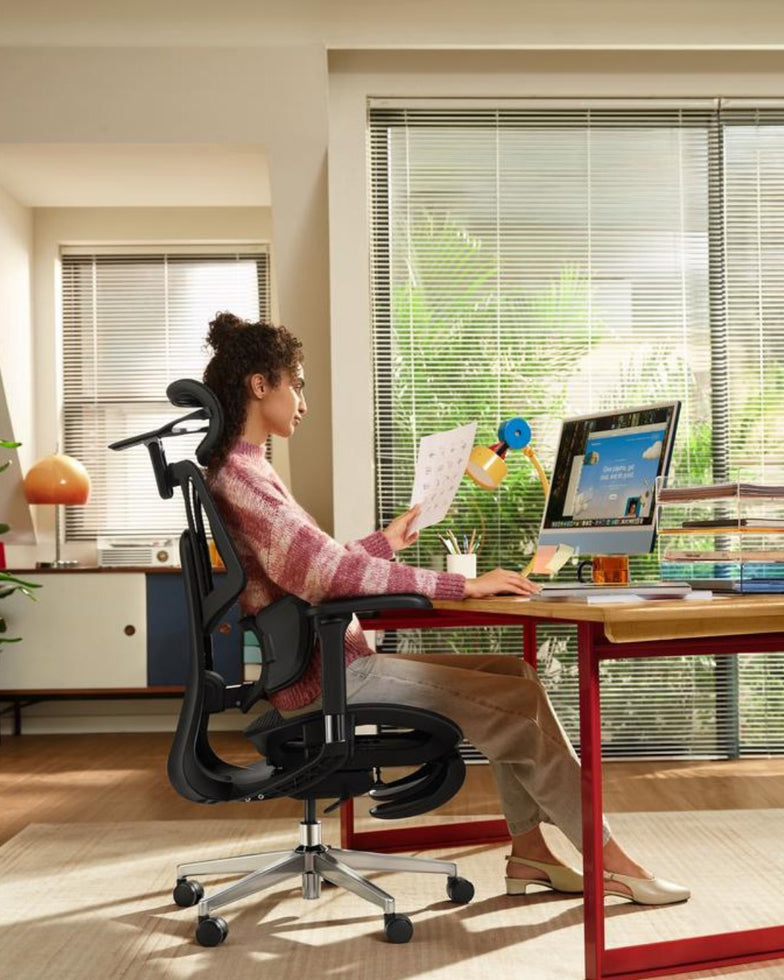
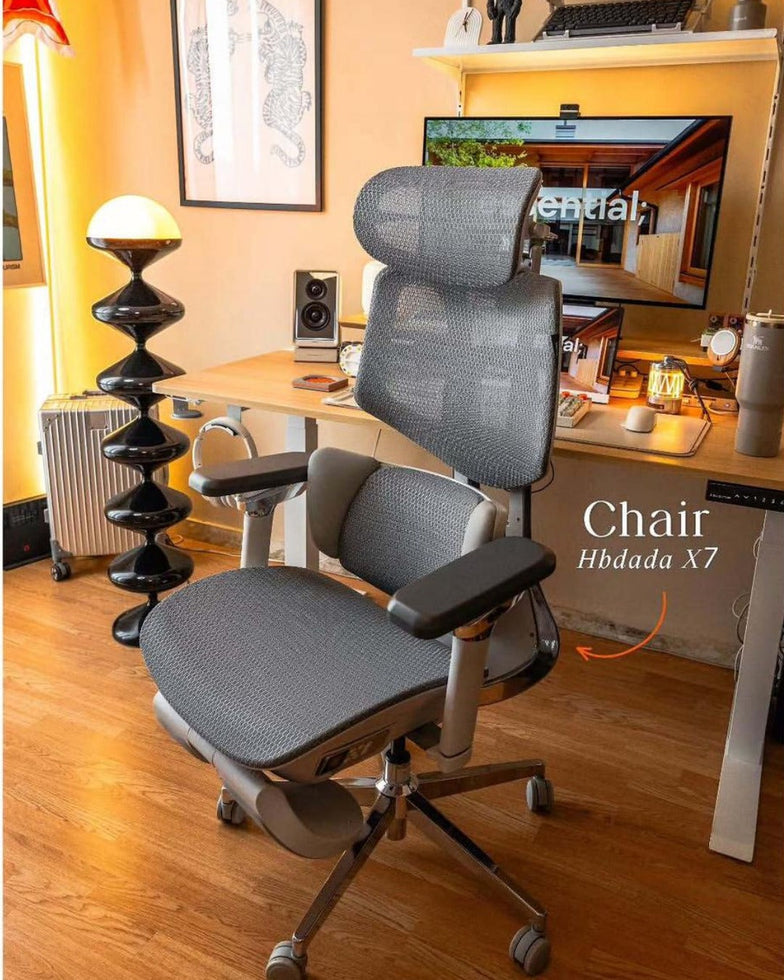
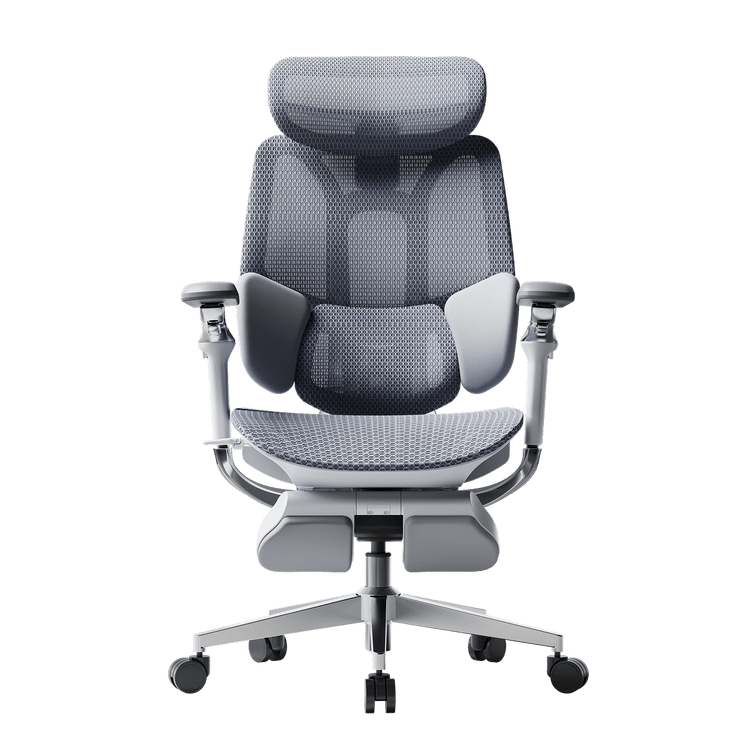
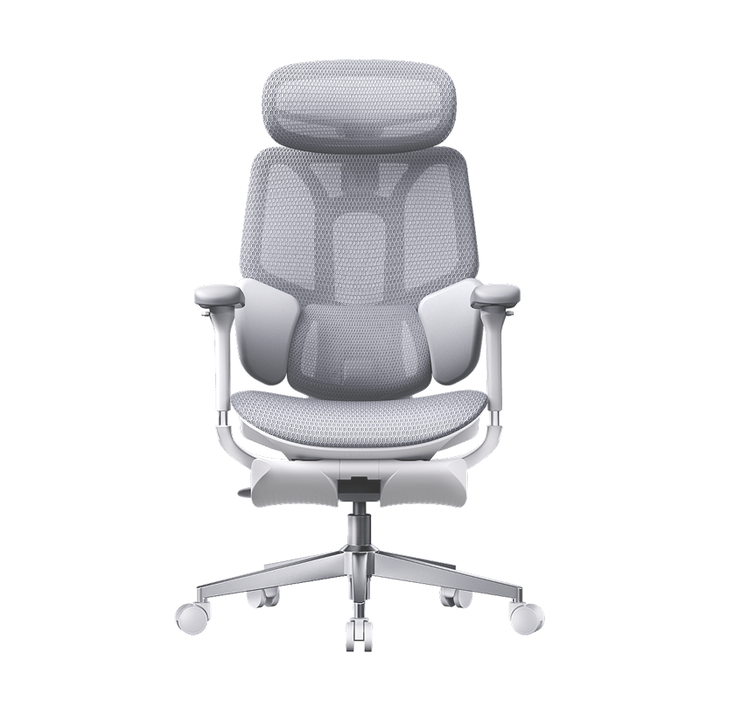
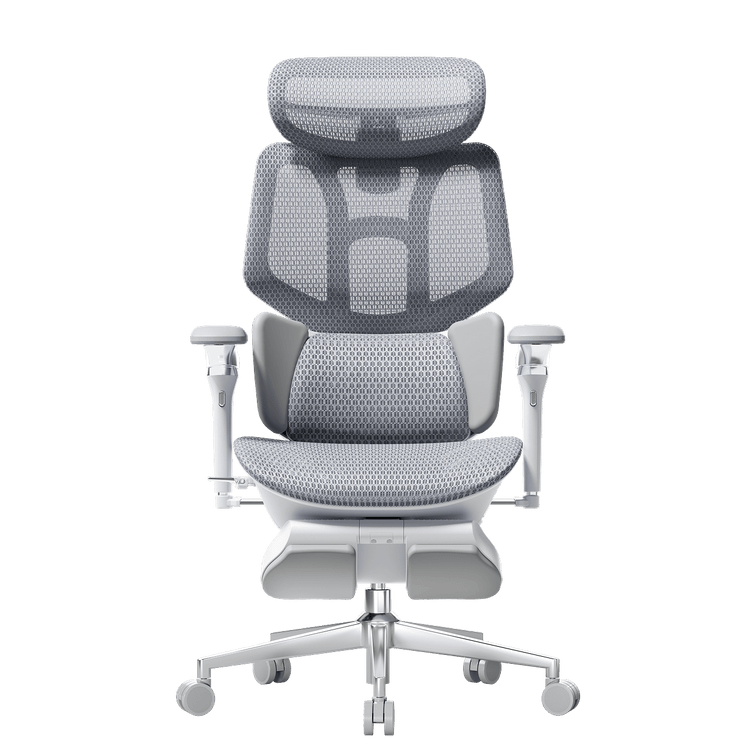
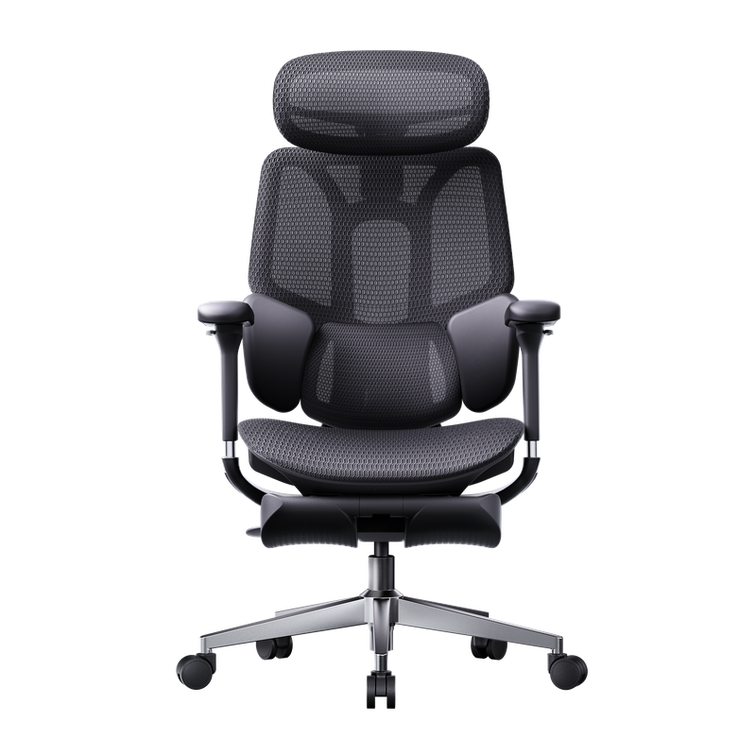
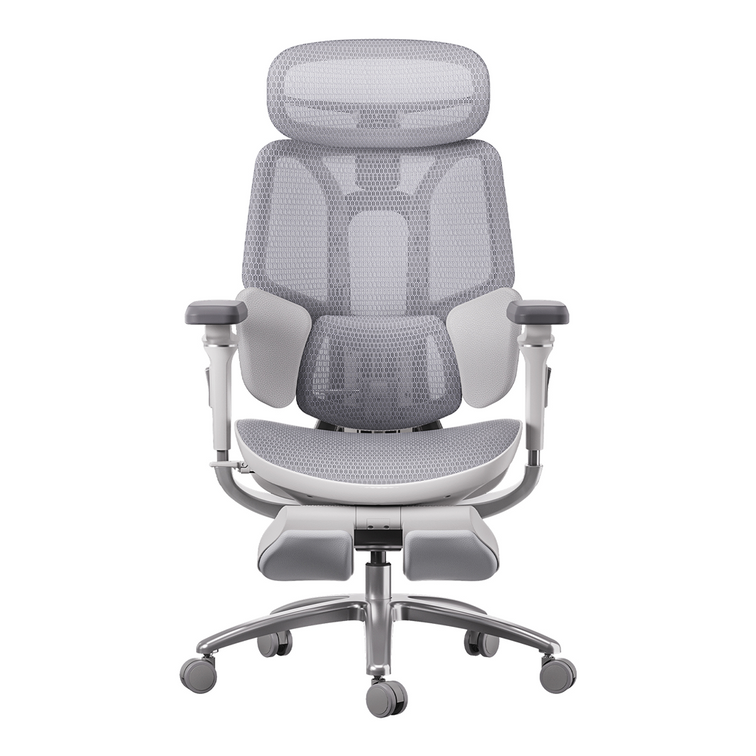
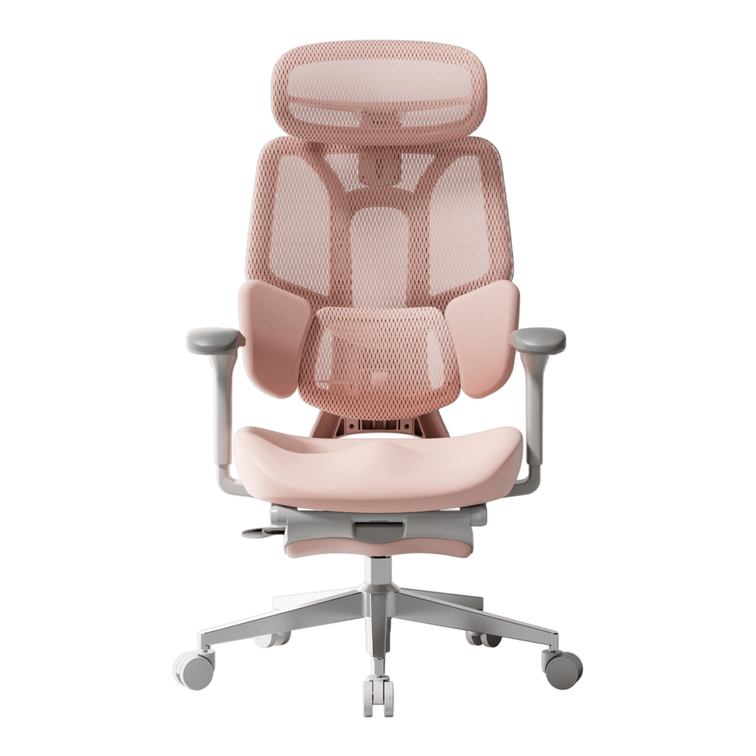
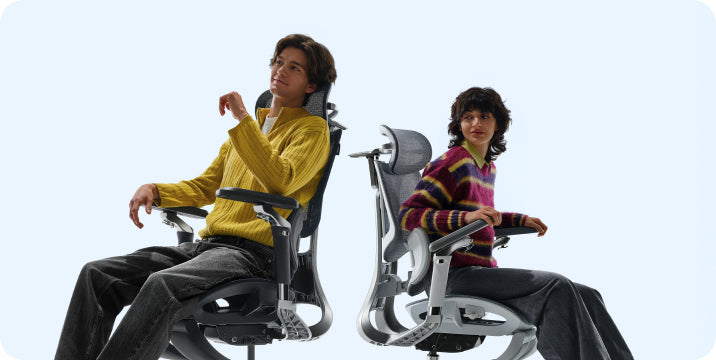
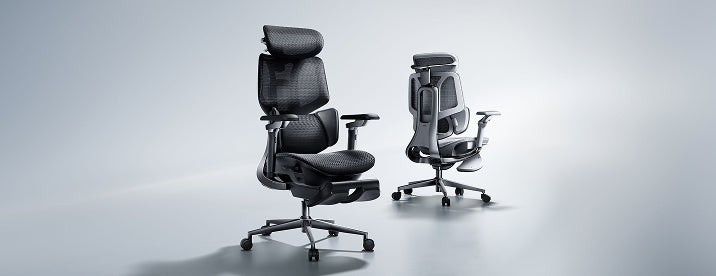
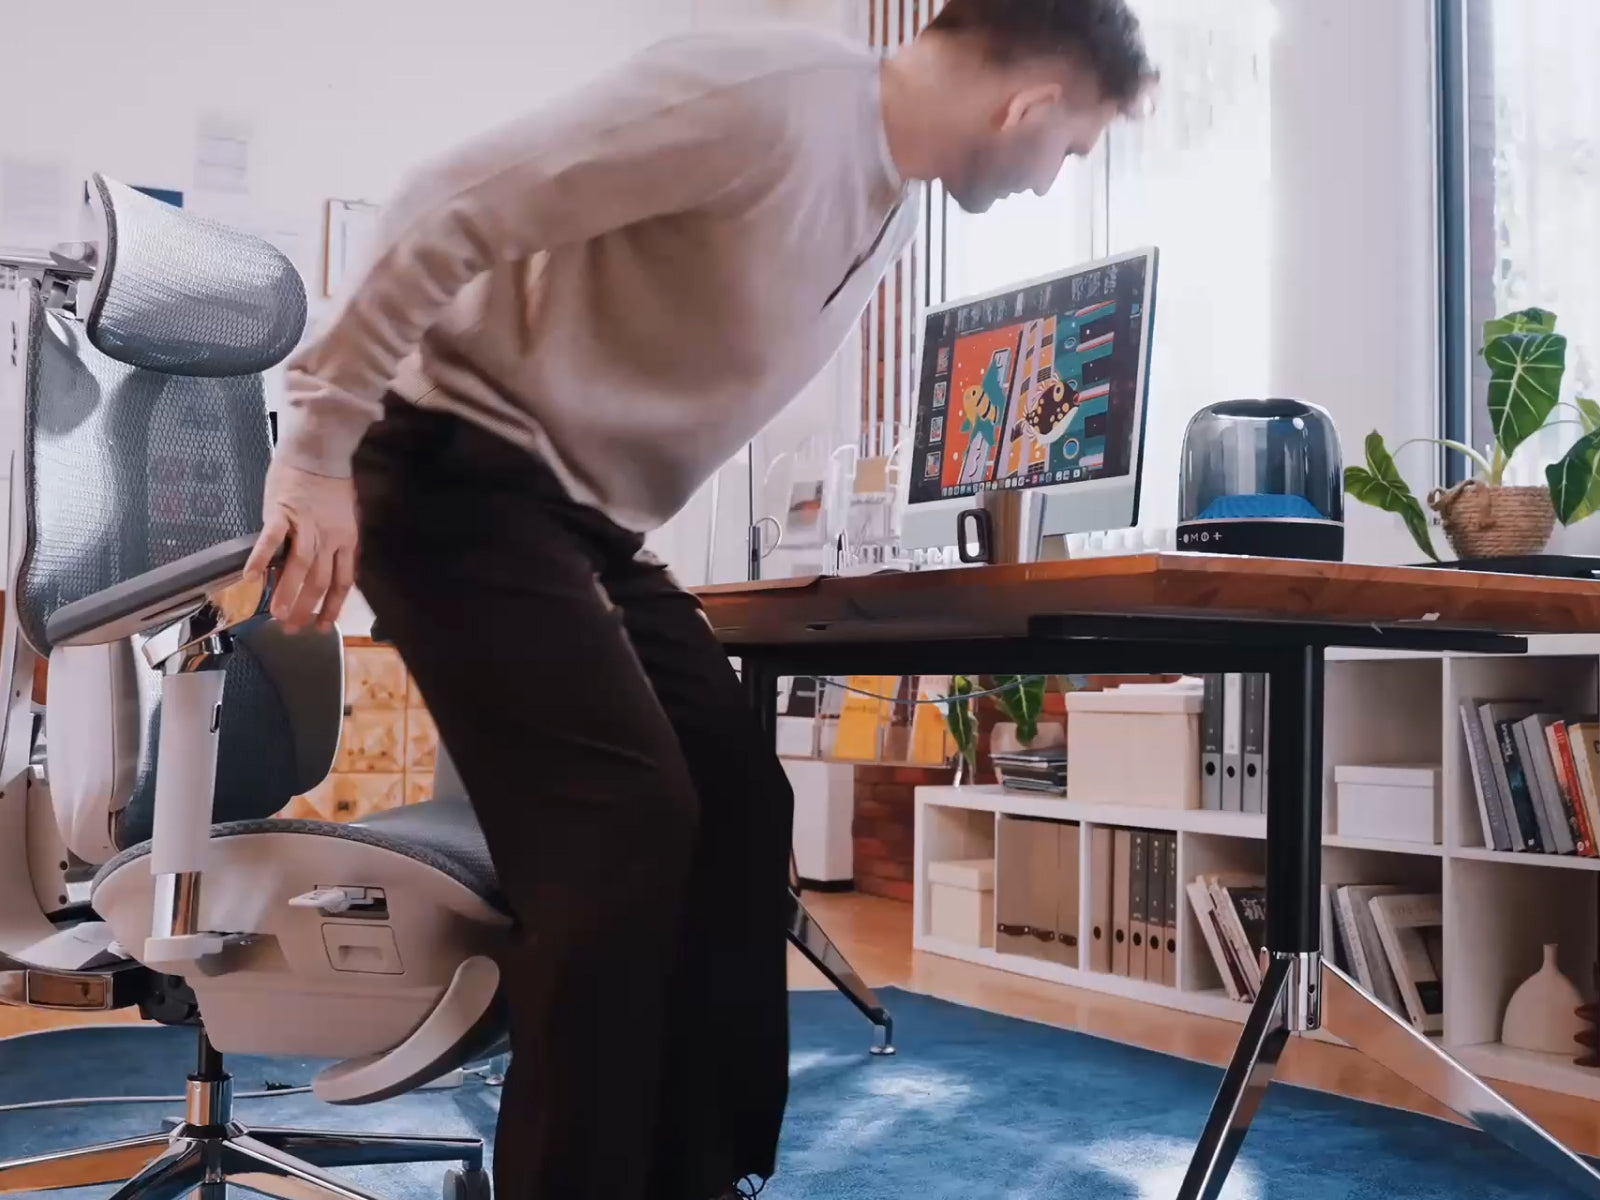
Ergonomic office chair designed for long desk sessions

Check the manual before deciding a control has failed. Some chairs lock only at specific angles, while others have a free-moving recline setting. A tension control changes resistance and may not function as a lock.

If the chair has passed the visual checks, try the controls gently during normal use. Avoid forcing the backrest beyond its intended range or trying to reproduce a suspected failure.

Next step: Stop using the chair if the mechanism releases unexpectedly, slips out of its documented locking position or produces uncontrolled movement. Do not open a spring-loaded mechanism.

7. Armrests, Headrest and Other Adjustable Parts

Examine attachment points and adjustment tracks for loose hardware, broken plastic or exposed edges. Move adjustable parts only through their intended range.

Some armrest pads and headrests move between positions without a separate lock. Check the model instructions before treating that movement as a defect.

Next step: Report a part that detaches, will not stay in its intended position or exposes a sharp edge. Do not stand on a footrest or use a headrest as a handle for lifting the chair.

Warning Signs: What Should You Do Next?

What you notice What to do
A recall includes your model and manufacturing details Stop use as directed and follow the official recall remedy.
A cracked base or separating backrest connection Take the chair out of use and request assessment or approved replacement parts.
A missing structural bolt or damaged mounting thread Do not use the chair until the connection is restored according to manufacturer instructions.
Sudden sinking or unexpected recline release Stop use and contact support. Do not repeatedly test the fault.
A damaged caster or broken caster socket Stop use until the damaged wheel or base has been assessed and replaced as needed.
A new squeak without visible damage Check the manual and inspect accessible connections. Stop use if noise accompanies looseness or unstable movement.
Ordinary cosmetic scuffs Follow the care instructions and monitor for changes. A visual check cannot rule out hidden damage.

Avoid applying lubricant simply to silence a noise before you understand its source. Some materials and mechanisms require specific products, while others should not be lubricated by the user.

How Often Should You Inspect Your Office Chair?

Follow the inspection and maintenance intervals in the product manual first. If no interval is provided, the schedule below can serve as a personal reminder. It is an editorial suggestion, not a CPSC requirement or a universal manufacturer standard.

  • Before use: Notice visible damage, unusual leaning or a change in stability.
  • Monthly: Check accessible fasteners, casters and everyday adjustment controls.
  • Quarterly: Work through all seven areas in this checklist and record anything that needs attention.
  • After moving, impact or reassembly: Inspect the chair before returning it to use.

Shared chairs and chairs used across multiple shifts may need more frequent attention. A scheduled inspection should never delay action on a problem noticed today.

Keep a Short Inspection Record

Record the date, chair model, parts checked, observations and action taken. For an office with several chairs, assign each chair an identifier so a reported fault can be traced to the correct seat.

What to Send to Customer Support

Clear information helps the support team identify the part and provide the right instructions. Prepare:

  • Your order number and exact chair model.
  • A photo of the product label, if accessible without unsafe handling.
  • A clear photo of the affected part and a wider view of its location.
  • A description of when the problem started and how the chair behaves.
  • Details of any recent move, impact, assembly or part replacement.

For an HBADA chair, contact service@hbada.com. Do not demonstrate a suspected collapse or structural fault for a video. Describe it and send photos taken safely.

When comparing HBADA office chairs or replacement options, check the exact model’s dimensions, intended use, weight limit and available support documentation.

Frequently Asked Questions

Can a visual check prove an office chair is safe?

No. It can reveal visible damage and changes that need attention, but it cannot detect every internal defect. Follow product instructions and official recall notices, and ask the manufacturer to assess anything you cannot identify.

Is movement in an office chair backrest normal?

It can be. Reclining and adaptive backrests are designed to move. New movement at a mounting point, separation or cracking needs assessment. Do not confuse the intended movement of the backrest with a loose structural connection.

Can I keep using a chair that slowly sinks?

Arrange an assessment rather than repeatedly resetting the height and ignoring the problem. If the drop is sudden or the chair becomes unstable, stop using it. Do not open or modify the gas cylinder.

Should I tighten every bolt as much as possible?

No. Follow the specified assembly procedure and torque where provided. Excessive tightening can damage threads or components. Hardware that repeatedly loosens or will not tighten needs further assessment.

How do I check whether my chair has been recalled?

Compare the brand, model, SKU and manufacturing details with the official notice on the CPSC recall website and the manufacturer’s instructions. A similar appearance alone does not establish whether a chair is included.

Does the September 2026 Branch recall apply to HBADA?

The September 3, 2026 notice names specific Branch Ergonomic Chairs. It does not identify HBADA products HBADA product is 100% safe. That statement describes the scope of this particular notice and is not a certification of any individual chair’s condition.

Does a damaged office chair always need replacing?

Not always. Some faults can be resolved with an approved replacement component. The manufacturer should confirm the correct part and procedure. Keep the chair out of use if the fault affects its stability or supporting structure.
Source and scope: Recall details are taken from the CPSC notice dated September 3, 2026 . The inspection checklist is general guidance, not an official recall repair procedure. Follow the instructions supplied for your exact chair.

Relevant Product

You May Also Like

What Is a Smart Ergonomic Workspace? Chairs, Desks and Monitor Arms Explained What Is a Smart Ergonomic Workspace? Chairs, Desks and Monitor Arms Explained IFA 2026 · Workspace technology At IFA 2026, Ergonomics Goes Beyond the Office Chair On September 4, 2026, HUANUO announced a workspace portfolio at IFA in Berlin covering chairs, height-adjustable desks and monitor arms. Its announcement included an AI-powered standing desk with height recommendations and a desktop designed to tilt for tasks such as reading and drawing. The manufacturer’s IFA announcement highlights an idea worth considering when upgrading a home office: the chair, work surface and screen all need to fit the person using them. Product announcements describe intended features, rather than independent proof of improved health or comfort. For buyers, the useful question is what each adjustment actually changes during an ordinary working day. You can buy an adjustable chair and still find yourself reaching for the mouse. You can add a standing desk and still look down at a laptop screen. Each piece of equipment solves only part of the setup. A smart ergonomic workspace brings those parts together. Before choosing a feature list, it helps to understand which adjustments you need and how they affect one another. What is a smart ergonomic workspace? In this guide, a smart ergonomic workspace means a setup that combines adjustable seating, a suitable work surface and screen positioning, with features such as powered adjustment, saved settings or reminders where useful. The term does not mean every component uses AI or connects to the same app. In this guide The three parts of the workspace What makes an ergonomic chair smart? Manual, adaptive and powered features compared How to set up the chair, desk and screen Which part should you upgrade first? What to check before buying Where the HBADA X7 fits Frequently asked questions Three Parts, Three Different Jobs Think about your chair, desk and monitor as separate adjustments that need to work together. Buying all three from one brand is not necessary, but checking their dimensions and clearances is. 01 · Seating The Chair Determines your seated height, usable seat depth, back support and arm support. These settings affect how closely and comfortably you can approach the desk. 02 · Work surface The Desk Positions the keyboard, mouse and other tools. A height-adjustable desk can provide separate working heights for sitting and standing. 03 · Viewing The Monitor Arm Lets you reposition a compatible display without changing the keyboard height. Check the mount, weight range and desk attachment before buying. A Common Setup Problem Imagine raising your chair to reach a high keyboard. Your feet then lose contact with the floor. Adding more lumbar support will not change that height mismatch. A suitable footrest or a lower keyboard surface may be the adjustment you need. What Makes an Ergonomic Chair Smart? “Smart” can describe several different features. One chair may offer powered lumbar adjustment. Another may save a preferred setting, respond to changes in position or include controls for additional comfort functions. Ask what the feature does in physical terms. Does it move the lumbar support? Change recline resistance? Recall a saved position? Or simply send a reminder? Automatic Adjustment and Manual Fit Serve Different Purposes An automatic feature may reduce how often you operate a particular control. You still need to check the seat’s dimensions, the adjustment range and whether the support feels appropriate for your body. A chair that adjusts automatically is not necessarily a better fit than a manually adjusted chair. The useful comparison is whether the feature solves something you actually notice while working. Ask for a demonstration: “AI” on a product page does not tell you which parts move, what triggers the movement or how much control you retain. Look for a clear explanation and a model-specific manual. Manual, Adaptive and Powered Features Compared These categories can overlap within one chair. Use the table to understand the controls rather than treating the labels as a ranking from basic to best. Feature type How it works What to check Manual adjustment You move a lever, dial or component to change a setting. Can you reach the control and achieve the position you need? Mechanical adaptive support A mechanism responds to movement or load without necessarily using electronics. Does its movement and resistance suit you? Powered adjustment An electric mechanism moves a component through its available range. What requires power, and what happens when power is unavailable? Memory settings The product stores and recalls supported settings. Which settings are saved, and can different users keep separate preferences? App or reminder features Software provides controls, prompts or other supported functions. Is an account required, and can essential controls be used without the app? AI-labeled features The exact operation depends on the manufacturer’s implementation. What input does the system use, and what adjustment does it make? How to Set Up the Chair, Desk and Monitor Together For a workstation with an adjustable desk, start with the chair, then position the keyboard and screen. This is a practical order because changing your seated height affects everything above it. 1. Establish a Comfortable Seated Position Set the seat so your feet are supported and the front edge does not press into the backs of your knees. Adjust the available back and arm supports to suit you. 2. Bring the Keyboard and Mouse Within Reach Adjust the work surface so you can type with relaxed shoulders. Keep the mouse close enough that you do not have to reach sideways for it. 3. Position the Screen Independently Place your main screen in front of you and adjust its height and distance so you can read comfortably. With a laptop, a separate keyboard and mouse allow the screen to be raised without raising your hands. 4. Save a Separate Standing Setting If your desk has memory controls, save the standing position only after checking the keyboard and screen. Recheck cable slack and clearance through the desk’s full movement. 5. Try the Setup During Your Usual Tasks Write, read and use the mouse as you normally would. Change one setting at a time so you can tell which adjustment helped. Leave room for movement and changes of activity throughout the day. These basic positioning principles are consistent with HSE’s workstation posture guidance . Individual viewing needs and equipment may require different arrangements. Using a fixed desk? You may need to set the chair in relation to the keyboard first, then support your feet. If the mismatch is too large, consider a suitable keyboard tray or a desk with a more appropriate height range. Which Part of Your Workspace Should You Upgrade First? Start with the limitation you cannot solve using the adjustments you already have. That gives each purchase a clear purpose. What you notice Check first Possible next step The seat feels too deep or too high. The chair’s seat-depth and height ranges. A chair with dimensions that better fit you. You lift your shoulders to reach the keyboard. The relationship between the chair and work surface. A lower keyboard surface, appropriate foot support or an adjustable desk. You lean forward to read the screen. Text size, screen distance and placement. A suitable monitor stand or arm if the existing stand cannot position the screen. Switching between sitting and standing is awkward. Desk controls, cable restrictions and available height range. A desk with easier controls or useful memory settings. You frequently readjust one chair feature. Whether the existing setting holds and fits the task. Compare easier manual controls with adaptive or powered alternatives. The workspace fits, but you rarely change position. Your routine and opportunities to take breaks. A practical reminder or change of activity may help without new furniture. What to Check Before Buying Smart Workspace Equipment Physical Compatibility Measure the available space. Check whether the chair’s armrests clear the desktop, whether a keyboard tray leaves enough legroom, and whether a monitor arm can attach securely to the desk. For a monitor arm, confirm the display’s mounting pattern and weight against the arm’s specifications. For a moving desk, account for accessories above and below the surface, including shelves, drawers and cables. Everyday Controls A feature is easier to use when its control is accessible during normal work. Check whether you can make the adjustments you need without reaching underneath the desk, opening an app or interrupting your task. Power and Offline Operation Ask which functions depend on a battery, outlet, internet connection or app. Do not assume every powered chair or desk behaves the same way when disconnected. Check the exact model’s instructions. Accounts and Data If an app is offered, review whether it requires an account, which permissions it requests and how saved profiles can be deleted. A product being described as smart does not, by itself, establish that it collects posture data or sends information to the cloud. Service and Replacement Parts Review the return terms, warranty scope and support for electrical components as well as the frame. Ask how replacement controls, power supplies or other service parts are obtained when relevant to the product. The chair in the setup Where the HBADA X7 Fits HBADA describes the X7 Smart Ergonomic Office Chair as offering AI lumbar tracking. It is an example of applying smart functionality to a specific part of the seated experience. When considering it for your workspace, review the product’s dimensions, controls and adjustment range alongside your desk measurements. Lumbar tracking does not set your keyboard height or position your monitor, so those adjustments remain part of the setup. Compare the exact model and variant before ordering. Do not assume that features, power requirements or operating modes are identical across the X7 family. Explore the HBADA X7 Frequently Asked Questions Is an adaptive lumbar support the same as AI lumbar tracking? Not necessarily. Adaptive support may use a mechanical response to movement or load. An AI-labeled system depends on the manufacturer’s design. Check how the support moves and what controls it. Do the chair and standing desk need to connect electronically? No. They can work together through suitable dimensions and separate adjustments. Only expect electronic coordination if the manufacturers explicitly document compatibility. Is a monitor arm necessary? Only if it solves a positioning or space problem. If the monitor’s existing stand provides the height, distance and angle you need, an arm may be optional. Can I use a smart ergonomic chair with a regular desk? Yes, provided the chair’s dimensions and adjustment range work with the desk. Check keyboard height, armrest clearance and space for your legs before choosing the chair. What happens when a smart chair runs out of power? That depends on the model. Check which functions require power, which adjustments remain available and whether the manual permits normal use while disconnected. Do not assume a universal backup mode. Can smart furniture automatically create perfect posture? No feature label guarantees that outcome. Your equipment still needs to fit your body and tasks. Automatic adjustments also cannot replace changes of position and activity. Should I replace my entire workspace at once? Usually, you can assess one limitation at a time. Identify what cannot be adjusted adequately, measure the available space and upgrade the component that addresses that problem first. Sources and scope: The IFA section summarizes a manufacturer-issued announcement. HBADA feature descriptions are attributed to the official product page. This article is an equipment-selection guide, not a hands-on comparative test. HUANUO workspace portfolio announcement — September 4, 2026 HSE — Workstation posture guidance HBADA X7 — Official product information Office Chair Casters for Carpet, Hardwood and Tile: Choosing the Right Wheels Office Chair Casters for Carpet, Hardwood and Tile: Choosing the Right Wheels Office chair wheels may look like a minor detail, but they affect how easily your chair moves, how much noise it makes and how well the floor underneath holds up over time. The right caster depends on the flooring, wheel material, wheel diameter and the chair’s total loaded weight. Quick answer Choose soft, non-marking polyurethane or rubber-tread casters for hardwood, laminate, vinyl and tile. Harder wheels generally roll more easily on carpet, while larger-diameter wheels are useful on thicker carpet and floor transitions. Always confirm the stem size, total load rating and flooring manufacturer’s care requirements before replacing office chair casters. Table of Contents Why the floor determines the caster Casters for hardwood and tile Casters for carpet Soft and hard casters compared Do you still need a chair mat? How to replace chair casters Casters on HBADA chairs Limitations and safety notes Conclusion Frequently asked questions Sources Why Does the Floor Determine the Right Caster? The wheel and the floor work as a system. A caster that rolls easily on carpet may be noisy or leave marks on a hard floor. A soft wheel that protects finished wood may require more effort to move across deep carpet. Wheel diameter, tread material, bearing design and floor condition all affect the result. Soft-tread casters commonly use polyurethane or rubber-like materials that provide some cushioning and help reduce noise. Hard-tread casters commonly use nylon or another rigid material. In general, soft, non-marking treads are preferred when floor protection matters, while harder wheels usually require less effort to roll over carpet. Simple rule: softer tread for hard flooring; harder or larger wheels for carpet. For mixed flooring, use a floor-safe caster rated for both surfaces and test it in an inconspicuous area. Which Office Chair Casters Suit Hardwood and Tile? Recommended Soft PU or rubber-tread casters A soft, non-marking tread can reduce rolling noise and lower the risk of scuffs on hardwood, laminate, vinyl and tile. Use Carefully Hard nylon or plastic casters Hard wheels may be noisier on smooth flooring. Dirt or grit trapped beneath a wheel can also scratch a finished surface. Keep both the wheels and floor clean. Even a floor-friendly caster can drag sand, grit or other debris across a finish. Inspect wheels periodically for embedded particles, flat spots and damaged tread. Tile presents a slightly different issue. The wheel may not damage the tile itself, but narrow or hard wheels can create more noise when crossing grout lines. A resilient tread and a suitable wheel diameter generally produce a smoother ride. Flooring warranties vary. Some flooring manufacturers still require protective mats or caster cups under wheeled furniture. Follow the care and warranty instructions supplied with your floor. Which Office Chair Casters Suit Carpet? Carpet changes the question from floor protection to rolling resistance. Low-pile carpet Many standard office chair casters can move across low-pile commercial or home-office carpet. A firmer wheel usually rolls with less resistance, although some multi-surface soft-tread wheels are designed to work on both carpet and hard floors. Thick or plush carpet Thick carpet allows small wheels to sink into the pile. Larger-diameter casters—often around 3 inches—can make movement easier because they cross the carpet with a shallower rolling angle. A rigid chair mat can also provide a firmer surface. Carpet with long fibers Hair and carpet fibers can wrap around caster axles and increase resistance. Twin-wheel casters with thread guards may help, but every wheel should still be inspected and cleaned regularly. Soft and Hard Office Chair Casters at a Glance Caster type Usually suited to Advantages Points to check Soft PU or rubber-tread Hardwood, laminate, vinyl, tile and some low-pile carpets Quieter movement and better protection for finished floors May require more effort on thick carpet Hard nylon or plastic Carpeted work areas Lower rolling resistance on many carpet surfaces Can be noisy or leave marks on hard flooring Large-diameter caster Thick carpet, thresholds and floor transitions Rolls over uneven surfaces and deeper pile more easily Raises the chair and may change its fit under the desk Braked or locking caster Smooth or slightly sloped hard floors Helps keep the chair from moving when stationary The brake must remain accessible and suitable for the chair Twin-wheel caster General office use Distributes the load across two smaller wheels Hair and fibers can collect around the axle Do You Still Need a Chair Mat? Floor-friendly casters can reduce the risk of marks, but they do not guarantee that every floor can be used without a mat. Whether you need one depends on the flooring material, finish, carpet depth, chair use and the flooring manufacturer’s warranty terms. A chair mat remains useful when: The floor is antique, delicate, recently refinished or easily marked. The flooring manufacturer requires protection under wheeled furniture. Thick carpet makes the chair difficult to move. The chair is used heavily in the same small area every day. Grit or debris is difficult to keep away from the workspace. Choose a mat made for the specific surface. Carpet mats usually have grippers underneath, while hard-floor mats should have a smooth, non-damaging backing. How to Replace Office Chair Casters Many office chairs use push-in grip-ring stems, but stem dimensions and attachment systems are not universal. Check compatibility before ordering replacements. Place the chair on its side on a rug, blanket or other protected surface. Inspect the existing attachment. Confirm whether it uses a push-in grip-ring stem, threaded stem or another fitting. Pull a push-in caster straight out while holding the chair base. Use the chair manufacturer’s instructions if it does not release easily. Measure the stem diameter and length. An 11 mm × 22 mm grip-ring stem is common, but it is not universal. Check the replacement caster’s per-wheel load rating, stem type and recommended floor surfaces. Press the compatible caster firmly into the socket until it is fully seated. Return the chair upright and test every wheel at low speed before normal use. Do not hammer in an incompatible stem or modify the chair base. A loose or partially inserted caster can affect stability and create a tipping risk. Which HBADA Chairs Include Floor-Conscious Casters? Caster specifications can vary by model and configuration. The current E3 Pro 2026 product information identifies silent PA+PU casters, while the X7 uses a five-caster base designed for smooth movement. Confirm suitability for your flooring on the current product page before purchasing or replacing any wheels. Feature HBADA X7 Smart HBADA E3 Pro 2026 Caster information Five-caster base; check the current configuration for tread details Silent PA+PU casters Best practice Confirm compatibility with the specific floor finish Keep the PU tread and floor free from grit Seat material Breathable seat with active cooling Breathable CloudMesh seat Maximum stated load 330 lb (150 kg) 330 lb (150 kg) Current warranty information Check the product page and warranty policy Five years on listed core components; three years on other listed components HBADA X7 Smart The HBADA X7 Smart Ergonomic Office Chair combines a five-caster base with AI-powered lumbar tracking, massage, heating and active seat ventilation. Explore the complete HBADA X7 Series for current configurations. HBADA E3 Pro 2026 The HBADA E3 Pro Ergonomic Office Chair 2026 Edition uses silent PA+PU casters together with a steel five-star base. You can also compare the HBADA E3 Series 2026 Edition . For more options, browse HBADA ergonomic office chairs or view all HBADA office chairs . Limitations and Safety Notes Follow the chair and flooring manufacturers’ instructions before changing casters or removing a protective mat. Confirm the stem size and attachment type instead of assuming every office chair uses the same fitting. Check both the per-caster capacity and the total required capacity, including the chair and its user. Larger replacement casters raise the seat and may change desk clearance, foot support and chair stability. Remove hair, fibers and debris before a wheel becomes difficult to rotate. Stop using the chair if a caster is cracked, loose, bent, seized or cannot be seated fully. Replace damaged casters as a complete matched set unless the chair manufacturer states otherwise. Conclusion The right office chair caster depends on the surface underneath it. Soft, non-marking PU or rubber-tread wheels are generally the safer choice for hardwood, laminate, vinyl and tile. Harder or larger wheels usually move more easily on carpet, particularly when the pile is thick. Wheel material is only part of the decision. Check the stem dimensions, load rating, wheel diameter and flooring warranty before making a change. Keep the casters clean, inspect them regularly and use a chair mat when the floor manufacturer or condition of the surface calls for additional protection. Frequently Asked Questions What type of office chair casters is best for hardwood floors? Soft, non-marking polyurethane or rubber-tread casters are generally preferred for hardwood floors. They produce less noise and are less likely to leave marks than hard nylon wheels. Keep the wheels and floor free from grit, and check whether the flooring manufacturer requires a protective mat. Do you need special office chair casters for carpet? Not always. Standard casters may work on low-pile carpet. Thick or plush carpet usually benefits from harder or larger-diameter wheels that do not sink as deeply into the pile. A carpet chair mat can provide an even firmer rolling surface. Will office chair wheels scratch hardwood flooring? Hard, damaged or dirty wheels can mark a hardwood floor. Soft, non-marking casters reduce the risk, but no wheel can guarantee protection under every condition. Sand and grit should be removed regularly, and delicate or warranty-protected flooring may still require a chair mat. Are all office chair caster stems the same size? No. Many office chairs use a push-in grip-ring stem, and 11 mm × 22 mm is a common size, but other dimensions and threaded stems also exist. Remove and measure one existing caster or check the chair manual before buying replacements. Are larger office chair wheels better for carpet? Larger wheels generally roll more easily across thick carpet, thresholds and small floor transitions. However, they also raise the chair. Check desk clearance, seat-height range and overall stability before installing a larger caster. How can you stop an office chair from rolling away? Compatible braked or locking casters can help keep a chair stationary on a smooth floor. Before fitting them, confirm the stem size, load rating and brake clearance. A chair should remain stable when the brakes are applied and should not rely on a damaged or uneven set of wheels. Can office chair casters be used without a chair mat? Sometimes, but it depends on the caster, floor and flooring warranty. Floor-safe casters may work without a mat on many durable surfaces. Delicate wood, recently refinished floors, thick carpet and flooring warranties may still call for a suitable protective mat. Sources HBADA E3 Pro Ergonomic Office Chair 2026 Edition — current product, caster and warranty information. HBADA X7 Smart Ergonomic Office Chair — current product and base specifications. HBADA User Manual and Assembly Guide — model-specific setup and support resources. This article provides general caster-selection and floor-care information. Compatibility varies by chair, caster, floor finish and product configuration. Always follow the applicable chair manual, flooring care instructions and warranty terms. How to Set Up an Ergonomic Office Chair for Dual Monitors How to Set Up an Ergonomic Office Chair for Dual Monitors Dual monitors can make work faster, but a poorly arranged workstation can leave you repeatedly twisting your neck, leaning toward one screen or reaching across the desk. The solution starts with your chair—not your monitors. Quick answer To set up an ergonomic office chair for dual monitors, adjust the seat height so your forearms are approximately level with the desk, support your lower back and keep your feet flat on the floor or on a footrest. Place your primary monitor directly in front of you. Angle the second monitor inward and swivel your chair to face it, so your body turns together instead of repeatedly twisting your neck. Table of Contents Why dual monitors can strain your neck How to set up your chair first How to position two monitors Common problems and fixes Dual-monitor setup checklist Which HBADA chair suits dual-monitor work? Limitations and when to get help Conclusion Frequently asked questions Sources Why Can Dual Monitors Strain Your Neck? Start with the hidden cost of a second screen. Two monitors create two visual anchors, and your body tends to follow them. When one screen sits too far to the side, you may repeatedly turn your head and torso toward it. Over a long workday, that uneven position can contribute to fatigue and discomfort. The Occupational Safety and Health Administration recommends positioning a primary monitor directly in front of the user. When multiple monitors are used equally, they should sit next to one another within a comfortable viewing angle that requires minimal head movement. The practical fix has two parts. Arrange the monitors to reduce large head turns, and use a chair that allows your whole body to swivel toward the active screen. Keep in mind: An ergonomic setup may help support a more comfortable working position, but it is not a treatment for neck, shoulder or back pain. How Should You Set Up the Chair First? Set the chair before arranging the screens because the chair establishes your working position. 1 Set the seat height Raise or lower the seat until your elbows remain close to your body and your forearms can stay approximately level while typing. 2 Support your feet Keep both feet flat on the floor. If they do not reach comfortably, use a stable footrest instead of lowering the chair too far. 3 Adjust the seat depth Leave roughly two to three fingers of space between the front edge of the seat and the backs of your knees. 4 Position the lumbar support Adjust the lumbar support until it meets the natural curve of your lower back without pushing you uncomfortably forward. 5 Set the armrests Support your forearms while keeping your shoulders relaxed. Avoid armrest positions that force your shoulders upward. 6 Test the swivel Make sure the chair can turn smoothly toward either monitor without the casters catching on cables or nearby furniture. Useful habit: When moving from one monitor to the other, swivel the chair and turn your torso with your head. Avoid leaving your body facing forward while your neck remains turned. How Should You Position Two Monitors? Arrange the screens around your seated working position. The correct layout depends on whether one monitor is primary or both are used equally. One primary monitor Place the main display directly in front of you. Position the secondary monitor immediately beside it and angle it inward. Keep frequently used windows on the main display. Two equally used monitors Place the screens side by side with their inner edges together. Center your body near the point where the screens meet and angle them inward in a shallow V. Match the monitor height Position the top of each screen at or slightly below eye level. Both monitors should be at the same height unless a specific visual need requires a different position. Match the viewing distance OSHA generally recommends a viewing distance of approximately 20–40 inches (50–100 cm). Choose a distance at which you can read the screen while keeping your head and torso upright and your back supported. Center the keyboard and mouse Center the keyboard and mouse on your main task. Keep the mouse close enough that you do not repeatedly reach, lean or pull one shoulder forward. Common Dual-Monitor Problems and Their Fixes Use this table to connect common workstation problems with practical adjustments. Problem Likely cause Adjustment to try Neck turns toward one side The second monitor is positioned too far away from the center Move it closer, angle it inward and swivel the chair toward it Head tilts upward or downward The monitors are at different or unsuitable heights Match their height and keep the tops at or slightly below eye level Eyes repeatedly refocus The screens have different distances, brightness or text sizes Match the viewing distance and adjust brightness and scaling You reach for the mouse The keyboard or mouse is too far to one side Center the input devices on the main task and keep them close You slouch later in the day The lumbar support is misplaced or sitting remains static for too long Readjust the lumbar support and take short movement breaks One shoulder feels tired You are twisting instead of turning your whole body Rotate the chair and torso toward the active monitor Your Dual-Monitor Chair Setup Checklist Complete these adjustments in order, then fine-tune the setup based on how your body feels during normal work. Set the chair height so your elbows stay near your sides and your forearms remain approximately level. Keep your feet flat on the floor or support them with a footrest. Leave roughly two to three fingers of clearance behind your knees. Position the lumbar support against the natural curve of your lower back. Adjust the armrests to support your forearms without raising your shoulders. Place the primary monitor directly in front of your normal seated position. Put the second monitor beside the first and angle it inward. Match the screens’ height and viewing distance where practical. Center the keyboard and mouse on the task you perform most frequently. Swivel toward the active screen and take short, regular movement and eye breaks. Which HBADA Chair Suits Dual-Monitor Work? A dual-monitor chair should offer stable support, adjustable armrests and smooth rotation. The X7 and E3 Pro take different approaches: the X7 emphasizes automatic support, while the E3 Pro emphasizes manual adjustability. Feature HBADA X7 Smart HBADA E3 Pro 2026 Best suited to Users who prefer automatic lumbar adjustment and smart comfort features Users who prefer manually controlled ergonomic adjustment Lumbar support AI-powered lumbar tracking with adjustable intensity Three-zone adaptive lumbar system with manual adjustment Armrests 720° full-range armrest system 720° OmniMechanical armrests Headrest 4D dual-axis headrest 4D dual-axis headrest Recline 105°–140° with four working and resting positions 105°–140° recline range Seat-height information 17.52–20.87 inches (44.5–53 cm) Confirm the current configuration on the product page Recommended user height 4'11"–6'5" (150–195 cm) 5'1"–6'5" (155–195 cm) Maximum stated load 330 lb (150 kg) 330 lb (150 kg) Prefer support that adjusts automatically? The HBADA X7 Smart Ergonomic Office Chair uses AI-powered lumbar tracking to respond as your posture changes. Its adjustable armrests and dual-axis headrest can also support different working positions across a two-screen desk. Explore the complete HBADA X7 Series . Prefer to control each adjustment manually? The HBADA E3 Pro Ergonomic Office Chair 2026 Edition combines three-zone lumbar support, adjustable seat depth, a dual-axis headrest and 720° armrests. You can also compare the HBADA E3 Series 2026 Edition , browse ergonomic office chairs or view all HBADA office chairs . Product note: Features, dimensions, availability and included accessories may vary by model, color and configuration. Check the current product page before ordering. Limitations and When to Get Help A chair can support a more comfortable posture, but it is not a medical treatment. Monitor placement, desk height and input-device position matter as much as the chair. A monitor arm or stand may be necessary when the screens cannot be aligned. People who wear bifocals or progressive lenses may need a lower monitor position. If discomfort is severe, persistent, follows an injury or radiates into the arm, seek guidance from a qualified healthcare professional. Conclusion A comfortable dual-monitor workstation begins with a stable seated position. Adjust your ergonomic office chair so your forearms are supported, your feet are stable and the lumbar support meets your lower back. Then position the main monitor directly in front of you and angle the second display inward. The most important habit is simple: swivel toward the screen you are using instead of repeatedly twisting your neck. If you want automatic lumbar adjustment, consider the HBADA X7 Smart. If you prefer manual ergonomic control, compare the HBADA E3 Pro 2026. Frequently Asked Questions How should dual monitors be positioned ergonomically? If one monitor is used most often, place it directly in front of you and position the second monitor immediately beside it, angled inward. If both are used equally, place their inner edges together, center yourself near the join and angle the screens inward in a shallow V. Should dual monitors be at eye level? The top of each monitor should generally be at or slightly below eye level. Try to keep both screens at the same height so you do not repeatedly tilt your head while moving between them. People who wear bifocals or progressive lenses may need a lower screen position. How far should dual monitors be from your eyes? OSHA recommends a general viewing range of approximately 20–40 inches (50–100 cm). Select a distance that allows you to read the screens while keeping your head and torso upright and your back supported. Does chair position matter when using two monitors? Yes. A properly adjusted chair establishes your working height and gives you a supported base. A smooth swivel also allows you to turn your body toward the active monitor instead of relying on repeated neck rotation. How can you reduce neck discomfort with dual monitors? Place the primary monitor in front of you, keep the second monitor close and angled inward, match the screens’ height and distance, and keep the keyboard and mouse within easy reach. Swivel your chair toward the active screen and take regular movement breaks. Persistent or severe symptoms should be assessed by a healthcare professional. Where should the keyboard sit with two monitors? Center the keyboard on the monitor used for your main task. If you use both screens equally, center the keyboard near the point where the two screens meet. Keep the mouse close to the keyboard to reduce reaching. Sources The workstation guidance and product details in this article were prepared using the following sources: Occupational Safety and Health Administration: Computer Workstation Monitor Guidance Occupational Safety and Health Administration: Computer Workstation Evaluation Checklist HBADA X7 Smart Ergonomic Office Chair HBADA E3 Pro Ergonomic Office Chair 2026 Edition This article provides general workstation information and is not medical advice. Individual needs vary. Product specifications and availability may change; consult the current HBADA product page for the latest information.