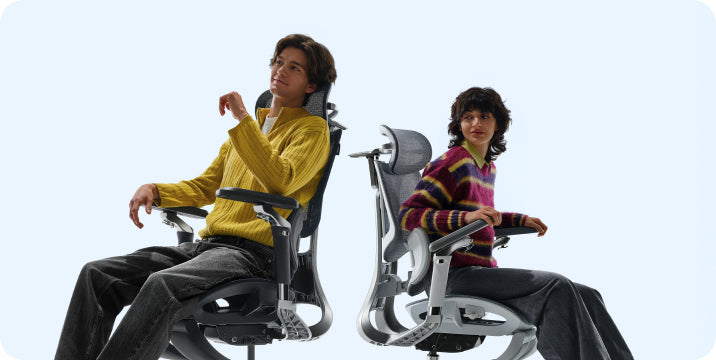
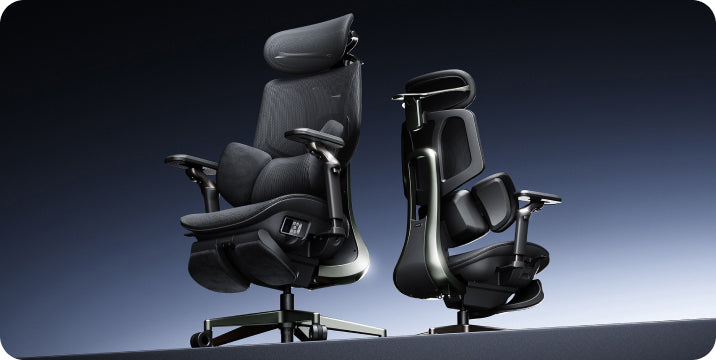


A shared desk.
A setup that is yours.
Someone else’s chair settings do not have to become your working posture. A simple reset helps you make a shared ergonomic office chair fit your body before the day begins.
How do you adjust a shared ergonomic office chair? Start with seat height, then seat depth, lumbar support, armrests and recline. Check the desk and screen afterward. Once you know the controls, aim for a quick one-minute check, taking longer whenever you need to fine-tune the fit.
Why must you reset a shared chair?
A hot-desk chair usually arrives set for whoever used it last. Their legs, back and arms may differ from yours, so the seat, lumbar support and armrests may not be in the right position for you.
Small mismatches can become distracting during a full workday. You might perch on the front edge because the seat is too deep, raise your shoulders to reach the keyboard or sit away from the backrest because the lumbar support is in the wrong place.
Resetting the chair gives you a more useful starting point than adjusting your posture around someone else’s settings. It also gives you a chance to check the rest of the workstation before getting absorbed in work.
Think beyond the seat. OSHA’s computer workstation guidance treats chair adjustment, desk setup and equipment placement as connected parts of the workstation. Explore OSHA’s chair guidance.
What order should you adjust the chair in?
Start with the settings that establish your overall position. Seat height sets your relationship to the desk; seat depth determines how far back you can sit. Then position the lumbar support and armrests around that foundation.
Your reset sequence:
Seat height → seat depth → lumbar support → armrests → recline → desk and screen check.
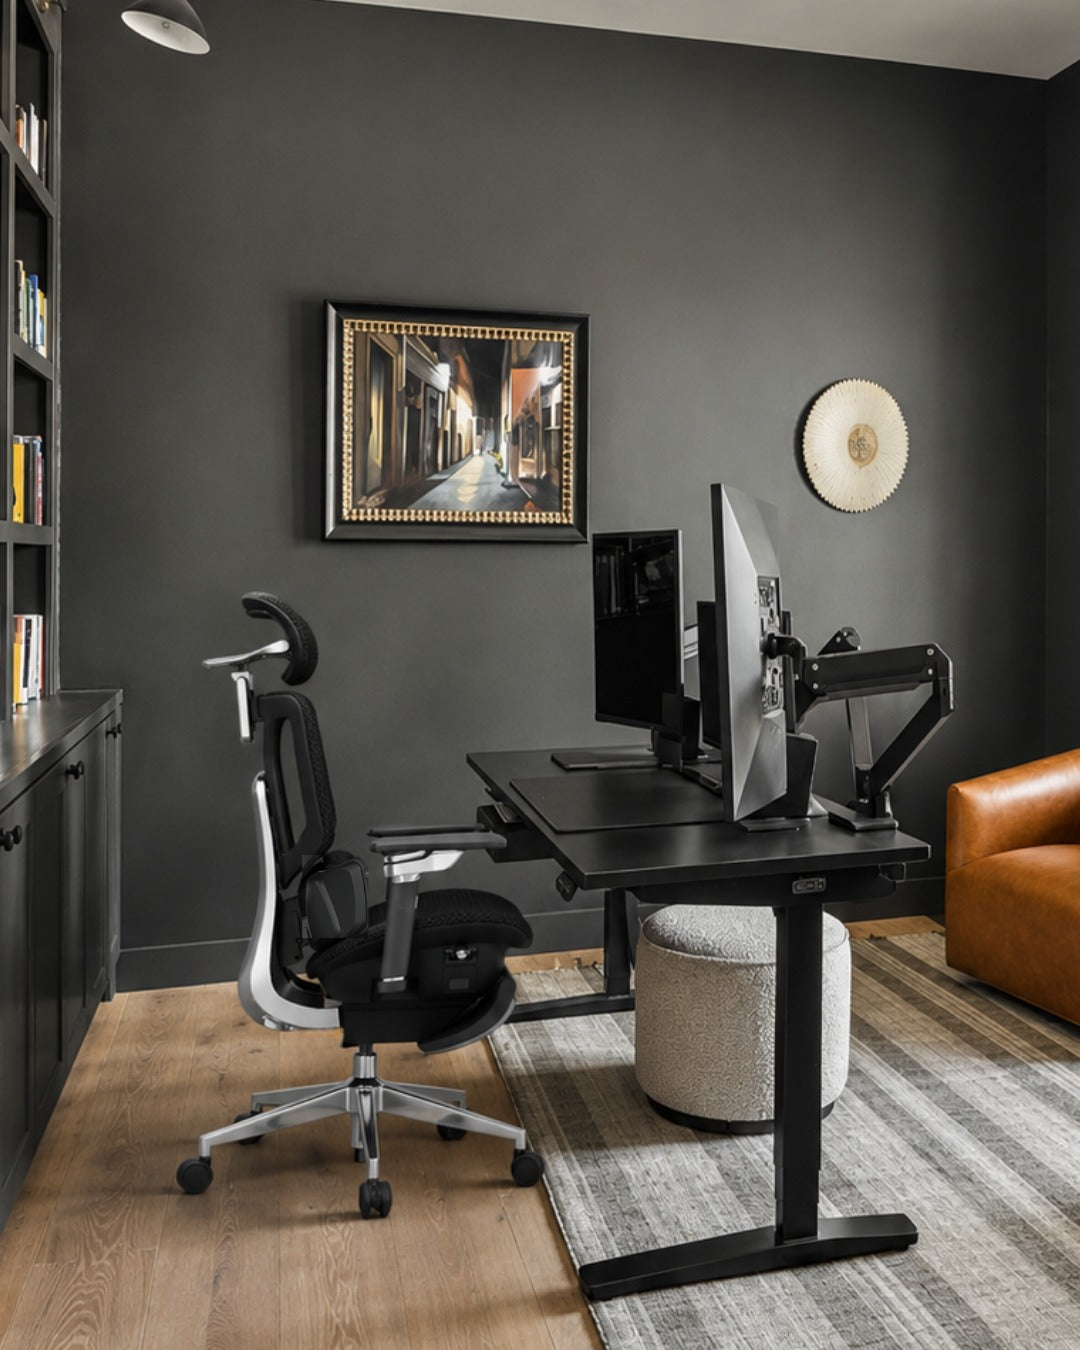
At a height-adjustable desk, set the chair for supported feet and then bring the work surface to a comfortable working height. At a fixed-height desk, you may need to raise the chair to reach the keyboard comfortably and use a separate floor footrest.
Treat the sequence as a practical routine, not a rigid rule. If changing one setting affects another, go back and make a small correction.
The 60-second hot-desking reset
Learn the controls first, then use these five steps as a quick daily routine. The goal is a repeatable setup—not finishing before a timer runs out.
-
Set the seat height
Sit back and position yourself so you can reach the keyboard without lifting your shoulders. Keep your feet supported on the floor or a stable floor footrest, and check that the seat edge does not press into the backs of your thighs.
-
Slide the seat to fit your legs
Adjust the seat depth while keeping your back against the backrest. Leave roughly two to three fingers of clearance behind your knees as a starting point, then check that the position feels comfortable.
-
Position the lumbar support
Move the support toward the curve of your lower back. It should feel supportive rather than push you forward. With automatic tracking, still check the starting position and available support settings.
-
Bring the armrests to you
Adjust the available height, width or rotation so your forearms can rest without raising your shoulders. Make sure the armrests do not block you from moving close enough to the desk.
-
Check the recline
Lean back gently and locate the tilt lock. Adjust resistance if the chair has a manual tension control. With an automatic mechanism, check that the movement feels controlled and supportive.
| Adjustment | Aim for | Quick check |
|---|---|---|
| Seat height | Comfortable access to the work surface | Feet supported; shoulders relaxed |
| Seat depth | Thigh support with knee clearance | You can sit back without pressure behind the knees |
| Lumbar support | Comfortable contact with the lower-back curve | You do not feel pushed toward the seat edge |
| Armrests | Supported forearms and relaxed shoulders | You can move close to the keyboard |
| Recline | Controlled, supported movement | You understand the lock and resistance controls |
| Floor footrest | Foot support when the floor is out of reach | Both feet rest securely without stretching downward |
What makes a chair good for hot desking?
A shared chair earns its place when different users can adjust it easily and understand how its controls work. Look beyond the feature count to how practical those adjustments are during a busy workday.
- A useful adjustment range: compare seat height, depth and width with the people using the workspace. One chair may not fit everyone.
- Clear, accessible controls: users should be able to identify and reach the controls without guessing.
- Suitable build and service support: check intended use, maintenance requirements, replacement parts and warranty coverage.
- Practical materials: breathable mesh allows airflow, while cleaning suitability depends on the specific materials and care instructions.
- Appropriate capacity and dimensions: check both the weight limit and physical fit. Capacity alone does not tell you whether the seat fits.
Make adjustment easy to learn. Keep a short setup card or a link to the chair’s instructions at each shared desk. A clearly labeled control is more useful than a feature nobody knows how to operate.
How do you keep a shared chair hygienic?
Armrests, controls and headrests are common touch points. A consistent cleaning routine helps keep the chair pleasant for the next person.
- Follow the chair’s care instructions and your workplace cleaning procedure.
- Use a suitable cloth and a cleaner approved for the surface. Do not assume every disinfectant is compatible with mesh, padding or finishes.
- Avoid soaking the seat or spraying liquid directly into controls, ventilation openings or electrical components.
- Allow cleaned surfaces to dry before the next use.
- Report spills, loose parts and damaged controls promptly. Remove an unsafe chair from use.
Breathability and hygiene are separate considerations: mesh allows airflow, but it still needs appropriate care.
Which HBADA chair suits shared desks?
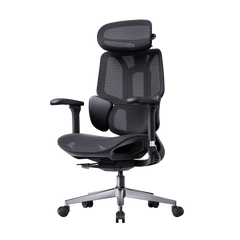
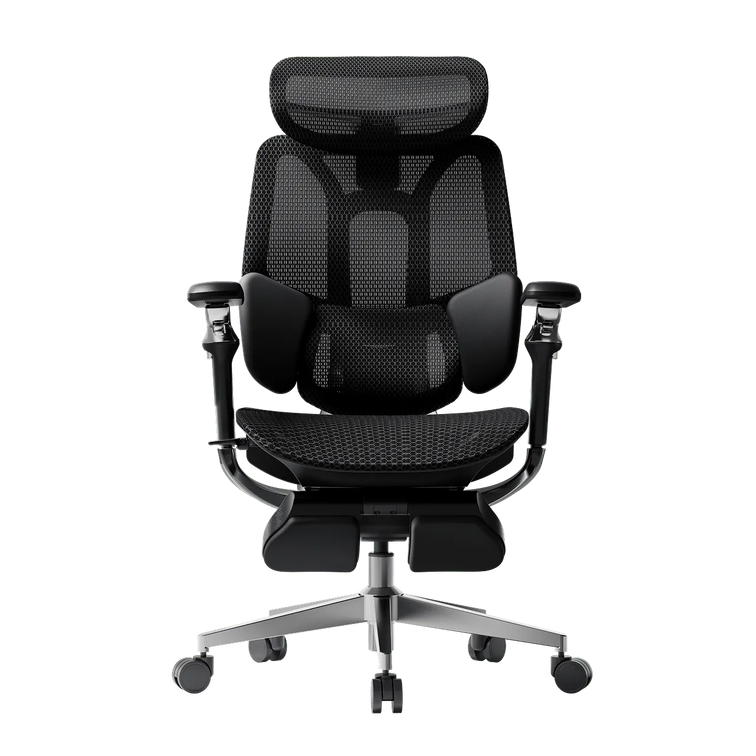
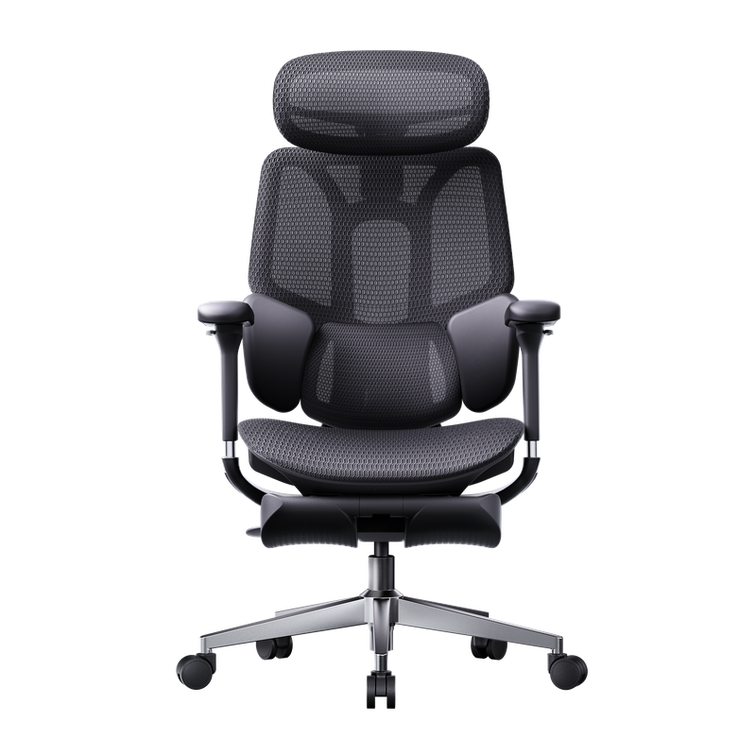
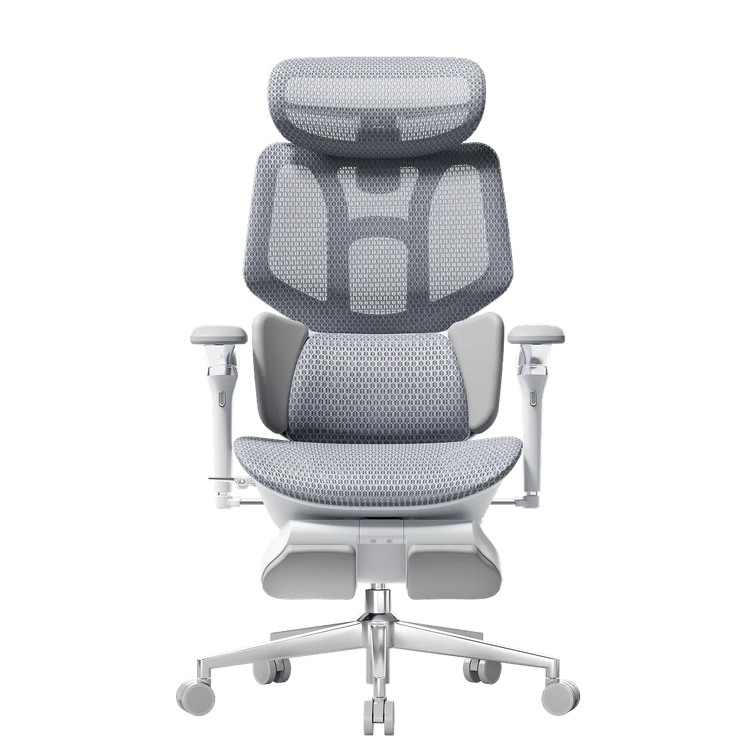
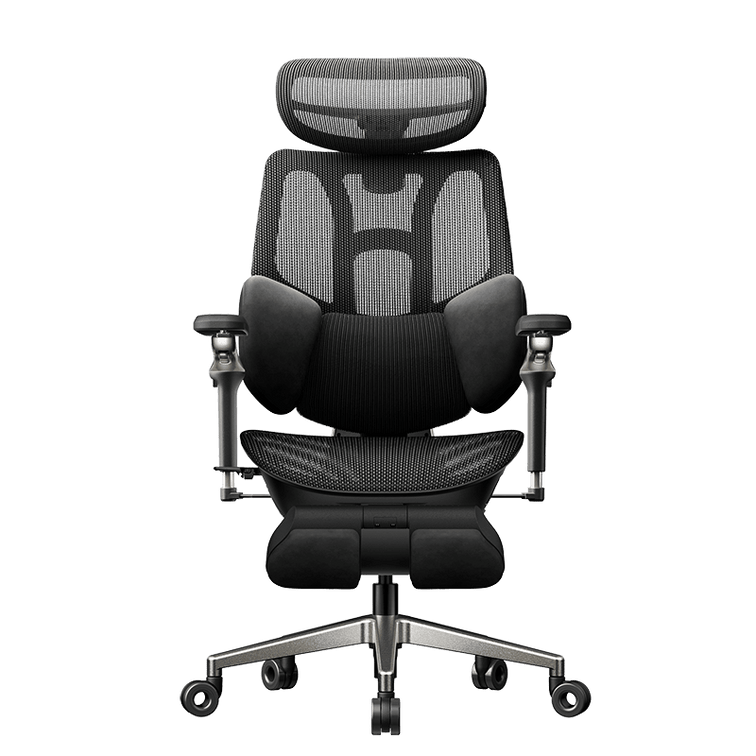
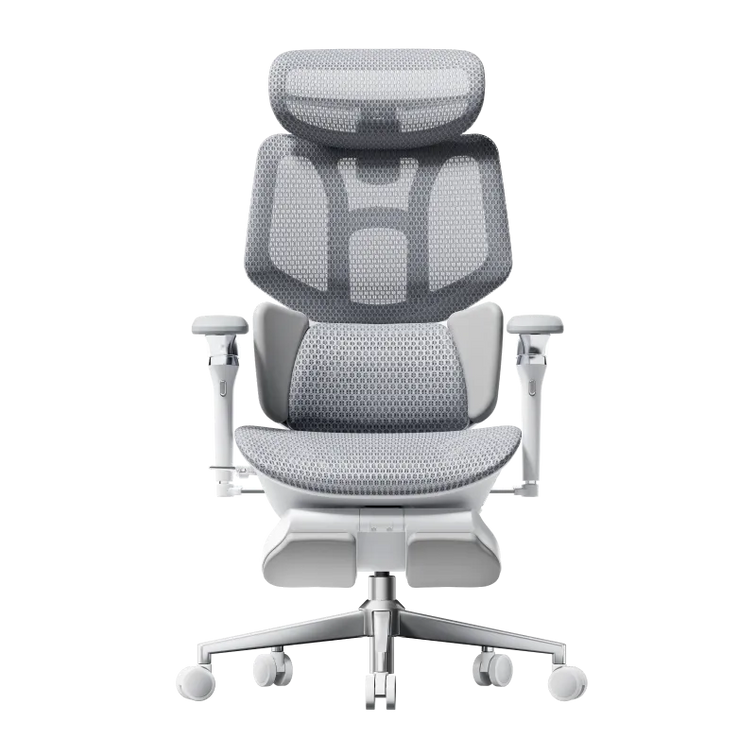
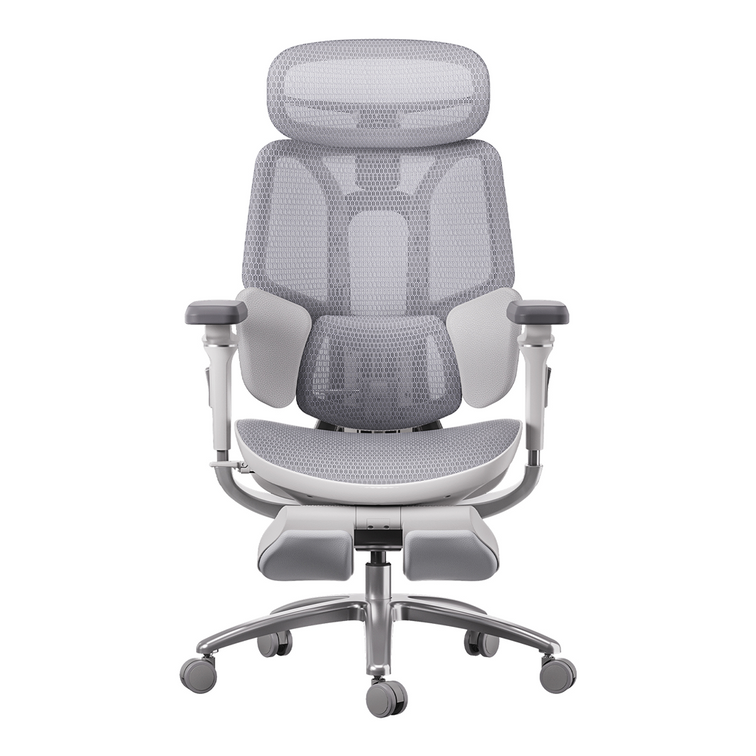
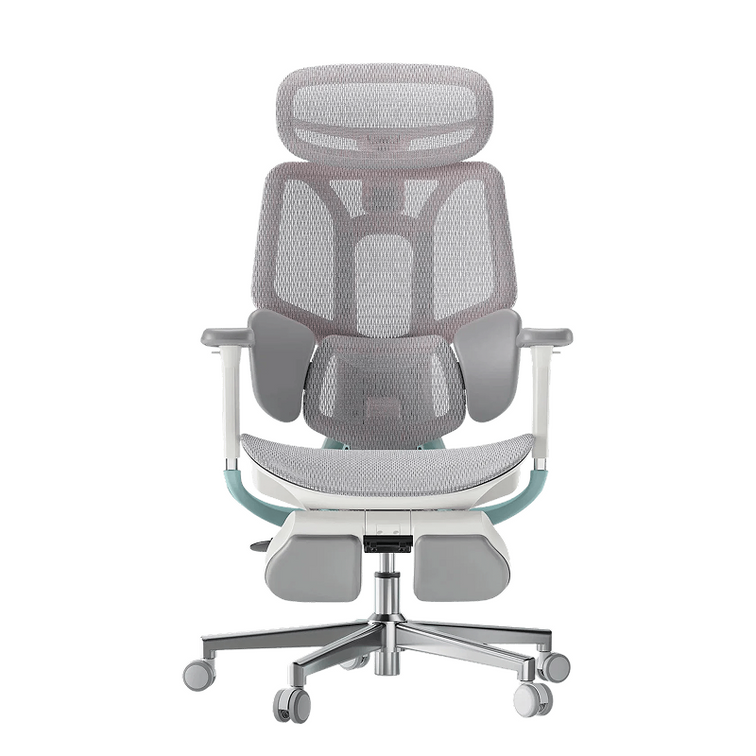
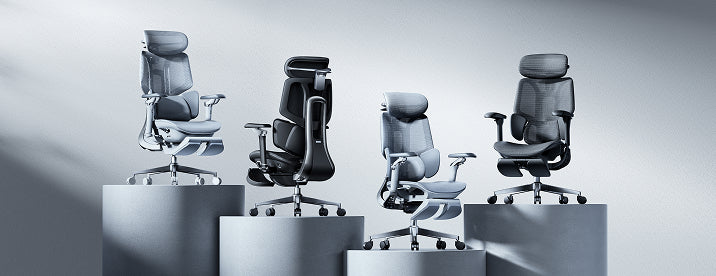
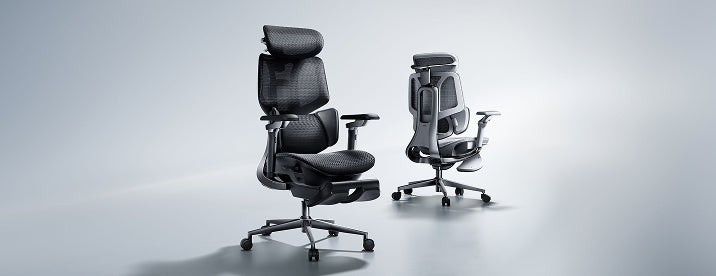
The HBADA X7 and E3 Pro 2026 take different approaches to lumbar support. Compare fit first, then decide whether powered tracking or mechanical adjustment better suits the workspace.
| Consideration | HBADA X7 | E3 Pro 2026 |
|---|---|---|
| Lumbar approach | Powered automatic lumbar tracking | 3-zone adaptive lumbar support with mechanical adjustments |
| Daily reset | Check seat fit, armrests and preferred tracking settings | Check seat fit, lumbar position and armrests |
| Seat material | Breathable mesh | Breathable high-elastic mesh |
| Adjustment preference | For users who want powered lumbar tracking | For users who prefer hands-on mechanical adjustment |
| Before purchasing | Confirm dimensions, configuration and power requirements | Confirm dimensions and the selected footrest configuration |
X7: powered lumbar tracking
Consider the X7 if you want lumbar support that responds automatically to posture changes. Each user should still check seat fit, armrests and preferred support settings.
Explore HBADA X7 →E3 Pro 2026: mechanical adjustment
Consider the E3 Pro 2026 if you prefer hands-on adjustment with adaptive lumbar support, adjustable armrests and a breathable mesh seat.
Explore E3 Pro 2026 →Refer to the linked US product listings for current dimensions and configurations. For office-wide purchasing, confirm shared or intensive-use requirements and warranty terms before ordering. Automatic lumbar tracking does not automatically fit the entire chair to a new user.
Limitations and when to get help

A chair reset is one part of setting up a shared workstation. It cannot compensate for every desk, screen or individual fit issue.
- Check screen position, keyboard reach and available leg space after adjusting the chair.
- If the adjustment range does not fit you, ask for a suitable alternative rather than forcing a position.
- Change posture and take movement breaks throughout the day.
- Ask for a workstation assessment if you cannot find a comfortable setup.
- For severe, persistent or radiating pain, consult a qualified healthcare professional.
The takeaway: make the setup yours
Hot desking works better when you take a moment to adjust the workstation. Start with seat height, then work through depth, lumbar support, armrests and recline. Finish by checking the desk and screen.
Choose powered tracking if that suits your routine, or mechanical adjustment if you prefer a hands-on setup. Either way, learning the controls once makes every future reset more straightforward.
Frequently asked questions
How do you adjust an office chair for your body?
Start with seat height and depth, then position the lumbar support and armrests. Check the recline controls and finish by reviewing the desk and screen. Look for supported feet, relaxed shoulders and comfortable clearance behind your knees.
Is hot desking bad for your back?
Hot desking does not automatically mean an uncomfortable setup. Problems can arise when the chair or workstation does not fit the user or is difficult to adjust. Learn the controls, review your fit and keep movement in your workday.
What should you look for in a shared office chair?
Look for a useful adjustment range, clear controls, suitable dimensions and materials you can maintain according to the care instructions. Check intended use, weight capacity and after-sales support. A single model may not suit every colleague.
How do you know a chair fits after resetting it?
Check that your feet are supported, your thighs rest comfortably and the seat does not press behind your knees. Lumbar support should meet your lower back, and you should reach the keyboard with relaxed shoulders. Reassess comfort as you work.
Should a shared chair have a footrest?
Some users need a separate floor footrest when a fixed desk requires a higher seat position. A retractable chair footrest supports the legs during reclining and serves a different purpose. Choose support according to the working position.
Does automatic lumbar tracking adjust the whole chair?
No. Automatic lumbar tracking responds to posture changes, but it does not replace checking seat height, seat depth, armrests or workstation fit. Each new user should still run through the reset.
Can you really reset a chair in 60 seconds?
A familiar chair can be quick to check, but one minute is a practical target rather than a guarantee. Allow more time when learning a new chair or adjusting an unfamiliar workstation.
Sources
General workstation guidance is based on OSHA’s computer workstation resources. Product information refers to the linked HBADA US listings.