
Cart
Your shopping cart is empty
Continue Shopping
Every Order, Backed by HBADA
30-day in-home Trial
Free 2-5 Business-Day Shipping
5-Year Hassle-Free Warranty
24/7 Customer Support


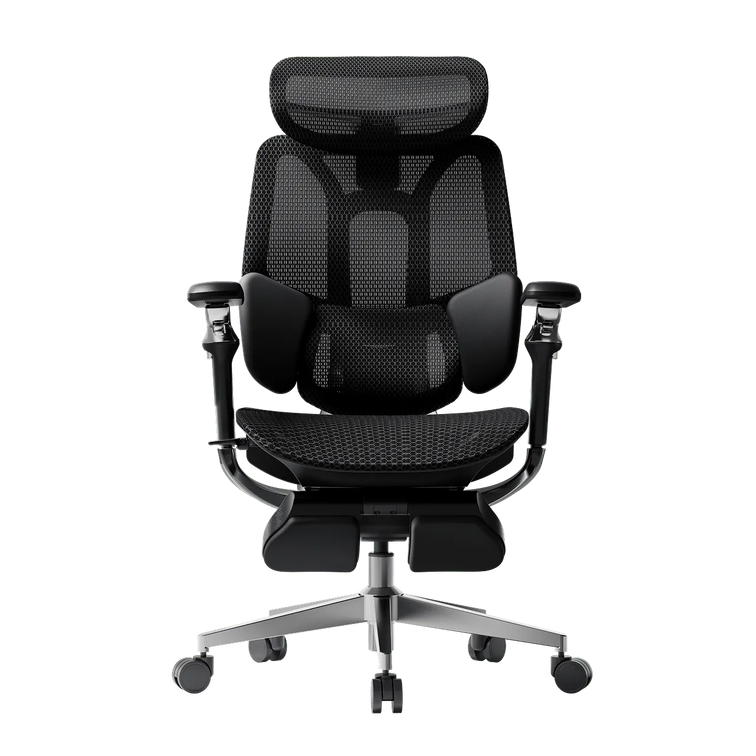
HBADA E3 Ultra Ergonomic Office Chair

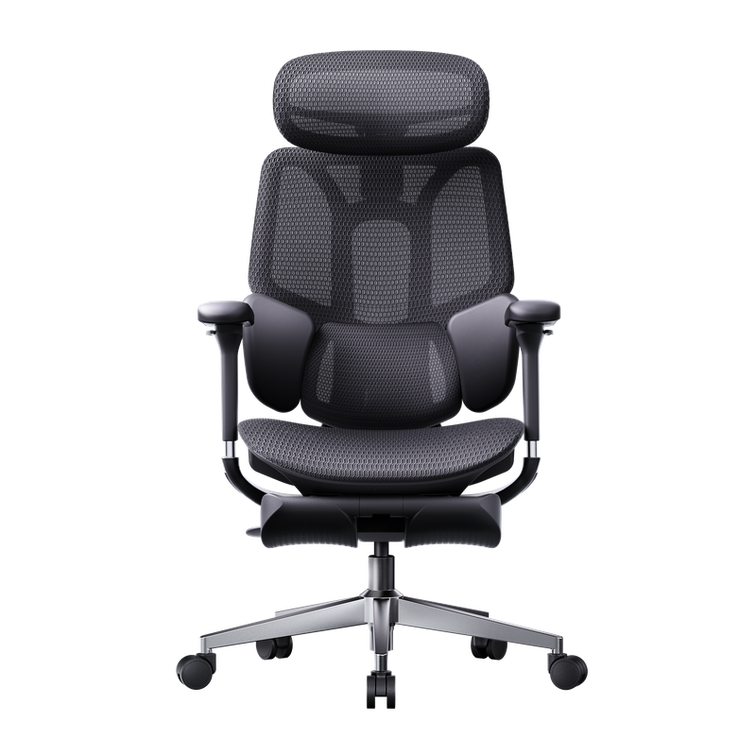
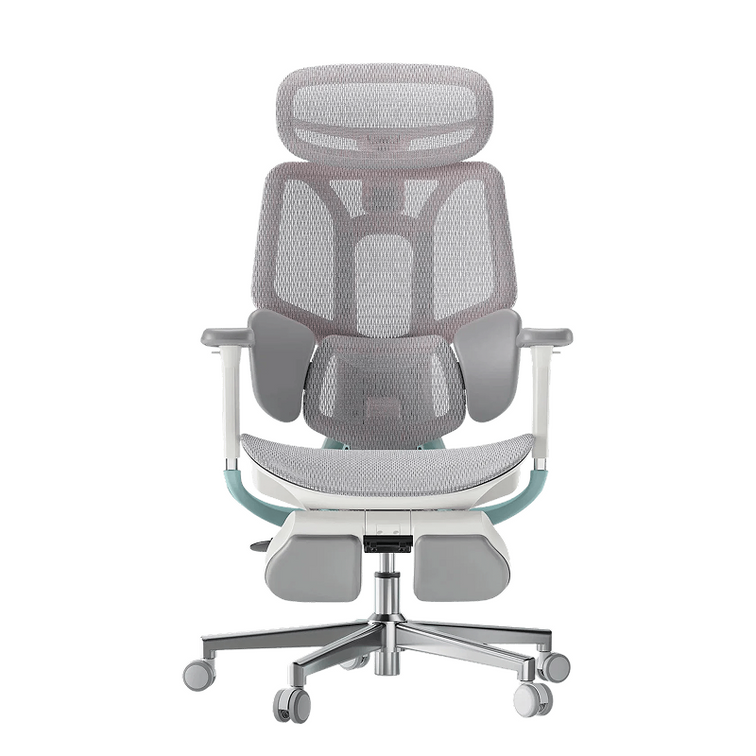
HBADA X7 Smart Ergonomic Office Chair with AI Lumbar Support

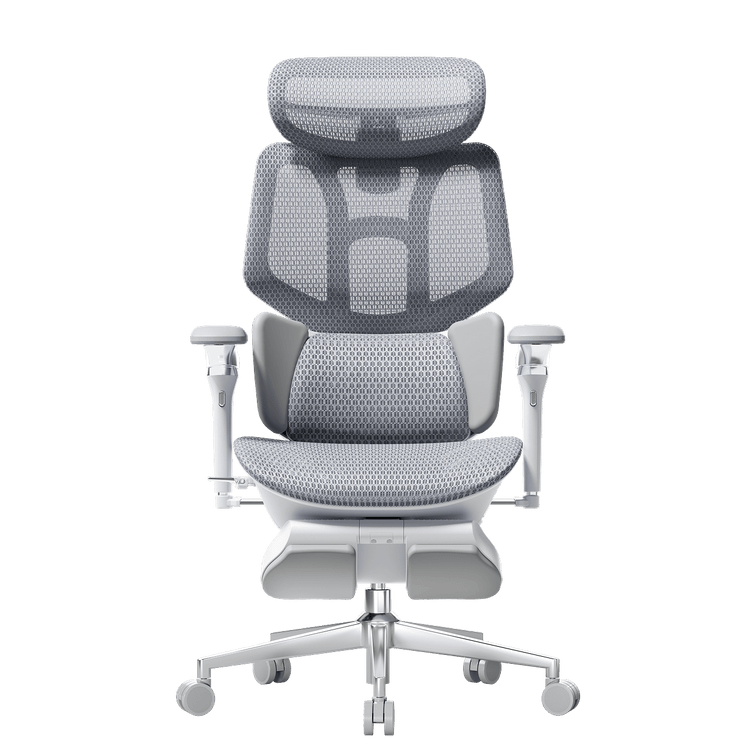
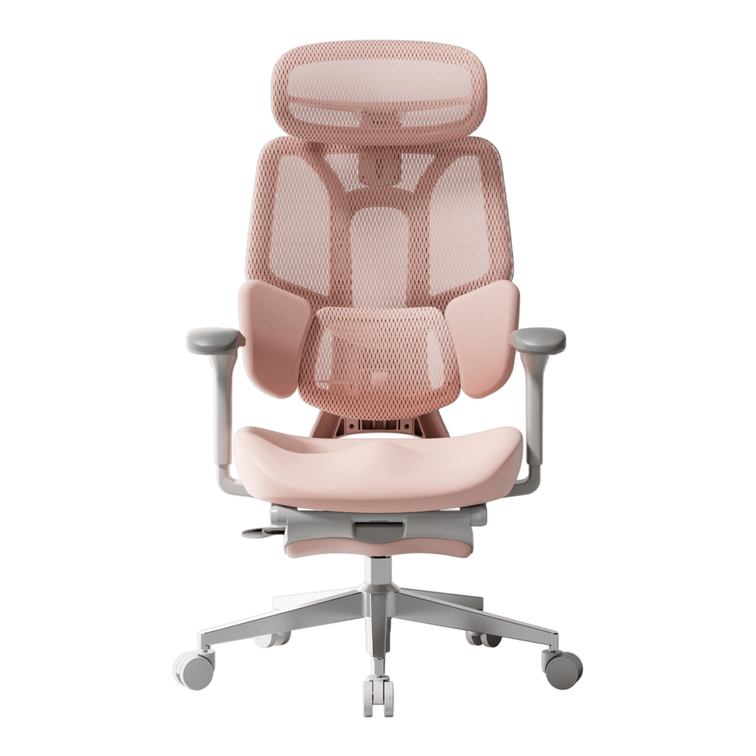
HBADA E3 Pro Ergonomic Office Chair 2026 Edition

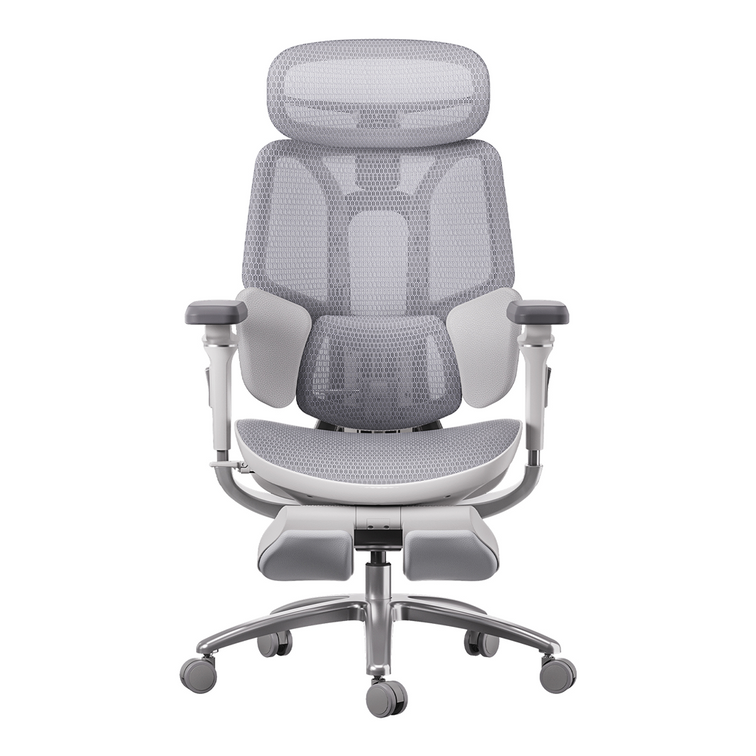
HBADA E3 Air Ergonomic Office Chair 2026 Edition
Remove this item from your cart?
Cart
Step-by-step assembly guides, video tutorials, and quick tips to get your HBADA chair set up in minutes — no special tools or professional help required.
Hello,
We apologize for the inconvenience.
You can refer to our official complete assembly video at:https://www.youtube.com/@HbadaGlobal.
The video provides clear, full‑process instructions to help you assemble your chair safely and easily.
If you cannot access the video or need further assistance, please provide your order number, and we will send you the corresponding assembly video based on your chair model.
If you have any questions during installation, feel free to contact us anytime — we are happy to guide you step by step.
Thank you for your cooperation and patience.
Best regards,
Customer Service Team
Hello,
We apologize for the inconvenience.
If any screws are missing, damaged, or do not fit properly during the assembly process, please contact our customer service team and provide your order number, clear photos of the problematic parts, the barcode on the chair base, and your delivery address.
We will promptly arrange to send you the corresponding replacement screws or accessories free of charge to ensure you can complete the assembly smoothly.
In the event that the required accessories are out of stock, we will provide you with the corresponding purchase link. After you make the purchase, please send us the invoice, and we will reimburse the full cost for you.
Thank you for your cooperation and patience.
Best regards,
Customer Service Team
Hello,
Hope this will help you.
Referring to the operation video link:www.youtube.com/shorts/KULJrSYNjnoThere are a total of 7 gears for the lumbar support (including the initial gear). Pulling up 6 gears will produce a gear sound, and pulling down 7 gears will unlock the gear. After unlocking, pull to the bottom to readjust the position. Attach the video link:www.youtube.com/watch?v=JDnNLkLM_HcThe front and rear adjustment is not reset when you use it. You need to pull it to the last unlock. This guide groove can only be fixed in front and back after squeezing and unlocking the inner buckle.
Thanks
Customer Service Team
Hello,
Hope this will help you.
When working or studying: Sit upright, adjust the armrests to elbow height (approximately 90°) and align them with your desk. Lower the headrest slightly to naturally support your neck.
When gaming: Lean forward slightly, lower and move the armrests forward to keep your wrists relaxed. Raise the headrest a little to provide comfortable support when you occasionally lean back.
When resting or napping: Recline the backrest, and simultaneously raise the armrests and headrest to ensure your head, neck, and arms are fully supported.
For detailed adjustment methods, you can find the corresponding detailed adjustment video through the link provided:https://www.youtube.com/@HbadaGlobal.
Thank you for your cooperation and patience.
Best regards,
Customer Service Team
Hello,
Hope this will help you.
Squeaking noises from your chair are usually caused by friction between moving parts, loose screws, or dry joints. You can resolve the issue by following these steps:
Hello,
Hope this will help you.
A chair that keeps sinking is almost always caused by a faulty or worn-out gas lift cylinder, which loses internal pressure and can no longer hold weight.
You may try these quick checks:
Make sure the height adjustment lever is fully released or locked properly.
Check if any parts under the seat are blocking the mechanism.
If the chair still sinks, the gas lift needs to be replaced.
Please contact our customer service with your order number, photos of the issue, base barcode, and delivery address. We will arrange a replacement gas lift for you.
Best regards,
Customer Service Team
Hello,
Hope this will help you.
If the backrest reclining mechanism gets stuck and cannot be unlocked, please try the following steps:
Lean back firmly to release the tension inside the mechanism.
Check for loose screws, foreign objects, or plastic parts that may be jamming the mechanism.
If the mechanism still cannot be unlocked after the above operations, please contact our customer service with your order number, photos of the issue, the barcode on the chair base, and your delivery address. We will provide further support and handle the problem promptly.
Best regards,
Customer Service Team
Hello,
To keep the high-density mesh fabric in good condition, please follow these cleaning and maintenance tips:
Hello,We recommend checking and tightening all bolts and screws once every 1–3 months, depending on daily usage intensity.
If you use the chair heavily for long hours every day, check monthly.
For normal home use, checking every 3 months is sufficient.
Regular tightening prevents squeaks, wobbling, and loose parts, extending your chair’s lifespan.
Thank you for your understanding. Best regards,Customer Service Team
Hello,When storing your chair for an extended period, please follow these guidelines:
Place the chair in a cool, dry, well-ventilated indoor area.
Avoid direct sunlight and prolonged exposure to prevent fading, cracking, or damage to the mesh, plastic, and cushion materials.
Keep it away from sharp objects, heavy pressure, and moisture to avoid deformation or mold.
If possible, cover it with a dust cover to keep it clean.
Thank you for your understanding. Best regards,Customer Service Team
Hello,This chair uses universal wheels with high compatibility.
You may purchase universal casters with a diameter of approximately 50mm and a stem size of around 38mm online or at hardware stores; they can be installed directly.
If you cannot find a suitable store to buy them from, we recommend this link for you to purchase the corresponding wheels.
https://www.amazon.de/-/en/Waytex-Universal-Office-Wheels-78152/dp/B07BGFL38W/ref=sr_1_2?dib=eyJ2IjoiMSJ9.HXcGQyn5ZABChGYdgNwPx9wS14nZKWnlX49F849urZG8QJgP1zuLUQ5mLl3VaGgGEFXQym0jqFVZTGWNC9dG__ZVvddHhTYHM6HuKloOeKDFWPCw-kD5yPIvgPA4QIOuD3F1A5CFoEktcKCCHw3atu1bT-YmHiBVE8mdqfH8s1J30j0s_ExzhH0sxTGhXHC6A6G8WO1hU4Z4mHDo81T2lgABw11-tEX8kiSBQdENvAQWCDKEZflVF5xi3msxp8Qyp5IGZM0vX17RnSICrQzLmE_kz5ibaP3lO1SXjJnykkU.C-YEy3VaCY8AFlNBrR-ARfIScA0ExUkYDTjMYFwAaX8&dib_tag=se&keywords=office+chair+caster+wheels+60mm+diameter+38mm+bore&qid=1772327127&sr=8-2(EU/UK)https://www.amazon.com/MaxGear-Replacement-Rotating-Including-Universal/dp/B094FNDZQG/ref=sr_1_5?crid=36FJM37V09XQY&dib=eyJ2IjoiMSJ9.lJSRt_KxvF03o9Ii1dnTFaiieou7JjyZdjFEfyh_25-HWDw68ygnzUyVrV7GE6gkpFu9_JD9PGff2EKqpuiWbyPOMoDRf-4O0s85RNV_QKwRzkVMHCVqFKfKYDd7HdwJoL5BnEJZPTs1BhUVRJRVOTp4iMD9BnJ_fpA3-u2yu0y-EGgc-mKefRlBvg6zW3nxksbqhWGcB61l67_b0zz5RkFhiqI_x0w-WbBnWsJ6NsLAHi7rPH2a5XnXhNdQRbdxbcxksnmLXt7V_HUBhzftN1WbmqzCqjyVec8dUNXoCQE.Ww9hvA2G54R87N1o7b0loC-Xp3zISnukTdeeJOa92uc&dib_tag=se&keywords=replaced%2Bwheels&qid=1731995804&sprefix=replaced%2Bwhee%2Caps%2C363&sr=8-5&th=1(USA)
If you require original factory wheels, please contact customer service and provide your order number, photos of the damaged casters, the base barcode, and your delivery address, and we will arrange a replacement for you.
Thank you for your understanding. Best regards,Customer Service Team
Hello, Thank you for sharing your thoughts.If your seat is tilted or leaning sideways, please check the following:
Ensure all screws under the seat are tightened evenly and securely.
Check if the five-star base is placed on a flat, even floor.
Inspect the gas lift and mounting plate for damage or improper installation.
Confirm that the chair is assembled correctly according to the manual.
If the issue continues after checking, please contact us with your order number, photos of the problem, the barcode on the chair base, and your delivery address,we will assist you further.
Thank you for your patience and cooperation.
Best regards,Customer Service Team
Hello,Thank you for sharing your thoughts.Generally, when the backrest is pulled up, it will lock at different gear heights. When pulled to the highest position, it will automatically return to the lowest gear height. You should notice a click each time it locks into place.As a guideline: You can lift the backrest up to 4 times, and after reaching the 5th lift, it will return to its original position.For your reference, please find the attached video demonstrating this mechanism:Backrest.mp4.Please try this and let us know if you notice any difference in the backrest’s movement. Thank you for your patience and cooperation.Best regards,Customer Service Team
Hello,Thank you for sharing your thoughts.
For focused work, set the headrest to support the middle of your neck (cervical spine), not just the back of your head.
Height: Align the headrest pad with the center of your neck.
Angle: Tilt it slightly forward so it touches your neck gently when you sit upright, without pushing your head forward.
Do not lean your head fully against it while working; use it for light support to keep your neck in a neutral, relaxed position.
This posture reduces strain and prevents soreness during long hours of use.
Thank you for your patience and cooperation.Best regards,Customer Service Team
Hello,
Thank you for sharing your thoughts.
For height adjustment:
Lower the headrest all the way to the bottom first, then lift it up one notch at a time to your desired height.
All middle notches will lock automatically — do not go to the very top notch, as it is a circulating gear and cannot hold position.
For forward/backward angle adjustment:
Push the headrest fully forward first, then pull it back slowly to your preferred angle.
Avoid pulling it all the way to the rear end, which will enter the circulating mode and fail to lock.
To reset, push it fully forward again, then adjust to a fixed position.
Once adjusted properly, the headrest will stay securely in place.
Thank you for your patience and cooperation.
Best regards,
Customer Service Team
Hello,
Thank you for sharing your thoughts.
This model is equipped with an independent adaptive spring lumbar support.
No matter what sitting posture you use, the lumbar support will automatically adjust to the most suitable position according to the pressure from your body.
Its back and waist separated design provides more targeted support, ensuring your lower back never hangs unsupported.
Since it’s inconvenient to adjust the lumbar support frequently while shifting postures at work, this adaptive design offers greater convenience and continuous comfort.
Thank you for your patience and cooperation.
Best regards,
Customer Service Team
Hello,
Thank you for sharing your thoughts.
Sit on the chair, then use the recline control lever under the seat to tilt the backrest to your preferred angle.
Once you reach a comfortable position, push the control lever in fully until it clicks into the locked position — this will secure the backrest firmly.
To unlock and return the backrest to an upright position, simply pull the control lever out again.
If the backrest fails to lock or slides down unexpectedly, please check if the mechanism is stuck or if any screws are loose. If the issue persists, feel free to contact our customer service for further assistance.
Thank you for your patience and understanding.
Best regards,
Customer Service Team
Hello, Thank you for sharing your thoughts.
Our 4D armrests come with height adjustment, forward/backward adjustment, rotation adjustment, and nap linkage function.
Here is how to use them:Height adjustment: Press the control button on the armrest to lift or lower it to a comfortable height, then release to lock.
Forward/backward adjustment: Slide the armrest pad forward or backward to match your arm length and sitting posture.
Rotation adjustment: Rotate the armrest pad left or right to keep your wrists in a natural, straight position.
Nap linkage function: When you recline the chair into nap mode, the armrests will automatically tilt and link with the backrest to provide continuous, comfortable support.
Thank you for your cooperation and patience.Best regards,Customer Service Team
Hello,Thank you for sharing your thoughts.
The forward/backward adjustment of the headrest uses a circular gear system.
Please first push the headrest all the way forward, then pull it back slowly.
Do not pull it all the way to the rearmost position—this will activate the circular mode and cause it to not lock.
To reset, push it fully forward again, and you can adjust to a fixed position.The up/down height adjustment is also a circular gear system.
Please lower the headrest all the way to the bottom first, then adjust upward one notch at a time.
All middle positions can be locked; only the topmost notch is the circular gear and cannot be locked.
Here is the official adjustment video for the headrest for your reference:https://www.youtube.com/@HbadaGlobal.
If you have any further questions, please feel free to contact us anytime.
Thank you for your patience and cooperation.
Best regards,
Customer Service Team
Hello,
We apologize for the inconvenience.
To achieve the best ergonomic effect and avoid shoulder fatigue and wrist pain, please follow these guidelines:
Adjust the armrest height so that your elbows form an angle of approximately 90 degrees when your arms rest naturally on them.
Keep the armrests level with your keyboard or desk surface to maintain straight wrists while typing, without bending upward or downward.
Do not set the armrests too high, as this will raise your shoulders and cause muscle tension.
Avoid letting the armrests squeeze your shoulders inward; keep your shoulders relaxed and in a natural position.
Properly positioned armrests provide even support for your arms, reduce pressure, and effectively prevent discomfort in the shoulders, neck, and wrists during long hours of use.
For detailed adjustment steps, you may refer to our instruction video, which shows how to adjust all components to your most comfortable and personalized position.
Thank you for your cooperation and patience.
Best regards,
Customer Service Team
Hello,We apologize for the inconvenience.
To adjust the armrest height so it can slide under your desk smoothly:
Locate the adjustment lever or button on the side of each armrest.
Lift or press the lever, then push the armrest down to its lowest position.
Release the lever to lock the armrest in place.
Make sure both armrests are set to the same height to avoid imbalance.
Once lowered, the chair can be pushed fully under the desk for space-saving use.
Thank you for your cooperation and patience.
Best regards,Customer Service Team
Hello,
We apologize for the inconvenience.
It is common for the two armrests to show a slight height difference due to assembly tolerances and individual adjustment mechanisms.
Please check the following to align them:
Make sure both armrest height adjustment levers are fully locked in the same gear position.
Gently press down on both armrests at the same time to ensure they are fully seated.
If one armrest is loose, tighten the fixing screws underneath the armrest.
After adjustment, your armrests should be level and even. If the height difference remains obvious, please contact us with photos, order details, chassis barcode and your address, and we will assist you further.
Thank you for your cooperation and patience.
Best regards,
Customer Service Team
Hello,
To adjust your chair to the optimal ergonomic sitting height, please follow these steps:
Stand next to the chair, lift the height adjustment lever, and set the seat so that your hips and knees are at roughly the same level when seated.
Once sitting, your feet should rest flat on the floor or a footrest, with your knees naturally bent at approximately 90 degrees.
Avoid setting the seat too high (which causes your feet to hang) or too low (which puts pressure on your thighs and lower back).
This posture effectively reduces fatigue and helps maintain a healthy spinal alignment during long hours of use.
For more guidance, you may also refer to our instruction video:https://www.youtube.com/@HbadaGlobal., which shows how to adjust all components to your most comfortable position.
Best regards,
Customer Service Team
Hello,
The base and gas lift are designed to support a maximum weight capacity of XXXkg(check below).
We recommend using the chair within this load range to ensure stability, safety, and longer service life of the gas lift and base.
Thank you for your cooperation and patience.
Best regards,
Customer Service Team
The weight capacity depends on the chair model:
HBADA J1 / J3: up to 250 lbs (113 kg)
HBADA P2 Series: up to 300 lbs (136 kg)
HBADA E3 Series: up to 330 lbs (150 kg)
All HBADA chairs are tested to ensure the base and gas lift can safely support the listed weight. Always check the product page for your specific model.
Hello,
The chair slowly sinks and loses height when you sit on it, which is usually caused by a faulty or leaking gas lift cylinder. The main reasons and solutions are as follows:
The gas lift has insufficient internal pressure and cannot stably support weight, so it gradually lowers. A slight sinking may occur during initial use as parts settle, but continuous sinking indicates the gas lift needs to be replaced.
Your chair is covered under a 5-year warranty. If the problem persists, please contact us with photos of the issue, your order information, chassis barcode, and shipping address, and we will provide further assistance.
Thank you for your cooperation and patience.
Best regards,
Customer Service Team
Hello,
The wobble of the chair may be caused by the following reasons:
The chair is assembled from multiple parts, so there are natural gaps at the screw connections. Since the chair is designed with height-adjustable and reclining functions, these gaps cannot be fully sealed to ensure flexibility, which may result in slight movement.
The chair is equipped with casters for 360-degree rotation, so you may feel a small amount of wobble while sitting on it.
If you are still concerned, you can double-check the fixing screws on the backrest and base to see if any screws have become loose. If so, simply tighten them and the issue should be resolved.
Please rest assured that our product comes with a 5-year warranty. If the wobble becomes more severe during future use, feel free to contact us at any time and we will help resolve it for you.
Thank you for your cooperation and patience.
Best regards,
Customer Service Team
Hello,
Could you please take a short video of the chair when you push it, focusing on the sticking wheels? This will help us better diagnose the issue.
If only a single wheel is sticking, we recommend adding a few drops of dish soap or cooking oil to the bearing of the problematic wheel for lubrication. This simple step can significantly improve the smoothness of the wheel’s rotation. Please give it a try.
If the issue persists after trying this method, feel free to contact us with the video, and we will assist you further.
Thank you for your cooperation and patience.
Best regards,
Customer Service Team
Hello,
To keep the high-density mesh fabric in good condition, please follow these cleaning and maintenance tips:
Thank you for your understanding.
Best regards,
Customer Service Team
Hello,
To prevent the mesh from sagging during long-term use, you can follow these simple tips:
If you find obvious sagging that affects use, please contact us with the following information: photos of the sagging, your order details, the chassis barcode, and your shipping address. We will provide you with further assistance.
Thank you for your understanding. Please feel free to reach out if you have any other questions.
Best regards,
Customer Service Team
Hello,
A small snag or pull in the mesh fabric generally does not affect the structural stability of your chair; it is mostly just a minor surface issue.
To prevent further damage, we recommend avoiding any additional pulling or scratching on the affected area, as this may cause the snag to expand.
If the damage gradually worsens or begins to affect your use of the chair, please contact us with the following information: photos of the snag, your order details, the chassis barcode, and your shipping address. We will promptly provide you with an appropriate solution.
Thank you for your understanding. Please feel free to reach out if you have any other questions.
Best regards,
Customer Service Team
Hello,
We apologize for the inconvenience.
For stubborn stains on white/grey mesh fabric, you can gently wipe the affected area with an alcohol wipe. Avoid vigorous scrubbing to prevent damaging the mesh.
Do not use strong chemical cleaners, bleach, or hot water. After cleaning, air-dry the chair naturally in a well-ventilated area.
Thank you for your understanding.
Best regards,
Customer Service Team
Hello,
We apologize for the inconvenience.
The footrest may be a bit tight during initial use to ensure stability.You can hold the front of the footrest firmly and pull it out horizontally from under the seat.
If it’s still hard to pull out, please check which part is getting stuck.Do not pull it at an upward angle, as this may cause jamming.
If the problem continues, please send us a short video of the issue, and we will assist you further.
Thank you for your understanding.
Best regards,
Customer Service Team
Hello,
Thank you for sharing your thoughts.
You can view our detailed assembly video guide at https://www.youtube.com/@HbadaGlobal.
If you are unable to find it there, please contact our customer service with your order number, and we will send you the official video link directly.
We are also ready to assist you with any specific steps you find difficult during assembly.
Best regards,
Customer Service Team
Hello,
We apologize for the inconvenience.
For complex product issues, please contact our customer support team directly via the messaging center.
To help us resolve your problem quickly, kindly provide your order number, clear photos or videos of the issue, the chair chassis barcode, a detailed description of the problem and your address.
Our technical support team will review your case and reply to you with a professional solution as soon as possible.
Thank you for your understanding.
Best regards,
Customer Service Team
Hello,
Thank you for sharing your thoughts.
To use the built-in footrest, simply pull it out from under the seat cushion, then flip the footrest surface upward for use.
When not in use, flip the footrest surface back down and push it gently back under the seat.
You can refer to this video:Reclining footrest video.mp4 for a step-by-step demonstration. If you have any difficulty, feel free to contact us for further assistance.
Best regards,
Customer Service Team
Yes. An ergonomic office chair can be assembled at home by following the instructions supplied with the exact model. Before starting, confirm that all parts, screws, washers, tools, and covers shown in the manual are present.
Place the components on a clean, soft surface to prevent scratches. If the seat or backrest is difficult to lift or align safely, ask another person to assist.
Use the tools and fasteners specified in the product manual. Many chair packages include the required hex key, but the included parts vary by model.
Do not substitute screws with a different length or thread. Avoid using a high-torque power tool because overtightening can damage threads, plastic covers, or mounting points.
Assembly time depends on the chair design, number of adjustable components, and whether one or two people are working. Chairs with separate armrests, headrests, footrests, or powered components require additional steps.
Review the complete manual before beginning, organize the parts by step, and avoid rushing the alignment of the backrest and seat mechanism.
Follow the order in the model-specific manual. A common assembly sequence is:
The exact sequence can differ by model, so the product manual takes priority over this general guide.
Align each caster stem with the socket in the chair base and press it in according to the product instructions. Confirm that every caster is fully seated and rotates normally before placing the chair upright.
Do not use lubricant, glue, or improvised hardware unless the manufacturer specifically instructs you to do so.
Misaligned screw holes are commonly caused by reversed parts, incorrect orientation, uneven pressure, or fully tightening one screw before the remaining screws are positioned.
Check the left and right labels, compare the part with the diagram, and start every related screw by hand before tightening them. Tighten the screws gradually in an alternating pattern. Never force a screw that does not turn correctly.
Chair screws should be secure without being forced beyond the stopping point. Overtightening can strip the threads or damage the mounting surface.
Start each screw by hand to confirm correct alignment. After assembly, check the fasteners again after the chair has been used and re-tighten only where necessary.
Before sitting down, confirm that:
Stop using the chair if a structural component is cracked, bent, missing, or unable to lock securely.
No. An office chair gas lift is a sealed, pressurized component and should not be opened, drilled, cut, heated, punctured, refilled, or repaired with improvised parts.
If the chair sinks, fails to adjust, or the gas lift appears damaged, stop using it and request a compatible replacement component. Contact HBADA Support with the chair model, order information, photos, and a description of the problem.
First place the chair on a level surface and check whether the casters, base, mechanism, backrest, and armrests are fully installed. Tighten loose fasteners in the order shown in the manual.
If the chair continues to wobble, produces grinding sounds, or has a visibly damaged structural part, stop using it and contact support. Do not add unofficial spacers, clamps, or modified screws to structural connections.
Third-party wheels or accessories should only be used when their dimensions, stem type, load rating, floor compatibility, and installation method match the chair.
An accessory that physically fits is not automatically approved or safe. Review the current HBADA warranty policy because damage caused by incompatible modifications may not be covered.
Check the model-specific instructions before disassembly. Remove detachable accessories, label the hardware by assembly step, protect the upholstery and adjustment controls, and keep small parts in sealed bags.
Start with the lumbar support at its lowest available pressure or depth setting. Sit fully against the backrest, adjust the seat depth, and test the lumbar position while upright before testing it in a reclined position.
Change one adjustment at a time. If the lumbar support continues to create concentrated or sharp pressure after correct adjustment, stop using that setting. Individual body proportions and pressure preferences differ, so a lumbar system that works for one user may not fit another.
Review the chair adjustment guide and the current return policy while the return window is open.
Reclining changes the contact angle between the backrest, lumbar support, and lower back. A lumbar setting that feels comfortable while upright may feel more noticeable when the chair is reclined.
Reduce the lumbar depth or pressure before reclining, if the model provides that adjustment. Test the upright and reclined positions separately instead of assuming that one setting will work for every backrest angle.
Lower the armrests completely, move the pads backward, and adjust their rotation if those movements are available on the model. The shoulders should remain relaxed, and the elbows should reach the armrests without being pushed forward.
If the armrests still raise the shoulders or cannot support the elbows in a natural working position, the chair may not match your body proportions or desk height. Do not cut, drill, grind, or structurally modify the armrests. Review the applicable return terms instead.
Multi-directional armrest pads require moving joints, so a small amount of movement at an adjustment point can occur. However, the mounting post should remain securely attached, and the armrest should not drop, detach, or shift unexpectedly under normal arm support.
Check the model-specific assembly instructions and tighten only the designated mounting screws. If the movement remains excessive, send support a short video showing which joint moves and whether the problem affects one or both armrests.
Adjustable components may change position if they are used as handles. Move the chair using a fixed structural area identified in the product manual instead of pulling it by the headrest, armrest pad, lumbar wing, controller, cable, or footrest.
After moving the chair, confirm that the headrest, armrests, lumbar support, and recline controls are still in the intended positions before sitting down.
Reset the headrest according to the model-specific instructions, then move it through the available locking positions one step at a time. Confirm whether the movement is coming from the adjustable headrest joint or from a loose mounting connection.
If the headrest continues to drop or move without deliberate adjustment, record a short video and contact HBADA Support. Do not add glue, tape, drilled holes, or unofficial locking hardware.
No. A pull-out chair footrest is intended to support the legs or feet while the user remains seated. It should not be used as a seat, step, platform, or lifting handle.
Pull and retract the footrest in the direction shown in the manual. If the rails bind, the support tilts unexpectedly, or a mounting part appears cracked or loose, stop using the footrest and contact support.
Mesh tension, seat shape, lumbar pressure, and headrest contact can feel different from a previous chair. Begin with a neutral setup and change the seat height, seat depth, lumbar support, armrests, and recline resistance one setting at a time.
Do not force yourself to adapt to sharp, concentrated, or worsening discomfort. Product dimensions can identify general compatibility, but they cannot guarantee individual comfort. Use the chair during normal work while the applicable return window remains open.
Normal movement is limited to the adjustment points described in the product manual. A potential defect includes a cracked component, missing fastener, failed lock, collapsing height adjustment, detached caster, broken mounting point, damaged electrical cable, or uncontrolled structural movement.
Stop using the affected function if safety or stability is uncertain. Send support photos or a video showing the exact component instead of continuing to tighten or modify it.
Pause assembly and compare the part labels with the manual. Do not force two same-side armrests, brackets, or covers onto the chair.
Photograph the labels on both parts, the package contents, the shipping label, and the chair-base barcode. Contact HBADA Support with the order number and exact model so the correct replacement part can be identified.
Check the connector orientation and the assembly sequence before applying pressure. Support the connected components so the cable is not stretched, twisted, trapped between metal parts, or pinched beneath the seat.
Never force a connector that does not align. If the plug, cable, or socket appears bent or damaged, stop assembly and send support clear close-up photos before connecting power.
Use a second person whenever the package, seat assembly, backrest, or base cannot be lifted and aligned safely by one person. This is especially important when carrying a chair upstairs or connecting a heavy backrest while protecting electrical cables.
Do not lift the chair by its headrest, armrests, footrest, controller, or cables. Follow the lifting and assembly instructions supplied with the exact model.
Use a soft, slightly damp cloth to clean the mesh, seat, plastic surfaces, and metal components. Allow the chair to dry naturally before using it again.
No. Avoid bleach, abrasive cleaners, alcohol-based solvents, and other strong chemical products that may damage the mesh, upholstery, plastic, or painted surfaces.
Do not spray liquid directly onto the massage, heating, ventilation, control panel, battery, or other electronic components. Disconnect the power supply before cleaning around electronic parts.
Check the screws, casters, five-star base, armrests, headrest, and recline mechanism periodically. Tighten loose connections according to the user manual and stop using the chair if a structural component is damaged.
Check whether the screws, armrests, base, casters, or recline mechanism are loose. Remove visible dust and follow the user manual before applying any lubricant. Contact HBADA Support if the noise continues.
Stop using the chair and check the casters, base, screws, seat plate, and backrest connections. If the chair remains unstable after tightening the appropriate parts, contact HBADA Support for assistance.
Stop using the chair if a caster is cracked, loose, or unable to roll properly. Contact HBADA Support with your order number, product model, and photos of the damaged part.
Stop using the affected function and check the power connection and control settings. Do not disassemble electronic components yourself. Contact HBADA Support with your order number, product model, and a photo or video of the issue.
Keep the lumbar support area clean and avoid placing excessive pressure on the mechanism. Adjust the support gradually and do not force the controls beyond their normal range.
Visit the HBADA User Manual and Assembly Guide to find product manuals, assembly instructions, adjustment videos, and usage guides.
Users may tighten basic hardware by following the official user manual. Do not disassemble the gas lift, electronic components, massage system, heating system, or internal lumbar mechanism. Contact HBADA Support for repairs or replacement parts.
Perform a basic inspection every few months and whenever the chair begins to make unusual noises, feel unstable, or become difficult to adjust. Chairs used heavily may require more frequent checks.
Contact HBADA Support and provide your order number, product model, purchase date, a description of the problem, and clear photos or videos. This information helps the support team identify the correct solution.